

CartCraft golf carts are known for their reliability, but the voltage regulator is a component that can fail over time. When it does, your cart may exhibit erratic behaviour, from dim lights to a dead battery. This guide covers the signs of a failing voltage regulator and how to fix it, helping you keep your CartCraft running smoothly.
What Does a Voltage Regulator Do in a CartCraft Golf Cart?
The voltage regulator in a CartCraft golf cart ensures that the alternator or generator output remains within a safe range—typically 13.5 to 14.5 volts for a 12-volt system and 48 to 52 volts for a 48-volt system. Without it, voltage spikes can damage sensitive electronics like the controller, lights, and the battery itself. A regulator that fails can either overcharge (causing battery boiling) or undercharge (leading to a dead battery). Regular checks are essential, especially if you’ve upgraded to a CartCraft Lithium Battery Conversion, as lithium batteries require precise voltage control.
What Are the Common Signs of a Failing Voltage Regulator on a CartCraft?
Recognising early symptoms can save you from a roadside breakdown. Look for these indicators:
- Dimming or flickering headlights—especially when accelerating or decelerating.
- Battery warning light on the dashboard (if equipped) comes on intermittently.
- Battery that frequently needs charging or dies quickly after a full charge.
- Swollen or leaking battery case due to overcharging.
- Intermittent power loss or the cart cutting out under load.
- Burning smell near the engine or voltage regulator area.
If you notice any of these, test the system immediately. A quick check involves measuring the battery voltage at idle vs. under load. For a 48-volt CartCraft, readings above 54 volts or below 42 volts indicate a regulator issue. For more on starting problems, see our guide on CartCraft Golf Cart No Start: Troubleshooting the Most Common Causes.
How to Test a Voltage Regulator on a CartCraft Golf Cart
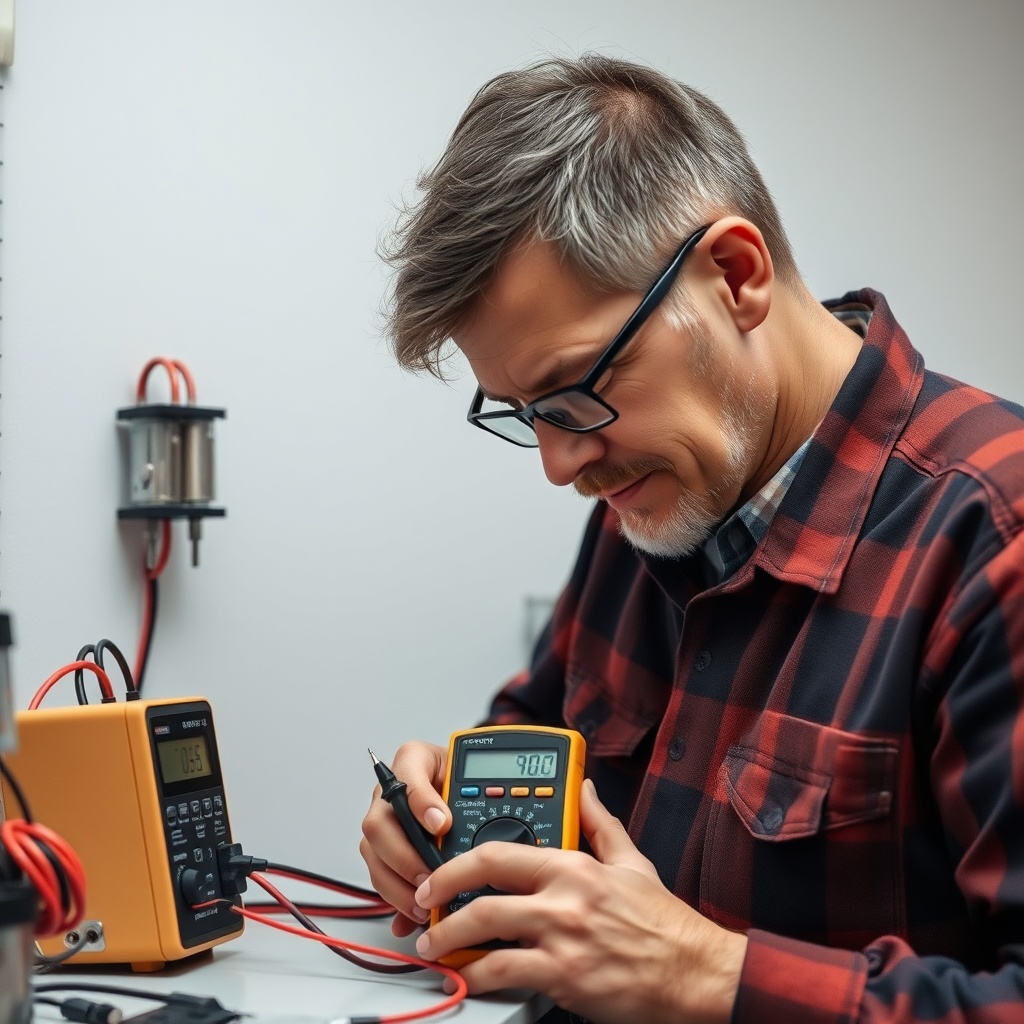
Testing the voltage regulator requires a digital multimeter set to DC volts. Follow these steps:
- Turn the cart off and disconnect the battery pack or main battery terminal for safety.
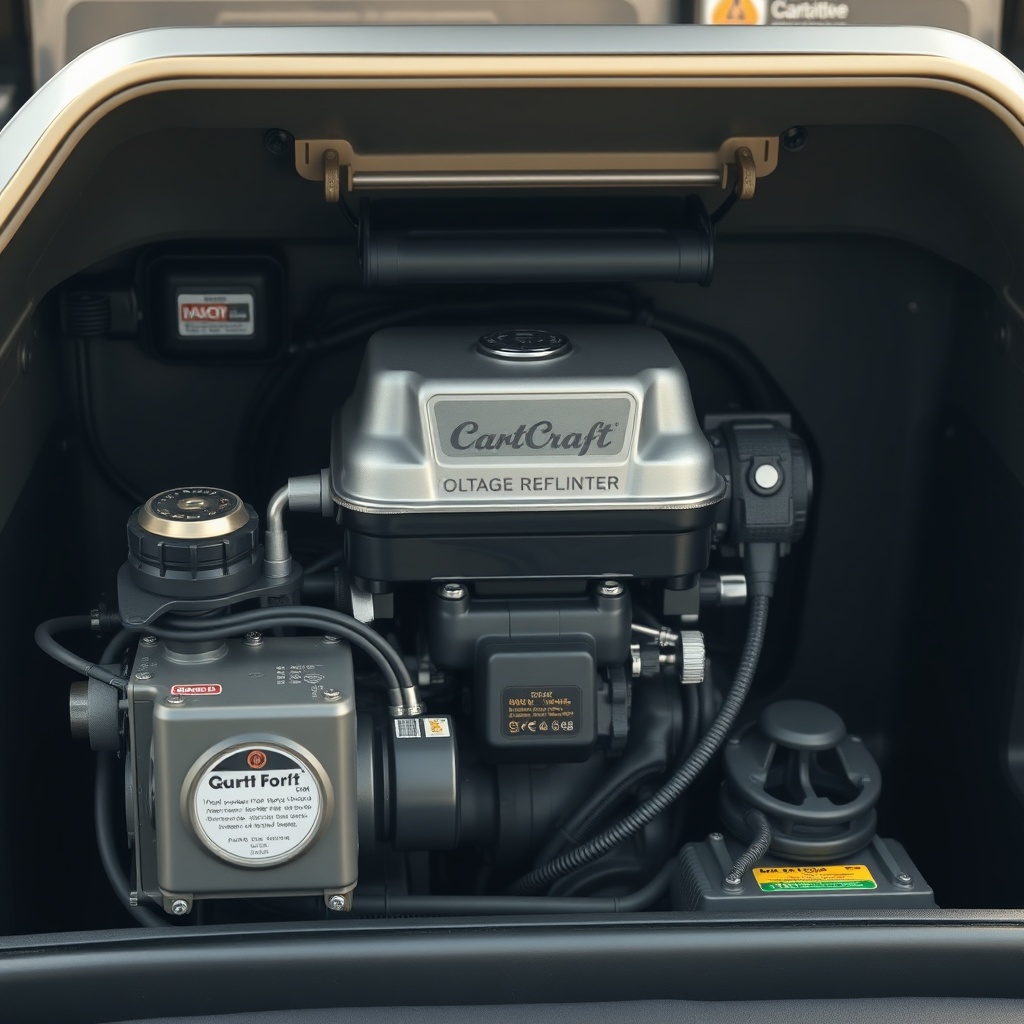
- Locate the voltage regulator—typically near the engine or under the seat, with a small finned heatsink.
- Reconnect the battery and start the cart. Set the multimeter to the appropriate voltage range (e.g., 200V DC for 48V systems).
- Measure across the battery terminals while the cart is idling. Record the reading.
- Rev the engine to about half throttle (or press the accelerator halfway) and take another reading. It should stay within 0.5 volts of the idle reading.
- Turn on high-beam headlights and check again. A good regulator will maintain voltage within the spec.
Use the table below to interpret your readings:
| System Voltage | Idle Voltage (Engine Off) | Idle Voltage (Engine Running) | Under Load (Lights + Accel) | Action Needed |
|---|---|---|---|---|
| 12V | 12.2–12.6V | 13.8–14.2V | 13.2–13.8V | Regulator OK if stable |
| 48V | 48.5–50.5V | 48.0–52.0V | 46.0–49.0V | Regulator OK if within range |
| 12V | Below 12.0V | 15.0V+ | Over 14.8V | Regulator overcharging — replace |
| 48V | Below 46V | 53V+ or below 40V | Unstable | Regulator failed — replace |
If readings are erratic, inspect the wiring harness for corrosion or loose connections. A poor ground is a common culprit. Also check the CartCraft Golf Cart Brake Fluid Flush: Step-by-Step Guide for maintenance tips that keep your cart in top shape.
How to Fix or Replace a Voltage Regulator on a CartCraft
If testing confirms a faulty regulator, replacement is straightforward. Here’s the process for most CartCraft models:
- Disconnect the battery pack or main negative terminal. Wear insulated gloves.
- Remove the voltage regulator from its mounting bracket (usually two bolts/screws).
- Label and disconnect the wires: typically a ground wire (black), battery sense wire (red), and field wire (blue/yellow). Take a photo for reference.
- Install the new regulator, matching the wiring exactly. Use dielectric grease on connections.
- Reconnect the battery and test the voltage as described above.
- Run the cart on a short test drive to confirm stable voltage under load.
Cost of a replacement voltage regulator for CartCraft ranges from £40 to £120 depending on model and whether it’s OEM or aftermarket. Always use a regulator rated for your system voltage—using a 12V regulator on a 48V system can cause immediate failure. If you’re upgrading to LED lighting, see our How to Install an LED Light Kit on a CartCraft Golf Cart guide, as LEDs are sensitive to voltage fluctuations.
Can a Bad Voltage Regulator Damage Other CartCraft Components?
Yes, a failing voltage regulator can cause cascading damage. Overvoltage can burn out the controller (costing £200–£600 to replace), fry the battery management system (BMS) in lithium conversions, and permanently damage LED light bars. Undervoltage causes the battery to sulfate, reducing its lifespan by 50% or more. In gas-powered CartCraft models, a bad regulator can damage the ignition coil or starter generator.
Protect your investment by installing a voltage monitor or an inline fuse on the battery sense wire. If you plan to store your cart for winter, CartCraft Golf Cart Winter Storage: Battery Care and Maintenance Tips is essential reading to prevent damage from voltage drops.
What Owners Say About Voltage Regulator Issues on CartCraft
CartCraft owners frequently report that a failing voltage regulator is often misdiagnosed as a dead battery. One owner from Kent noted: “My cart would start fine, then after 15 minutes of driving, the lights would dim and the motor would stutter. Replacing the regulator fixed it, and it cost me only £50.” Another owner from Surrey mentioned that after a lithium battery conversion, the original regulator caused overvoltage alarms. Upgrading to a digital regulator solved the problem.
Common tips from owners include: always test the regulator before buying a new battery, check the ground strap for corrosion (especially on salt-exposed carts), and consider upgrading to a solid-state regulator for better reliability. Many owners also recommend the brake upgrade for improved safety—see CartCraft Golf Cart Brake Upgrade Kit Installation: Performance Brake Pads and Rotors for details.
Frequently Asked Questions
Q1: How often should I check my CartCraft’s voltage regulator?
A: At least once a year or after every 100 hours of use. If you drive on hilly terrain or carry heavy loads, check every 6 months.
Q2: Can I drive my CartCraft with a bad voltage regulator?
A: It’s not advised. Overvoltage can damage the battery and electronics, while undervoltage can leave you stranded. Replace it as soon as symptoms appear.
Q3: What is the average cost of a CartCraft voltage regulator in the UK?
A: Expect to pay between £40 and £120 for a replacement. Labour costs at a dealership are around £50–£80 for installation, but DIY saves money.
Q4: Will a bad voltage regulator affect my brake system?
A: Indirectly, yes. If the voltage drops, the brake controller (in electric carts) may malfunction. For hydraulic brakes, check the brake fluid flush guide to rule out other issues.
Q5: Is it safe to replace a voltage regulator myself?
A: Yes, if you follow proper electrical safety procedures—disconnect the battery, wear gloves, and use insulated tools. If you’re unsure, consult a technician.
Q6: Can I upgrade my CartCraft’s voltage regulator to handle a lithium battery?
A: Absolutely. Many owners use a programmable digital regulator from brands like Delta-Q or Lester Electrical. Ensure it’s compatible with your battery voltage. Our lithium battery conversion guide covers this in detail.