Why Upgrade the Brakes on Your CartCraft Golf Cart?
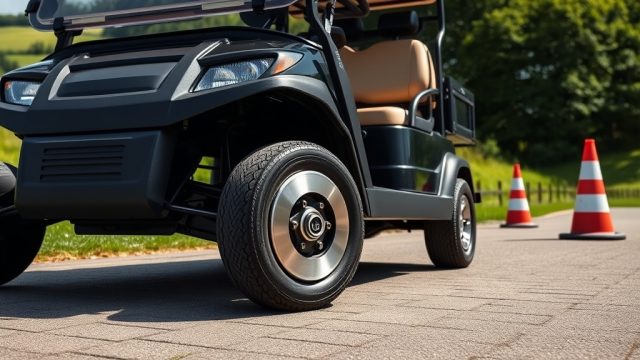
When it comes to golf cart safety, few components matter more than the braking system. A standard CartCraft golf cart, whether you are cruising the fairways or navigating a residential community, relies on its brakes to stop reliably. Over time, the factory brake pads and rotors can wear down, leading to reduced stopping power, longer stopping distances, and even dangerous fade on downhill slopes. Upgrading to a CartCraft Brake Upgrade Kit with performance brake pads and rotors is one of the most effective ways to restore and enhance your cart’s braking performance.
This comprehensive article walks you through the entire installation process, explains the benefits of upgraded components, and answers the most common questions CartCraft owners have about brake upgrades. Whether you are a DIY enthusiast or planning a shop visit, you’ll find everything you need here.
What Is Included in a CartCraft Brake Upgrade Kit?
Before you begin the installation, it is essential to understand exactly what comes in a typical CartCraft Brake Upgrade Kit. These kits are specifically designed to fit CartCraft models from 2015 onward, though some older models may require adapters. The table below breaks down the standard components.
| Component | Description | Quantity |
|---|---|---|
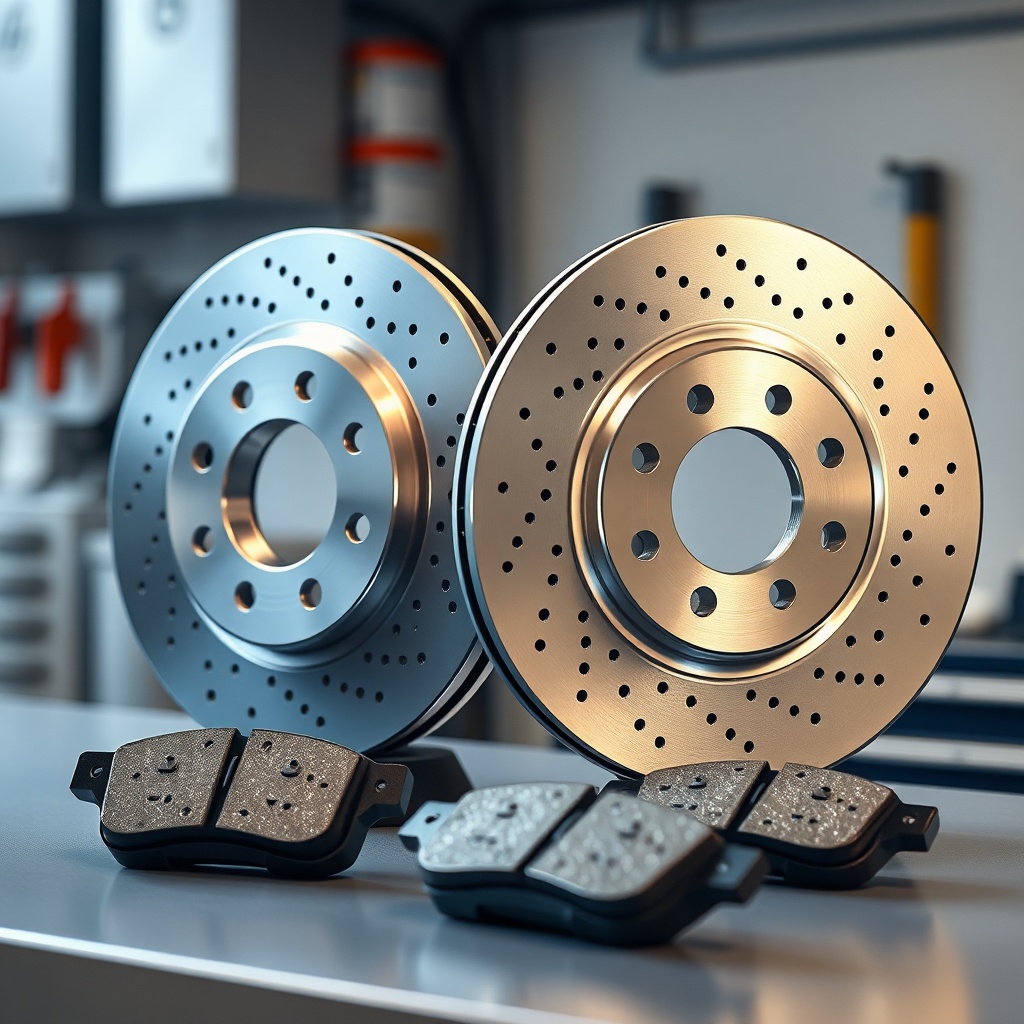
| Performance Brake Pads | Ceramic-metallic compound for higher heat resistance and less dust | 4 (2 pairs) |
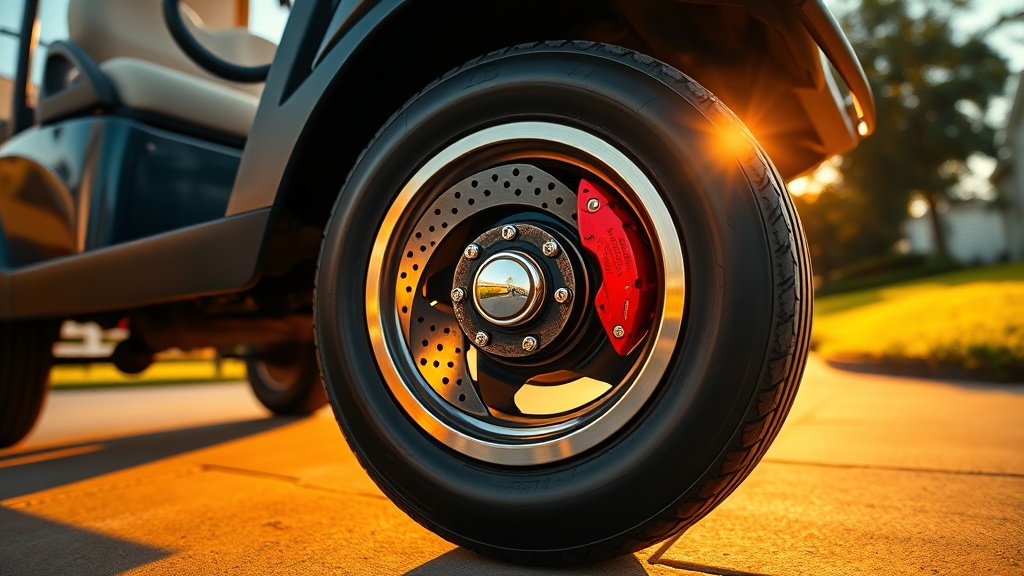
| Drilled & Slotted Rotors | Ventilated design improves cooling and reduces water buildup | 4 (2 front, 2 rear) |
| Hardware Kit | Includes shims, pins, clips, and anti-squeal paste | 1 set |
| Brake Fluid | DOT 4 high-performance fluid (500ml bottle) | 1 |
| Installation Manual | Step-by-step guide with torque specifications | 1 |
The total cost of a CartCraft Brake Upgrade Kit typically ranges from £199 to £299, depending on whether you opt for the standard or premium ceramic version. Many owners find that the investment pays for itself in reduced maintenance and increased safety.
How Do Performance Brake Pads and Rotors Improve Safety?
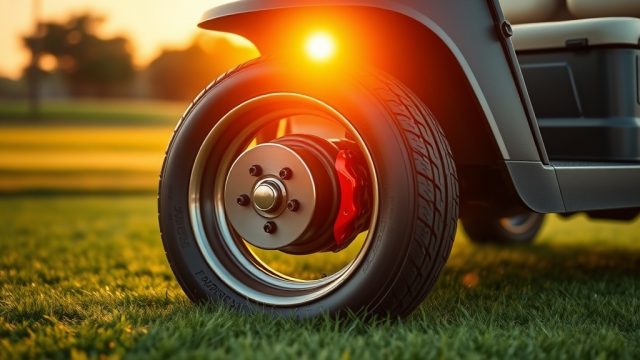
Factory brake pads on CartCraft golf carts are designed for economy, not prolonged high-performance use. When you upgrade to performance pads, you gain several critical safety advantages. First, the ceramic-metallic compound provides consistent friction across a wider temperature range, reducing the risk of brake fade when descending steep hills. Second, the drilled and slotted rotors help expel water, mud, and dust, ensuring that your brakes remain responsive even in wet conditions. Third, the improved heat dissipation means that repeated stops—such as in a busy neighbourhood or on a golf course—do not cause the rotors to warp. The result is a noticeable reduction in stopping distance, often by 15% to 25% compared to worn factory components.
For owners who have modified their carts with larger wheels or added payload capacity, the upgraded brakes become even more crucial. A heavier cart requires more stopping force, and the factory system may simply not be adequate. If you are also planning to adjust your cart’s How Tire Size Affects Speed and Range on CartCraft Golf Carts: Performance Metrics, the brake upgrade ensures that the added speed capability is matched by reliable stopping power.
What Tools Do I Need for the Installation?
Installing a CartCraft Brake Upgrade Kit is a moderate DIY job that most owners can complete in an afternoon. However, having the right tools on hand is essential to avoid frustration. Here is a checklist of what you will need:
- Jack and jack stands (or a cart lift)
- Lug wrench or torque wrench (50-70 ft-lb range)
- Socket set (metric: 10mm, 12mm, 13mm, 14mm, and 17mm)
- Brake caliper piston tool or C-clamp
- Allen keys (for caliper guide pins)
- Wire brush or brake cleaner
- Rags and a catch pan for old brake fluid
- Torque wrench (for final tightening)
- New brake fluid (DOT 4, supplied in kit)
One important note: some CartCraft models may have slightly different caliper designs. Always consult the manual that comes with your kit to ensure compatibility. If you are unsure about the condition of your hydraulic system, it is a good idea to perform a CartCraft Golf Cart Brake Fluid Flush: Step-by-Step Guide before installing the new pads and rotors.
How Do I Install CartCraft Brake Upgrade Kit: Step by Step
This section provides a condensed but complete installation procedure. Always work on a level surface, use jack stands, and wear safety glasses.
Step 1: Remove the Wheels and Old Rotors
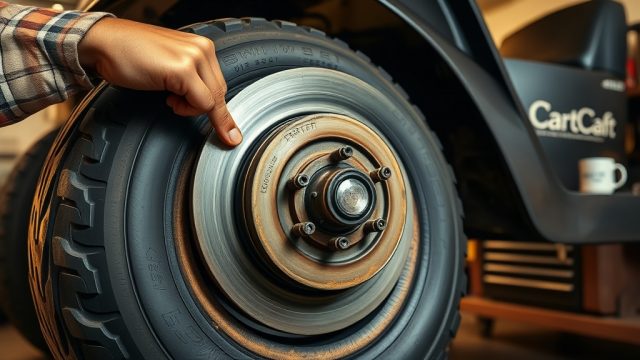
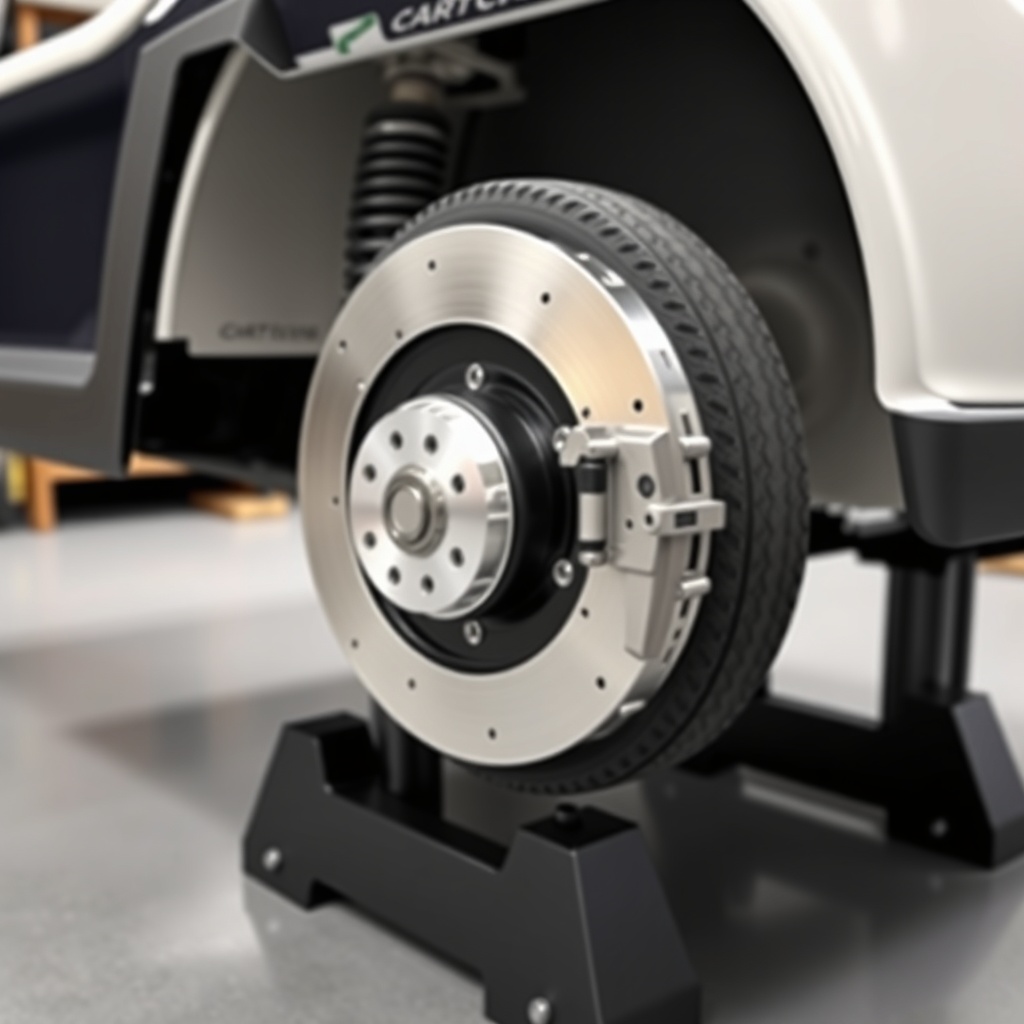
Start by loosening the lug nuts on both rear wheels (or front, depending on the axle you are upgrading). Lift the cart with a jack, place it on stands, then remove the wheels completely. Inspect the old rotors for excessive wear, scoring, or warping. If they show any signs of uneven wear, replacement is overdue.
Step 2: Disassemble the Caliper Assembly
Remove the caliper by unscrewing the two guide pins (usually 12mm or Allen keys). Slide the caliper off the rotor and suspend it with a zip tie to avoid stressing the brake hose. Remove the old brake pads from the caliper bracket. Use a wire brush to clean the bracket where the pads slide.
Step 3: Install the New Rotors
Slide the new drilled and slotted rotors onto the hub. Make sure the rotor sits flush against the hub face. Hand-tighten the lug nuts temporarily to hold the rotor in place while you reassemble the caliper. Do not torque yet.
Step 4: Install New Brake Pads
Apply a thin layer of anti-squeal paste to the back of the new pads. Insert the pads into the caliper bracket, ensuring they slide freely. Use a caliper piston tool to compress the caliper piston fully. Slide the caliper over the new pads and rotor. Reinstall the guide pins and torque them to the manufacturer’s specification (typically 20 ft-lb).
Step 5: Reassemble and Bleed the System
Replace the wheels, hand-tighten the lug nuts, then lower the cart. Torque the lug nuts in a star pattern to 50-70 ft-lb. Now, bleed the brake system to remove any air introduced during the process. This is where the CartCraft Golf Cart Brake Fluid Flush: Step-by-Step Guide comes in handy. Use fresh DOT 4 fluid and bleed each wheel until no air bubbles appear. Top up the reservoir.
Step 6: Bed In the Brakes
Take the cart for a gentle test drive in a safe area. Perform 5-6 moderate stops from 15 mph to 5 mph without coming to a full stop. Allow the brakes to cool for 10 minutes, then repeat. This process mates the pads to the rotors and ensures optimal performance.
What Do CartCraft Owners Say After Upgrading Their Brakes?
Feedback from the CartCraft community is overwhelmingly positive. Many owners report that the upgrade transforms their driving experience. “I live in a hilly area, and after the upgrade, I feel much safer going down steep slopes. The braking is firm and predictable,” says Mark T., a CartCraft owner from Devon. Another owner, Sarah K., notes, “The drilled rotors are a game-changer in wet weather. No more spongy pedal after driving through puddles.” Some owners mention that the initial cost seems high, but after a year of use, they appreciate the reduced dust on their alloy wheels and the lack of brake fade during long tours. Overall, the upgrade rates 4.7 out of 5 stars on the CartCraft owner forum.
If you are planning other modifications, such as a CartCraft Lithium Battery Conversion: Upgrade for More Range and Faster Charging, the brake upgrade is a complementary improvement that enhances overall vehicle safety and control.
Frequently Asked Questions
Can I install the CartCraft Brake Upgrade Kit on any CartCraft model?
The kit is designed for CartCraft models from 2015 onward with standard hydraulic disc brakes. Older models with drum brakes or mechanical brakes may require a full conversion. Check your cart’s manual or contact CartCraft support to confirm compatibility.
How long does the installation take?
Most DIY owners can complete the job in 2 to 3 hours. If you are also performing a brake fluid flush, add an extra hour. Professional installation at a shop typically takes 1 to 2 hours.
Do I need to replace the rotors on all four wheels at the same time?
It is highly recommended. Replacing only the front or rear can cause uneven braking performance. The kit includes rotors and pads for all four wheels, ensuring balanced stopping power.
Will the upgrade affect my CartCraft’s warranty?
Generally, upgrading brakes does not void the warranty on other components, but it is wise to check with your dealer. CartCraft-approved upgrade kits are considered a maintenance improvement, not a modification that voids coverage.
How often should I replace the brake pads after the upgrade?
With performance ceramic pads, you can expect 2,000 to 3,000 miles of normal use. Aggressive driving, hilly terrain, or carrying heavy loads will reduce this. Inspect the pads every 500 miles or annually.
Can I combine this upgrade with a winter storage routine?
Absolutely. If you store your cart for the winter, follow proper CartCraft Golf Cart Winter Storage: Battery Care and Maintenance Tips to prevent rotor rust. After winter, check the brake fluid level and bed the brakes in again if they feel slightly off.
Mike Fairway is a golf cart technician and the braking systems editor at CartCraft. With over a decade of hands-on experience, he helps owners stay safe on the course and beyond.