Why Does a CartCraft Golf Cart Need a Brake Fluid Flush?
Brake fluid is the lifeblood of any hydraulic braking system, and a CartCraft golf cart is no exception. Over time, brake fluid absorbs moisture from the atmosphere, which lowers its boiling point and can lead to internal corrosion of calipers, wheel cylinders, and the master cylinder. On a CartCraft, neglected fluid can cause spongy pedal feel, reduced stopping power, and premature wear of seals. A complete brake fluid flush, typically recommended every two years or 10,000 miles (whichever comes first), restores firm pedal feel, protects expensive components, and ensures the cart stops reliably—especially important when navigating hilly courses or carrying extra weight. For owners already maintaining other systems, such as How to Maintain Battery Water Levels on a CartCraft Golf Cart, adding a brake fluid flush to the regular schedule is a smart way to extend overall vehicle life.
What Tools and Fluid Are Needed for a CartCraft Brake Fluid Flush?
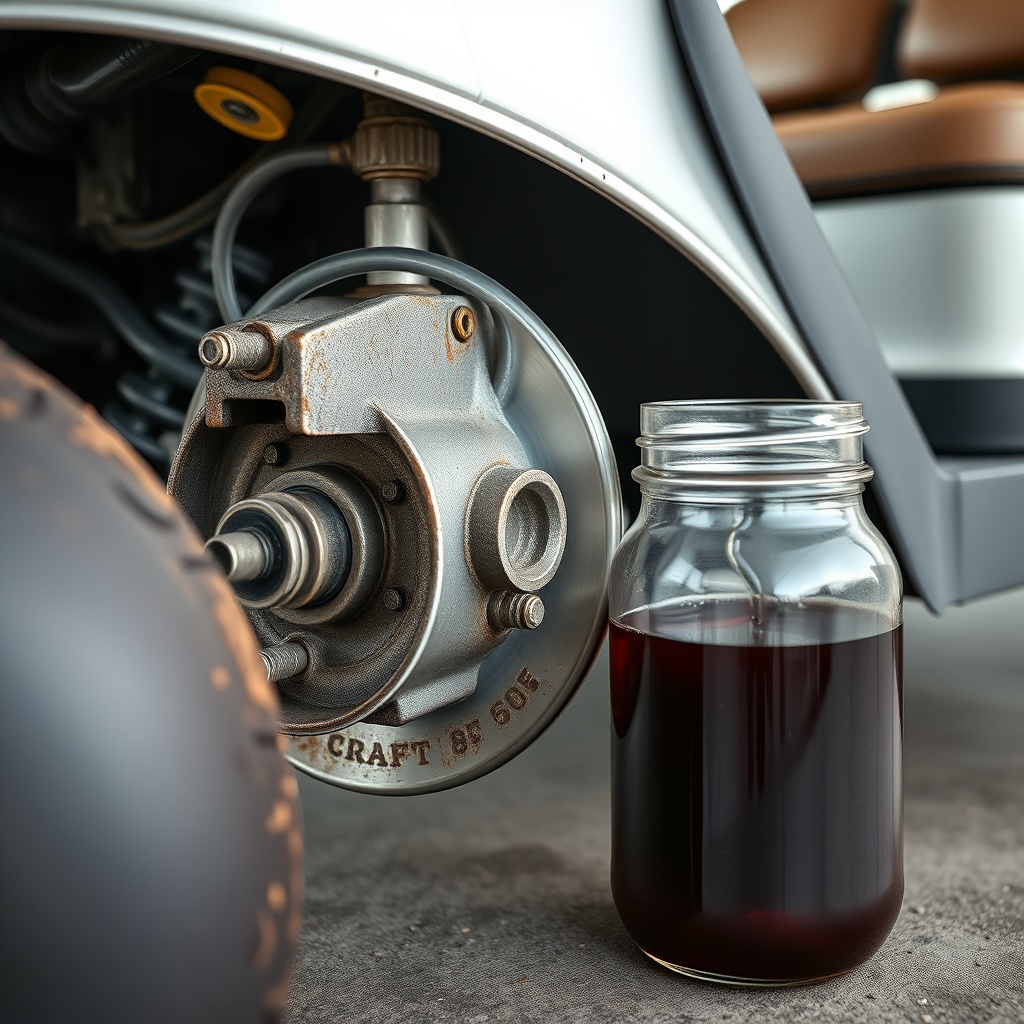
Performing a brake fluid flush on a CartCraft requires a modest set of tools and the correct fluid specification. Here is the complete checklist:
- Brake fluid: DOT 3 or DOT 4 (check your model year—most 2015–2025 CartCraft models use DOT 4). One 500ml bottle is sufficient for a full flush on a four-wheel system.
- Wrench set: 8mm and 10mm combination wrenches for bleed screws.
- Clear tubing: 1/4-inch inner diameter, about 60 cm long, to fit snugly over bleed nipples.
- Catch container: A glass jar or dedicated brake fluid waste receptacle.
- Syringe or turkey baster: To remove old fluid from the master cylinder reservoir.
- Clean rags and brake cleaner: To wipe spills and clean bleed screws.
- Jack and jack stands: To lift the cart safely for access to all four wheels.
- Helper or one-person bleed kit: A pressure bleeder simplifies the task, but a second person can pump the pedal.
Cost of supplies: A 500ml bottle of high-quality DOT 4 fluid (e.g., Castrol or ATE) retails for £8–£15 in the UK. A one-person pressure bleeder kit costs around £30–£60. If you already own basic tools, the total expense is under £50.
How to Safely Jack Up a CartCraft for Brake Work?
Before beginning the flush, the cart must be securely lifted so all four wheels are off the ground. Follow these steps:
- Park on a level surface and engage the parking brake.
- Place wheel chocks behind the wheels that remain on the ground (only if you are lifting one axle at a time). For a full flush, it is easier to lift the entire cart.
- Locate the designated jack points on the CartCraft frame—these are typically reinforced areas near the front and rear axles. Consult your owner’s manual if uncertain.
- Use a trolley jack rated for at least 500 kg. Lift the front axle first, then place jack stands under the frame rails.
- Repeat for the rear, ensuring all four corners are on stands rated for 1,000 kg each (the combined weight of a loaded CartCraft can exceed 500 kg).
- Give the cart a gentle shake to confirm stability. Never work under a cart supported only by a jack.
A proper lift not only makes the bleed screws accessible but also allows you to rotate the steering while bleeding, which helps release air trapped in the lines. Additionally, while the cart is lifted, it is a good moment to inspect How Tire Size Affects Speed and Range on CartCraft Golf Carts—though that is separate from brake work, it pays to notice tire condition.
What Is the Correct Bleeding Order for a CartCraft Golf Cart?
Brake bleeding must follow a specific sequence to ensure all air is expelled from the system. The standard order for most CartCraft models (with two-wheel hydraulic brakes on all corners) is:
- Right rear (passenger side rear)
- Left rear (driver side rear)
- Right front (passenger side front)
- Left front (driver side front)
This sequence works from the wheel farthest from the master cylinder to the closest. If your CartCraft has a dual-diagonal split system (rare but possible on newer models), consult the workshop manual. Always verify the layout: on a typical four-wheel hydraulic CartCraft, the master cylinder is mounted under the seat or on the firewall near the driver’s footwell.
Why this order matters: Brake fluid circuits have natural air traps. By starting with the longest line, you push air toward the master cylinder and out through the shortest line last, minimising the chance of trapped air pockets.
How to Perform the Brake Fluid Flush Step by Step?
Now, with the cart securely lifted and bleeding order memorised, follow these steps. This guide assumes a two-person method (one inside the cart to pump the brake pedal, one at each wheel to open and close bleed screws).
- Remove old fluid from master cylinder: Use a syringe or turkey baster to extract all dark, contaminated fluid from the reservoir. Do not let the reservoir run dry during the process—refill with fresh DOT 4 fluid immediately.
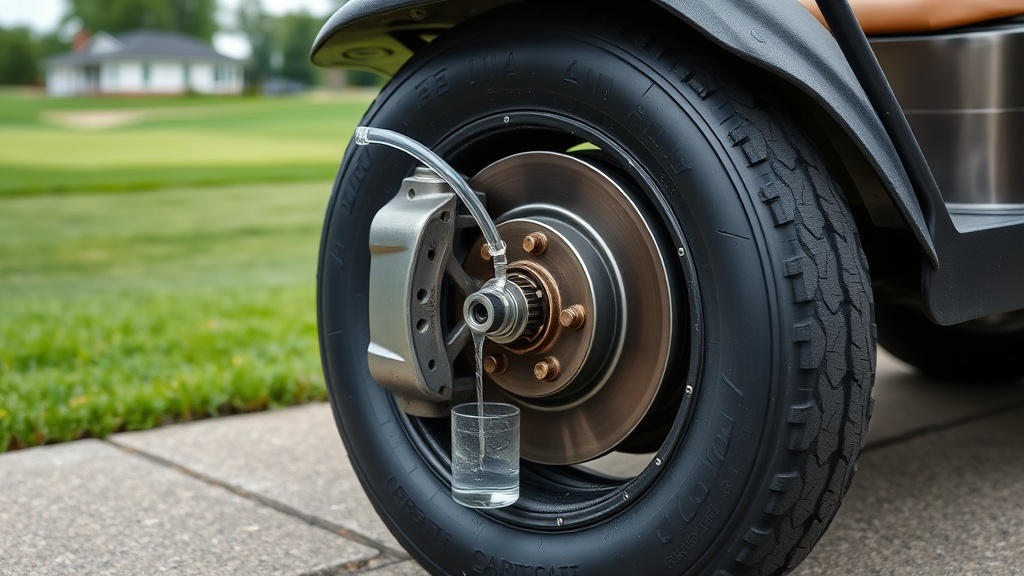
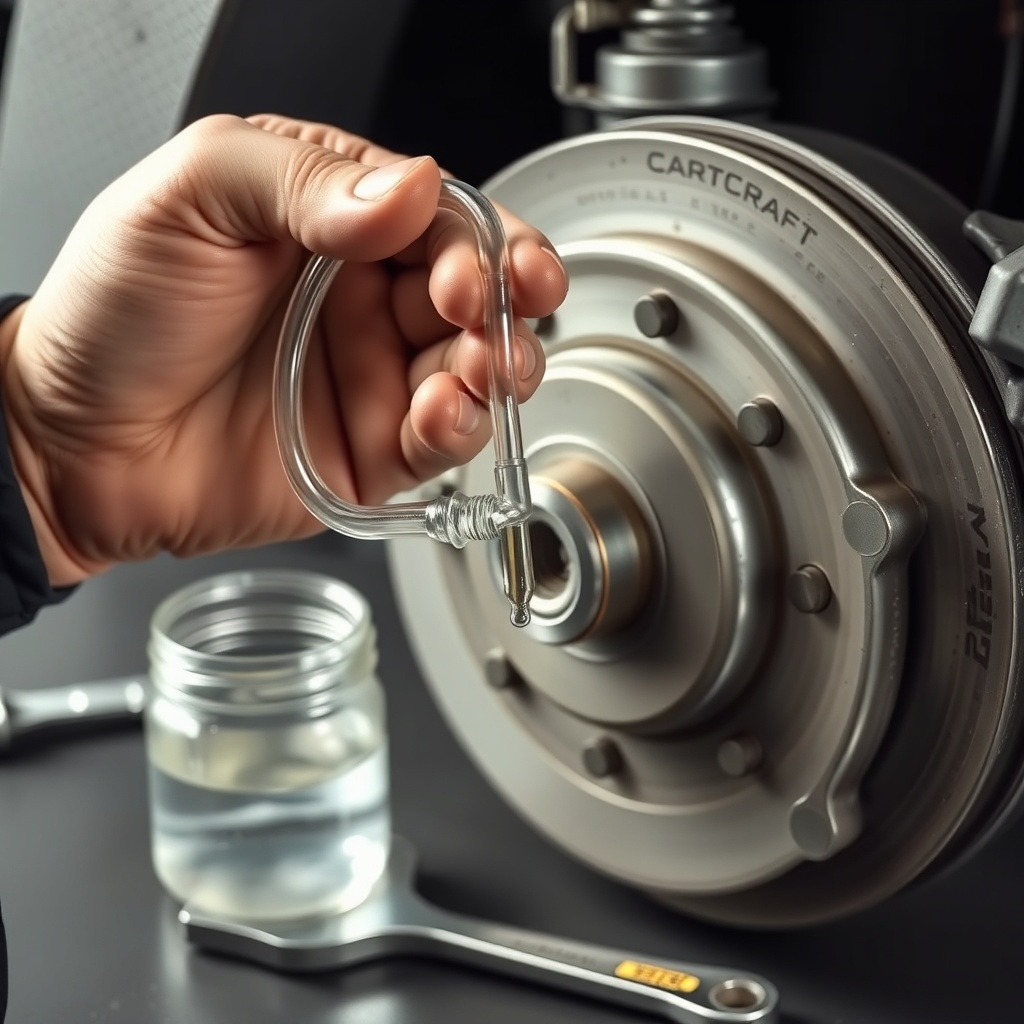
- Attach clear tubing to bleed screw: Start with the right rear wheel. Slip the tubing over the bleed nipple. Submerge the other end in a jar with a small amount of fresh brake fluid (this prevents air being sucked back in).
- Open the bleed screw: Using an 8mm (or 10mm) wrench, turn the screw counterclockwise about 1/4 to 1/2 turn. You will hear a hiss of air or see old fluid flow through the tubing.
- Pump the brake pedal: The assistant inside the cart should pump the pedal slowly 3–5 times, then hold it down firmly. As the pedal is held, old fluid and air bubbles will travel down the tubing into the jar.
- Close the bleed screw: While the pedal is still held down, tighten the bleed screw (clockwise). Then release the pedal.
- Repeat: Do this cycle 5–10 times per wheel, or until the fluid flowing through the tubing is clear and bubble-free. Top up the master cylinder after every 5–6 pumps to prevent it from running dry.
- Move to the next wheel: Follow the bleeding order: left rear, right front, left front.
- Final check: After all four wheels are flushed, check the master cylinder level and adjust to the “MAX” line. Press the brake pedal firmly—it should feel firm and have minimal travel (1–2 inches). If it feels spongy, repeat the flush on the wheel that is farthest from the master cylinder.
Important safety note: Brake fluid damages painted surfaces. Wipe spills immediately with a damp cloth. Use brake cleaner to remove any residue from calipers, frame, and wheels.
What Are the Signs That the Flush Was Successful?
After completing the flush, take the cart for a careful test drive in a safe area. Indicators of a successful flush include:
- Firm brake pedal: Pedal should feel solid after 1–2 inches of travel, with no sinking feel.
- Consistent braking: No pulling to one side; both rear wheels lock up evenly (if tested on loose gravel).
- No warning lights: If your CartCraft has a brake system warning light, it should remain off.
- Clear fluid: The fluid in the master cylinder stays pale amber (DOT 4) or clear (DOT 3) after a few days—darkening signals contamination.
When to repeat the flush: If the pedal continues to feel spongy, you may have a leak, a failing master cylinder, or residual air. In that case, inspect all lines and connections. Also, note that temperature changes can affect brake feel—see How Temperature Affects Battery Charging on CartCraft Golf Carts for similar environmental considerations, though that article focuses on batteries rather than brakes.
Brake Fluid Contamination Level Severity Table
The following table helps you gauge how urgently a fluid flush is needed based on visual and test-strip inspections:
| Severity Level | Fluid Color | Moisture Content (by test strip) | Pedal Feel | Recommended Action |
|---|---|---|---|---|
| Good | Clear amber (new DOT 4) | 0–1% | Firm, consistent | No action needed; check again in 1 year |
| Mild | Light amber to honey | 1–2% | Slightly soft after 3–4 pumps | Plan flush within 3 months |
| Moderate | Dark amber or brown | 2–3% | Spongy, longer travel | Flush immediately |
| Severe | Black or greenish (corrosion particles) | Over 3% | Pedal sinks to floor | Flush and inspect all components for damage; possible cylinder replacement |
Note: Moisture content can be measured with a brake fluid test strip or an electronic tester (available for £10–£20). If you see “black” fluid combined with metal flakes, the system may already have internal corrosion—consider replacing seals, calipers, or the master cylinder.
What Owners Say
CartCraft owners who perform regular brake fluid flushes report noticeably improved safety and lower long-term costs. A typical comment from online forums: “After flushing my CartCraft’s brakes with DOT 4, the pedal went from mushy to solid. Took about an hour with a helper. The old fluid looked like molasses—definitely worth doing every two years.” Another owner shared, “I neglected the flush for four years and then had to replace a seized caliper. The flush itself is under £50 of fluid and time; a caliper replacement cost me £120. I’ll never skip it again.” Several owners also combine the flush with a CartCraft Lithium Battery Conversion: Upgrade for More Range and Faster Charging as part of seasonal maintenance, noting that a well-braked cart is safer when towing or carrying heavy loads.
One common frustration: accessing the rear bleed screws on some CartCraft models requires removing plastic trim or underbody panels. Owners recommend applying penetrating oil (e.g., WD-40) to bleed screws the day before to avoid snapping them. On models built after 2022, the screws are located under a rubber cap—easy to reach but easy to overlook. Overall, the consensus is clear: a flush is an accessible DIY task with big safety dividends.
Frequently Asked Questions
Is brake fluid DOT 4 recommended for all CartCraft models?
Most CartCraft golf carts from 2010 onward use DOT 4 fluid, but older models (pre-2005) may specify DOT 3. Always check the cap on the master cylinder reservoir or consult your owner’s manual. DOT 4 is backward-compatible with DOT 3 in most cases, but not the reverse.
How often should I flush the brake fluid on my CartCraft?
The manufacturer recommends every two years or 10,000 miles, whichever comes first. If you drive in very humid climates (e.g., coastal areas), consider annual flushes, because moisture absorption is faster.
Can I use a one-person brake bleeder kit on a CartCraft?
Yes. A pressure bleeder or vacuum bleeder works well. For a CartCraft, a gravity bleed (simply opening the screw and letting fluid flow) is too slow and may not push out air trapped in the ABS unit (if equipped). A pressure bleeder is the most reliable one-person method.
What happens if I let the master cylinder run dry during the flush?
If the reservoir goes empty, air will enter the master cylinder, and you will have to do a full system bleed again, possibly requiring special procedures if your CartCraft has ABS. Always top off the reservoir after every 5–6 pump cycles.
Do I need to bleed all four wheels if the fluid is only discoloured in the rear?
Yes. Flush all four wheels in the correct order to ensure the entire system has clean fluid. Even if only one circuit looks bad, moisture and contamination can be present elsewhere.
Can I mix different brands of DOT 4 fluid?
Yes, brands can be mixed as long as both are DOT 4 specification. However, for best results, stick with one brand or use the same fluid that was originally in the system. Avoid mixing DOT 4 with DOT 5 (silicone-based), as they are incompatible.