
Why Choose CartCraft for Your Golf Cart Stereo Upgrade?
For many CartCraft owners, the stock audio system is one of the first components to feel underwhelming. Whether you are cruising the course or using your cart for neighbourhood trips, a quality sound system transforms the experience. This guide covers everything needed to add Bluetooth and speakers to your CartCraft golf cart, from choosing components to a step-by-step installation walkthrough. The results are well worth the effort, bringing clear, powerful sound to your rides.
What Components Do You Need for a CartCcraft Stereo Installation?
A successful CartCraft audio upgrade requires a carefully selected set of parts. Below is a table outlining the essential components and their typical price range in Great British Pounds (£). Always verify compatibility with your specific CartCraft model year before purchasing.
| Component | Function | Typical Price (£) |
|---|---|---|
| Marine-Grade Bluetooth Head Unit | Provides radio, Bluetooth streaming, and speaker output. Must be waterproof. | £45 – £120 |
| 6.5-Inch Marine Speakers (Pair) | Main sound output. Choose polypropylene cones for durability. | £30 – £90 |
| Amplifier (Optional) | Boosts power for louder, cleaner sound. Gets heavy use in open carts. | £40 – £150 |
| Wiring Kit (12 AWG or 14 AWG) | Includes power, ground, speaker wire, fuses, and connectors. | £15 – £35 |
| Antenna (If not included in head unit) | For FM/AM radio reception. Marine-rated is best. | £8 – £25 |
| CartCraft Dash Trim Kit (If needed) | Fills gaps around the head unit for a factory look. | £10 – £25 |
Most CartCraft models from 2015 onward use a single-DIN dash opening. However, it is wise to remove the existing cover plate and measure the space before ordering. For those planning a more comprehensive upgrade, exploring the CartCraft Golf Cart Steering System Upgrade can ensure your cart handles as well as it sounds.
How Do You Remove the CartCraft Dash and Prepare the Wiring?
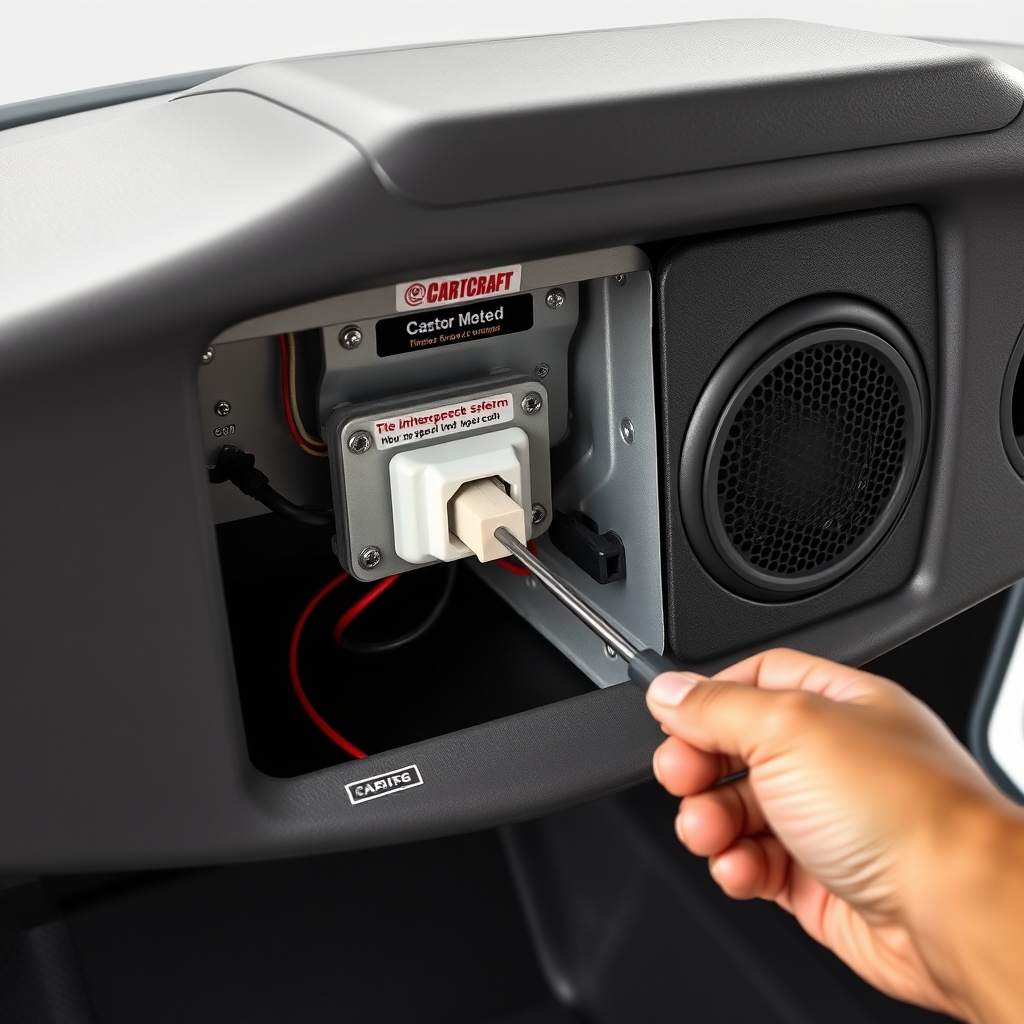
Start by disconnecting the negative battery terminal to eliminate any risk of short circuits. On most CartCraft models, the dash panel is held by four to six screws along the top edge and two near the steering column. Lift the panel gently from the top, then tilt it forward to access the rear connectors. Unplug the 12-volt accessory socket and any indicator lights, then set the panel aside.
Inside the dash cavity, locate the existing speaker wires—usually colour-coded grey (left) and white (right) with a positive and negative line for each channel. If your CartCraft previously had a basic radio, simply tap these wires. For a new installation, run new 14 AWG speaker wire from the head unit area to the speaker locations in the dash or overhead console. Ensure the power wire from the head unit is routed to a switched 12V source, such as the ignition terminal on the key switch.
How Do You Mount the Speakers in a CartCraft?
Most CartCraft models have pre-cut 6.5-inch speaker openings in the front lower dash or overhead console. If yours does not, you will need to cut holes carefully using a speaker template. Once the opening is ready, connect the speaker wires from the head unit to the speaker terminals with crimp connectors. Ensure polarity is matched (positive to positive, negative to negative) for proper stereo imaging. Insert each speaker into the mounting hole, using the provided gasket on the back side for a waterproof seal. Secure with the supplied screws, tightening evenly in a cross pattern to avoid warping the frame. Repeat for the second speaker.
For a deeper understanding of your CartCraft’s electrical system, see our guide on CartCraft Golf Cart Battery Water Level Maintenance, which covers the importance of keeping your power source in top condition.
How Do You Install the Bluetooth Head Unit?
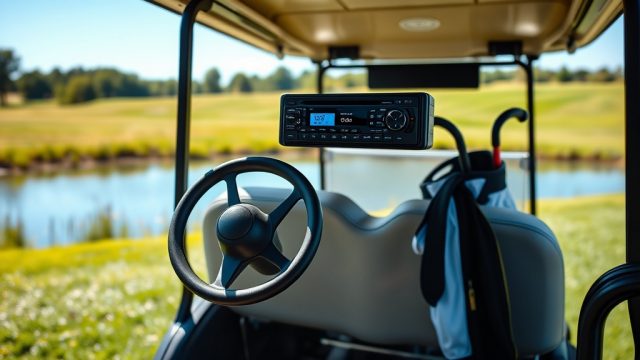
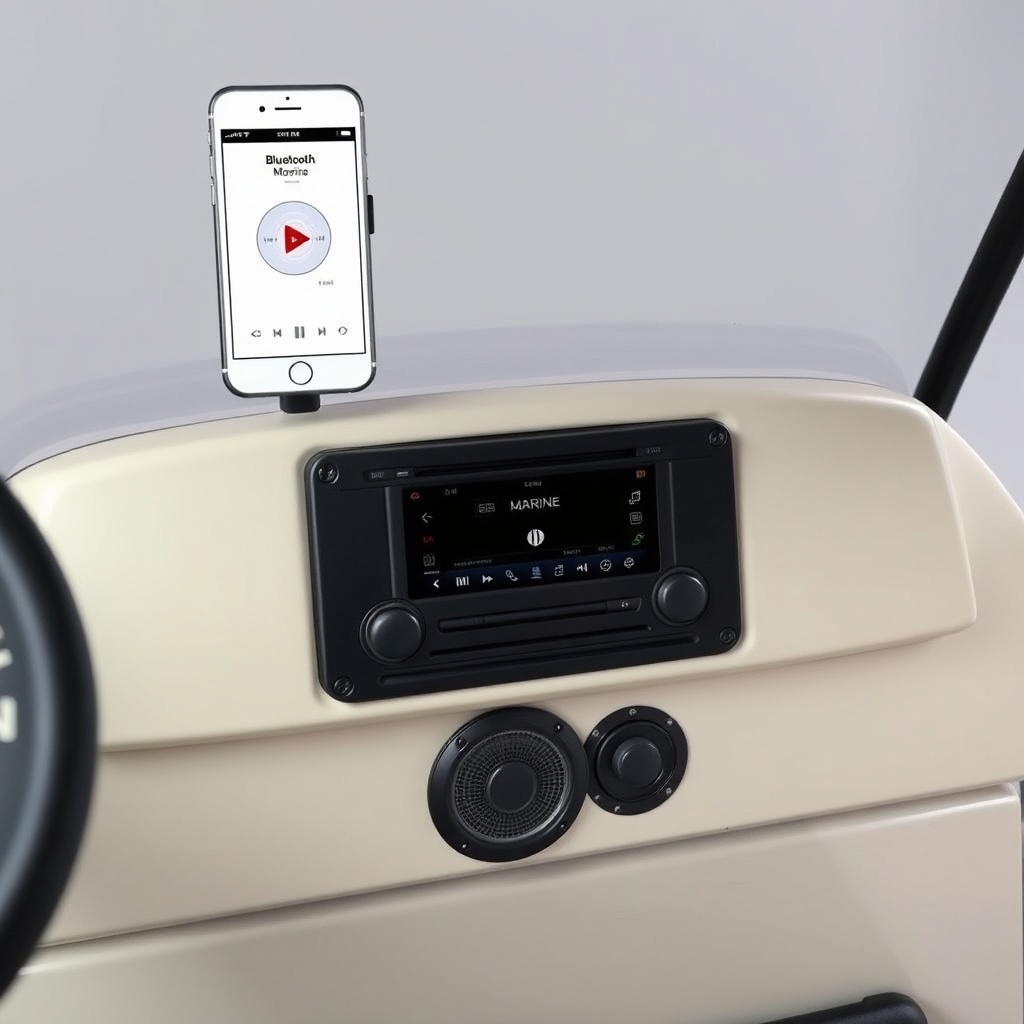
Slide the new marine-grade Bluetooth head unit into the mounting sleeve that came with it. First, insert the sleeve into the dash opening and bend the tabs outward to lock it in place. Connect the main wiring harness (power, ground, speaker outputs, and illumination wire) to the rear of the head unit. Attach the antenna cable. Then, slide the head unit into the sleeve until it clicks. Many units include a trim ring that snaps over the front. Connect the auxiliary cables, if any. Reconnect the negative battery terminal and test the unit by turning the cart key to accessory mode. Pair your phone to the head unit (usually by pressing the “BT” or “Menu” button) and stream music to confirm both channels work.
If the sound is distorted or absent, check connections and ensure the amplifier ground is secure. For those considering additional weight or accessories, reviewing the How to Install a Lift Kit on a CartCraft Golf Cart could help with suspension load planning.
What About Adding an Amplifier for More Power?
If you want louder, cleaner audio—especially at higher speeds or on rough terrain—an amplifier is valuable. Mount it under the seat or in the rear battery compartment, avoiding water splash zones. Use 12 AWG power wire directly from the battery (with an inline fuse near the battery) and connect the ground wire to a solid chassis point. Run RCA cables from the head unit to the amplifier. Ensure the remote turn-on wire connects from the head unit to the amplifier. Set gain levels carefully to avoid distortion or overheating. A well-tuned amplifier system can double your perceived volume without damage. For owners with lithium batteries, following the CartCraft Golf Cart Lithium Battery Safety Tips is crucial when drawing high current from the audio system.
What Do Owners Say About the CartCraft Stereo Upgrade?
CartCraft owners consistently report high satisfaction after adding Bluetooth and speakers. Jason from Devon noted: “I fitted a waterproof head unit and two 6.5-inch marine speakers. Music quality at 20 mph is surprisingly crisp. The hardest part was threading the wires, but the dashboard removal was easier than I expected.” Sarah from Edinburgh added: “Adding the amplifier took an afternoon, but the difference in bass response is huge. Now my CartCraft sounds better than some friends’ car stereos.” Many owners highlight that the process is manageable for a confident DIYer, with the biggest lesson being to double-check polarity and ground connections.
Several owners also mention that the installation process encouraged them to check other systems. One forum post read: “After doing the stereo, I noticed my steering had some play. I then followed the CartCraft Golf Cart Suspension Noise Diagnosis and Fix to tighten everything up.”
Frequently Asked Questions About CartCraft Stereo Installation
1. Can I install a stereo system in any CartCraft model?
Yes, nearly all CartCraft models from 2010 onward have a standard single-DIN dash slot. Models older than that may require a custom-faceplate, but the electrical wiring is similar.
2. Do I need to buy a marine-rated head unit?
Strongly recommended. Golf carts see rain, dust, and vibration. A marine unit (IPX6 or higher) will withstand these conditions reliably.
3. How many speakers can I install in my CartCraft?
Most owners fit two in the dash and optionally two in the overhead console. A 4-channel head unit supports four speakers. An amplifier can power a subwoofer as well.
4. Will a stereo drain my CartCraft’s battery?
When the cart is off, ensure the head unit is wired to a switched 12-volt source to avoid parasitic drain. With a stock 12V battery, a moderate stereo draw of 5–10 amps is fine for several hours.
5. Do I need special tools for the installation?
Basic tools: screwdriver set, wire strippers/crimpers, a panel removal tool, and a drill with a hole saw if you need to cut speaker openings. Most kits come with connectors.
6. Can I use the factory speakers?
They are often low-quality and prone to weather damage. Replacing them with marine speakers is highly recommended for sound quality and long-life performance.
If you plan to upgrade your CartCraft for better hill-climbing power, you may also find the CartCraft Golf Cart Clutch Upgrade for Better Acceleration and Hill Climbing useful as a complementary modification.