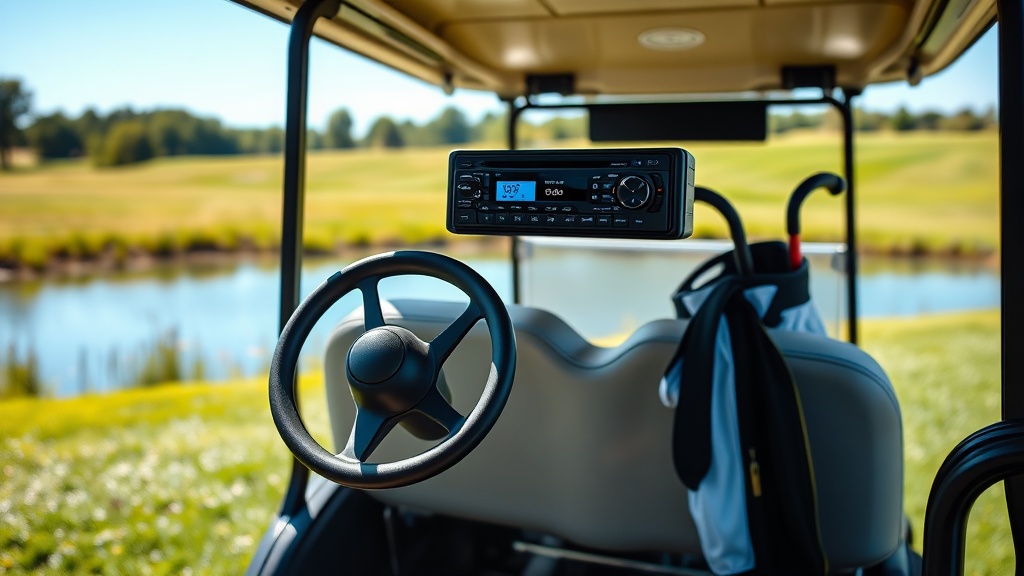
Upgrading your CartCraft golf cart with a marine-grade stereo transforms every ride into a personalised soundtrack experience, whether you are cruising the fairways, tackling a neighbourhood errand, or heading to the beach. Unlike standard car stereos, marine-grade units are built to withstand moisture, dust, and vibration—three elements a golf cart encounters daily. This guide walks you through the entire installation process, from selecting the right components to wiring and final tuning, so you can enjoy crystal-clear audio without worrying about weather damage.
Why Choose a Marine-Grade Stereo Over a Standard Car Stereo for Your CartCraft?
Golf carts operate in environments that would quickly ruin a conventional car stereo. Moisture from morning dew, rain, or a beachside trip can seep into electronics, causing corrosion and short circuits. Vibration from bumpy cart paths can dislodge connections or damage internal components. A marine-grade stereo is specifically engineered with conformal-coated circuit boards, UV-resistant faceplates, and sealed connections to resist these hazards. For a CartCraft owner, this means reliable performance even after a sudden downpour or a dusty trail ride. Additionally, marine units often feature high-visibility displays and robust knobs that are easy to operate with gloves on—a practical advantage when you are focused on driving.
What Tools and Parts Do You Need for the Installation?
Before you start, gather all necessary tools and components. A successful installation requires careful preparation, especially when working with the CartCraft’s 12-volt electrical system. Below is a comprehensive list of what you will need:
Essential Tools
- Socket set (10mm, 13mm, and 8mm sockets)
- Phillips-head and flathead screwdrivers
- Wire strippers and crimpers
- Multimeter for testing connections
- Heat shrink tubing and a heat gun (or lighter)
- Zip ties for cable management
- Panel removal tool (optional but helpful)
Required Parts
- Marine-grade stereo unit (single-DIN recommended for CartCraft dash)
- Marine-grade wiring harness adapter (for your CartCraft model)
- Marine-rated speakers (6.5-inch or 5.25-inch, depending on your cart’s speaker cutouts)
- Antenna adapter (if your CartCraft uses a universal antenna)
- Fuse holder and 10-amp inline fuse
- Butt connectors and ring terminals
- Wire (14-16 AWG for power and ground, 18 AWG for speakers)
Most CartCraft models have a pre-cut dash opening for a single-DIN stereo, but double-check your specific year and model. If you are unsure, consult the How to Install an LED Light Kit on a CartCraft Golf Cart guide for dash removal tips that apply here as well.
How to Prepare the CartCraft Dashboard and Electrical System?
Safety first: disconnect the negative battery terminal to prevent any accidental shorts. On a CartCraft golf cart, the battery bank is usually under the seat. Use a 10mm socket to loosen the negative terminal nut and remove the cable. Next, locate the stereo opening in the dashboard. Most CartCraft models have a plastic trim piece that snaps off. Use a panel removal tool or a flathead screwdriver wrapped in tape to gently pry it away. You will see the factory wiring harness—note its colour coding (typically red for accessory, yellow for constant power, black for ground, and speaker wires in pairs). If your CartCraft has existing speakers, you may reuse their wiring, but for a marine-grade install, it is wise to run new 18 AWG speaker wire for better durability. Run the wire from the dash to the speaker locations (usually in the front kick panels or rear roof supports). Use zip ties to secure the wire along the cart’s frame, avoiding moving parts and sharp edges.
How to Wire the Marine-Grade Stereo Step by Step?
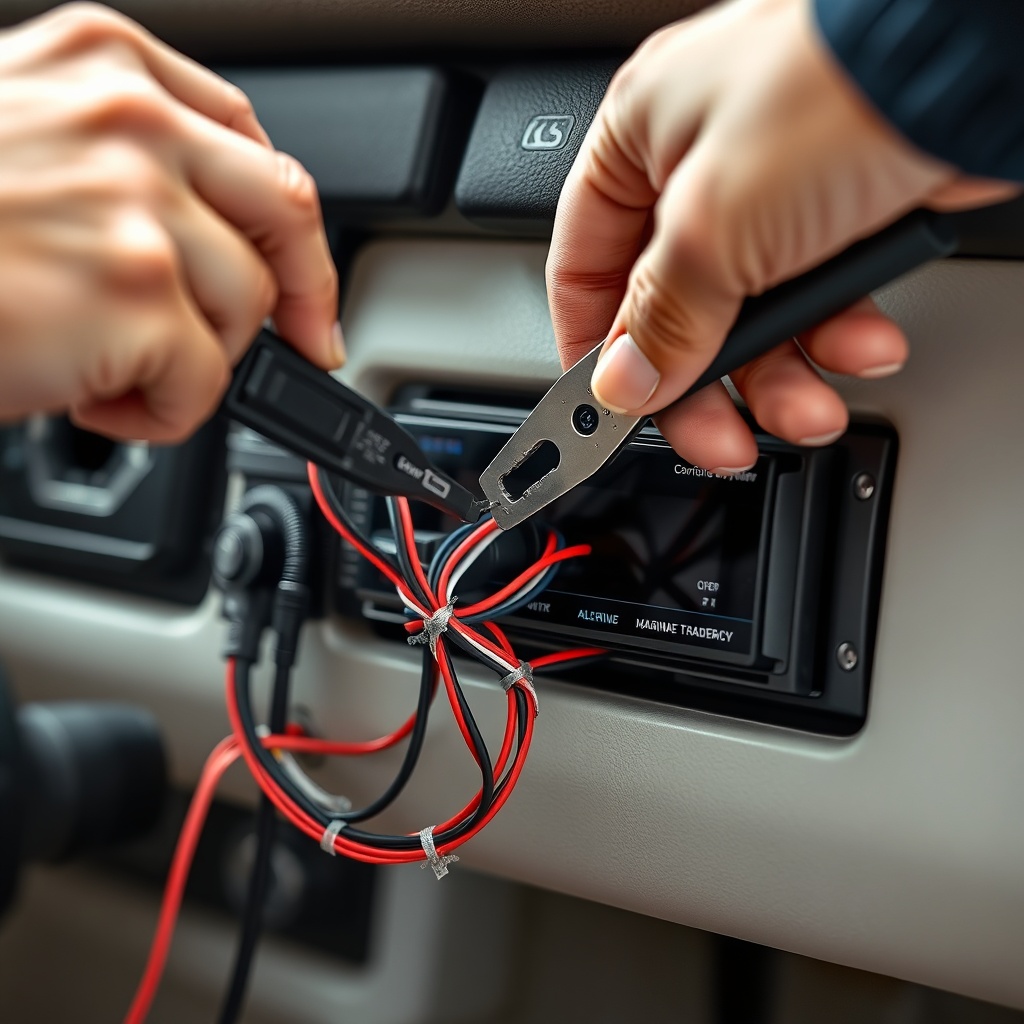
Now comes the core of the installation. Follow these steps carefully to ensure a clean, safe connection. Use a multimeter to verify you have 12V at the red (accessory) wire when the key is in the ON position, and constant 12V at the yellow (memory) wire. If your CartCraft lacks an accessory wire, you can tap into the ignition switch or use a switchable fuse tap from the fuse box. For the ground, attach the black wire to a clean, unpainted metal point on the cart’s frame—scrape away any paint if needed and secure with a ring terminal.
Wiring Sequence
- Connect the stereo’s red wire to the CartCraft’s accessory wire (switched 12V).
- Connect the stereo’s yellow wire to the CartCraft’s constant 12V wire (battery positive).
- Connect the black wire to chassis ground.
- Match speaker wires: positive to positive (+), negative to negative (-).
- Connect the antenna adapter to the stereo’s antenna input, then to the CartCraft antenna lead.
- Install a 10-amp inline fuse on the constant power wire within 12 inches of the battery.
For a quick reference, here is a severity and specification table for common wiring issues:
| Issue | Severity (1-5) | Cause | Fix |
|---|---|---|---|
| No power to stereo | 5 | Disconnected battery or blown fuse | Check battery terminal and replace inline fuse |
| Stereo turns on but no sound | 4 | Speaker wire reversed or loose connection | Verify polarity and tighten all connections |
| Distorted audio at high volume | 3 | Speaker impedance mismatch | Ensure speakers are 4-ohm (marine-grade matched) |
| Stereo loses settings after shutdown | 3 | Yellow wire not receiving constant power | Check for 12V on yellow wire with multimeter; reconnect |
| Water damage to unit | 5 | Non-marine unit or poor sealing | Use marine-grade stereo and seal dash cutout with silicone |
How to Mount the Stereo and Connect the Marine-Grade Speakers?
Slide the marine-grade stereo into the dash opening. Most units come with a metal sleeve that you install first. Secure the sleeve by bending the tabs outward with a flathead screwdriver. Then, push the stereo into the sleeve until it clicks. Attach the included trim ring to cover any gaps. For the speakers, remove the existing grilles or cut new holes if needed. Marine-grade speakers have rubber surrounds and treated cones—mount them with the included stainless steel screws. Seal the perimeter with marine-grade silicone caulk to prevent moisture ingress. Connect the speaker wires using crimp connectors and shrink tubing. Test the system before reassembling the dashboard: reconnect the battery, turn the key to ON, and press the stereo’s power button. Adjust the balance and fader to ensure each speaker works correctly. If you encounter any electrical gremlins, refer to the CartCraft Golf Cart No Start: Troubleshooting the Most Common Causes guide, as similar battery or ignition issues can affect stereo operation.
What Owners Say About Marine-Grade Stereo Upgrades on Their CartCraft
CartCraft owners who have completed this upgrade consistently praise the transformative effect on their driving experience. John, a keen golfer from Kent, notes: “I use my CartCraft every day for the school run and weekend trips to the coast. After installing a marine-grade stereo, I no longer worry about rain damage. The sound quality is brilliant even with the roof down.” Sarah, who uses her cart for estate patrol, says: “Installation was straightforward with the right tools. The hardest part was crimping the speaker wires, but the marine-grade connectors made it solid. Now I listen to audiobooks while driving—life-changing.” Another owner, Mark, emphasises the importance of the fuse: “I almost skipped the inline fuse, but the guide I followed insisted. Good thing—I had a minor short later that blew the fuse instead of frying the stereo. Worth every penny.” For those considering additional upgrades, many owners pair the stereo with the CartCraft Golf Cart Brake Upgrade Kit Installation: Performance Brake Pads and Rotors to ensure stopping power matches the new audio enthusiasm.
Frequently Asked Questions
Q: Can I install a marine-grade stereo myself, or should I hire a professional?
A: Most CartCraft owners with basic wiring skills can complete this installation in 1–2 hours. If you are uncomfortable with electrical work, consulting a professional is always safe.
Q: Will upgrading the stereo void my CartCraft warranty?
A: No, as long as you do not cut or damage factory wiring permanently. Use adapter harnesses to keep the factory system intact.
Q: What size stereo fits a CartCraft golf cart?
A: Single-DIN (2 inches tall by 7 inches wide) is the standard for most CartCraft models. Double-DIN may require a dash modification kit.
Q: Do I need an amplifier with marine-grade speakers?
A: Not necessarily—most marine-grade stereos output 4×20-30 watts RMS, sufficient for two to four speakers. An amplifier adds volume but is optional for casual use.
Q: How do I protect the stereo from vibration damage?
A: Use rubber grommets or vibration-dampening foam around the mounting sleeve. Marine stereos already have shock-resistant internal components.
Q: Can I pair a Bluetooth microphone for phone calls?
A: Yes, many marine-grade stereos include an external microphone that can be mounted near the steering wheel. Ensure the mic is weatherproof.
For further electrical troubleshooting, see the CartCraft Voltage Regulator Troubleshooting: Signs of Failure and Fixes, as a failing regulator can cause intermittent stereo power loss. Also, check CartCraft Golf Cart Tire Pressure Tips: Optimal PSI for Performance and Safety to ensure a smooth ride for your new audio system. Finally, consider adding a How to Install a GPS Speedometer on a CartCraft Golf Cart to track your speed while enjoying your music.