How to Install a GPS Speedometer on a CartCraft Golf Cart: A Step-by-Step Guide
Adding a GPS speedometer to your CartCraft golf cart is one of the most practical and satisfying upgrades you can make. Unlike traditional cable-driven speedometers that rely on wheel sensors and can be inaccurate on lifted carts or after tyre changes, a GPS unit provides precise, satellite-based speed readings. Whether you use your CartCraft for cruising the neighbourhood, managing a large estate, or navigating a golf course, a GPS speedometer eliminates guesswork and gives you real-time data, often including distance travelled, trip time, and even battery voltage on advanced models.
In this guide, we will walk you through the entire installation process, from selecting the right GPS speedometer for your CartCraft model to mounting, wiring, and calibration. We will cover common pitfalls, compatibility notes, and tips to get the most out of your new accessory. If you are also planning other electrical upgrades, you might want to first read our guide on How to Install an LED Light Kit on a CartCraft Golf Cart to ensure your electrical system can handle the extra load.
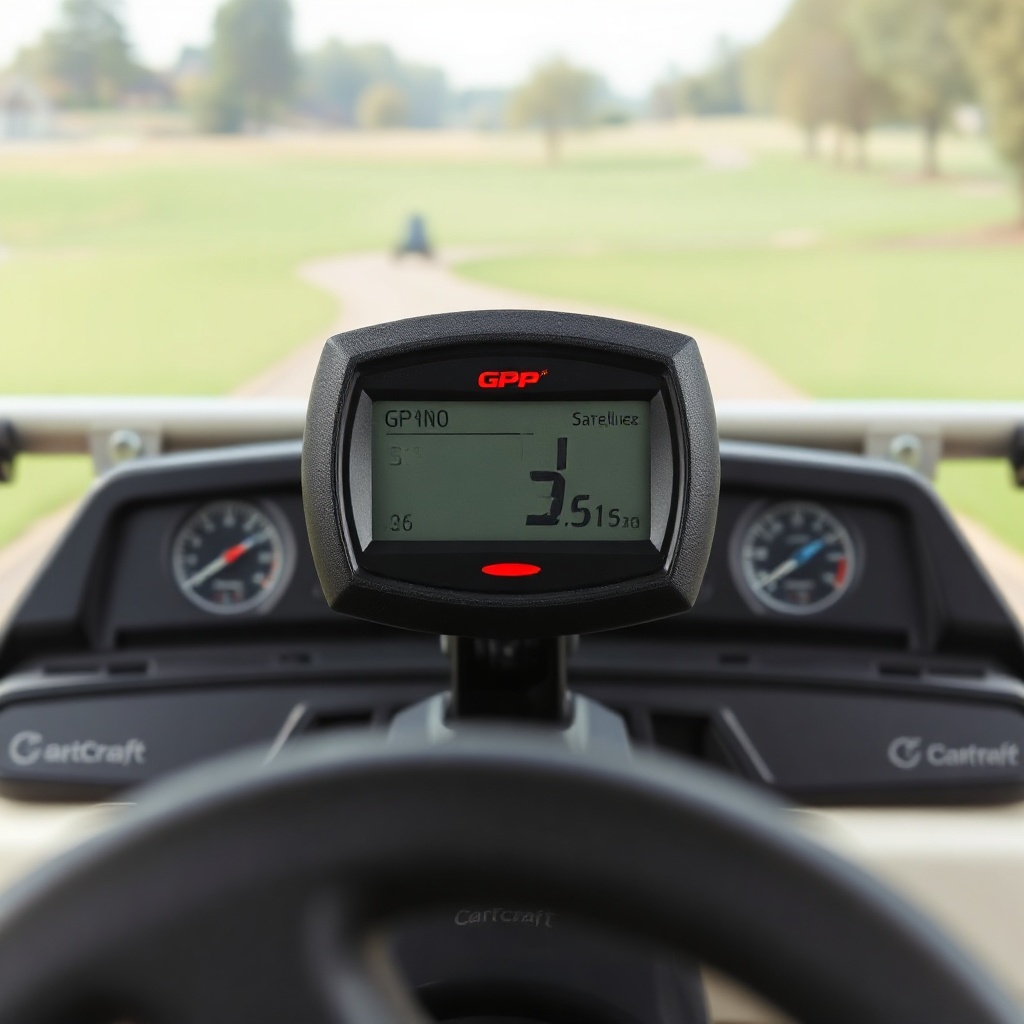
Why Choose a GPS Speedometer Over a Traditional Speedometer for a CartCraft Golf Cart?
The primary reason CartCraft owners opt for a GPS speedometer is accuracy. Traditional speedometers measure rotational speed at the wheels or transmission, which can be thrown off by non-standard tyre sizes, lift kits, or worn components. A GPS unit reads your actual ground speed from satellites, so it remains accurate regardless of modifications. This is especially important if you have installed a lift kit or larger tyres, as your speedometer could read significantly slower than your actual speed, leading to unexpected speeding tickets or safety hazards.
Another advantage is ease of installation. Most GPS speedometers require no mechanical connection to the drivetrain. You simply mount the display, connect power (usually 12V or 48V depending on your CartCraft model), and ensure the GPS antenna has a clear view of the sky. There is no need to run cables to the wheels or transmission, saving hours of labour. Many units also include additional features like odometer, trip meter, clock, and voltage display, making them a multifunctional upgrade for your CartCraft dashboard.
If you are unsure about your CartCraft’s electrical system capacity, especially after adding multiple accessories, check our CartCraft Voltage Regulator Troubleshooting: Signs of Failure and Fixes to prevent voltage spikes from damaging your new speedometer.
What Tools and Components Do You Need for a GPS Speedometer Installation?
Before starting, gather all necessary tools and components. Most GPS speedometer kits come with the display unit, a GPS antenna (often magnetic or adhesive), wiring harness, mounting bracket, and instructions. However, you may need additional items depending on your specific CartCraft model and mounting location.
Essential Tools and Materials
- GPS speedometer kit (compatible with 12V, 48V, or 72V systems – check your CartCraft battery pack voltage)
- Multimeter for verifying voltage and continuity
- Wire strippers/crimpers and a selection of butt connectors or heat-shrink terminals
- Drill with assorted bits (if mounting to a plastic dashboard or metal frame)
- Zip ties for cable management
- Electrical tape or heat shrink tubing
- Safety glasses and gloves
- Optional: Inline fuse holder with appropriate fuse rating (usually 1–5 amps for the speedometer)
Component Checklist
| Component | Purpose | Typical Location on CartCraft |
|---|---|---|
| GPS speedometer display | Shows speed, odometer, trip, and other data | Dashboard, steering column, or overhead console |
| GPS antenna (external) | Receives satellite signals | Top of dashboard, roof, or front cowl (clear sky view) |
| Power wire (red) | Connects to 12V/48V+ source | Fuse box, key switch, or direct to battery pack |
| Ground wire (black) | Completes circuit | Chassis ground or battery negative terminal |
| Mounting bracket | Secures display to CartCraft | Dashboard surface or panel cutout |
| Wiring harness | Connects display to power and antenna | Routed behind dashboard |
If you are also considering upgrading your braking system for better control at higher speeds, see our CartCraft Golf Cart Brake Upgrade Kit Installation: Performance Brake Pads and Rotors to ensure safety matches your new speed awareness.
How to Mount the GPS Speedometer Display on Your CartCraft Dashboard
Mounting the display is the first physical step. Most GPS speedometers come with a surface-mount bracket or a flush-mount housing. For CartCraft models with a flat dashboard area, surface mounting is easiest. Drill a small pilot hole for the wiring if needed, then secure the bracket with screws provided. If you prefer a cleaner look and have a suitable panel, flush mounting involves cutting a rectangular hole and inserting the display from the front, securing it with clips or screws from behind.
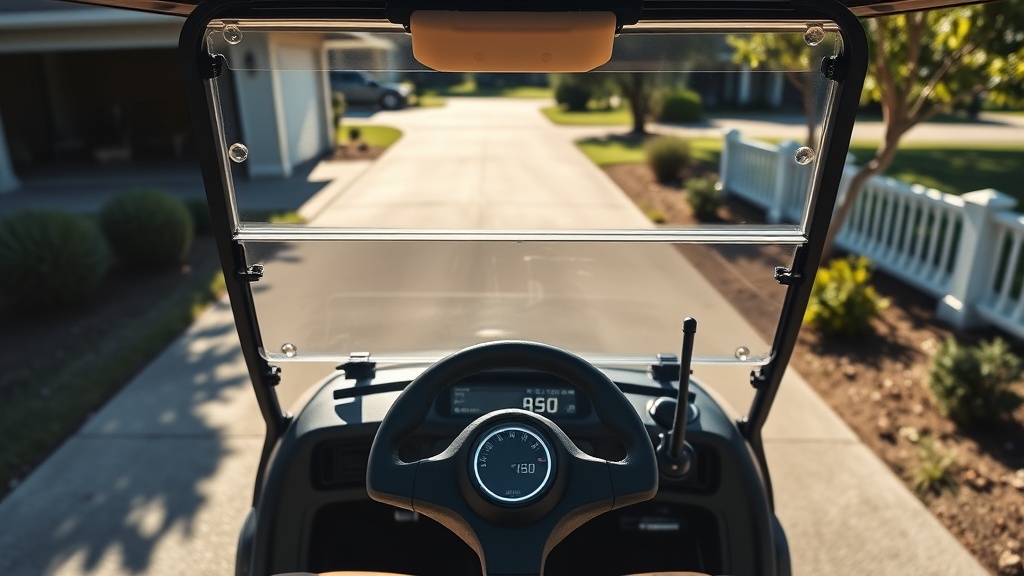
Position the display where it is easy to read without obstructing your view of the road. Common locations on CartCraft carts include the centre of the dashboard, to the left of the steering column, or integrated into the overhead console if your model has one. Ensure there is enough clearance behind the chosen area for the wiring harness and GPS antenna cable. Use a template if one is included in the kit to mark your cut lines accurately.
After mounting, route the wires neatly behind the dashboard. Use zip ties to secure them away from moving parts like the steering column or pedal assembly. Avoid running wires near sharp metal edges that could chafe the insulation over time. If your CartCraft has a removable dash panel, consider removing it for easier access.
How to Wire the GPS Speedometer to Your CartCraft Electrical System
Wiring is the most critical part of the installation. Incorrect voltage connection can fry the unit instantly. Most GPS speedometers designed for golf carts operate on a wide voltage range, typically 12V to 72V, but always verify the specifications. Your CartCraft may have a 48V battery pack, but the speedometer might require a 12V step-down converter if it is not a wide-input model. If you are not comfortable working with electrical systems, consult a professional, or at least read our CartCraft Golf Cart No Start: Troubleshooting the Most Common Causes for safety tips on disconnecting batteries.
Wiring Steps
- Disconnect the battery pack by turning the key off and disconnecting the main positive cable from the battery pack. This prevents accidental shorts.
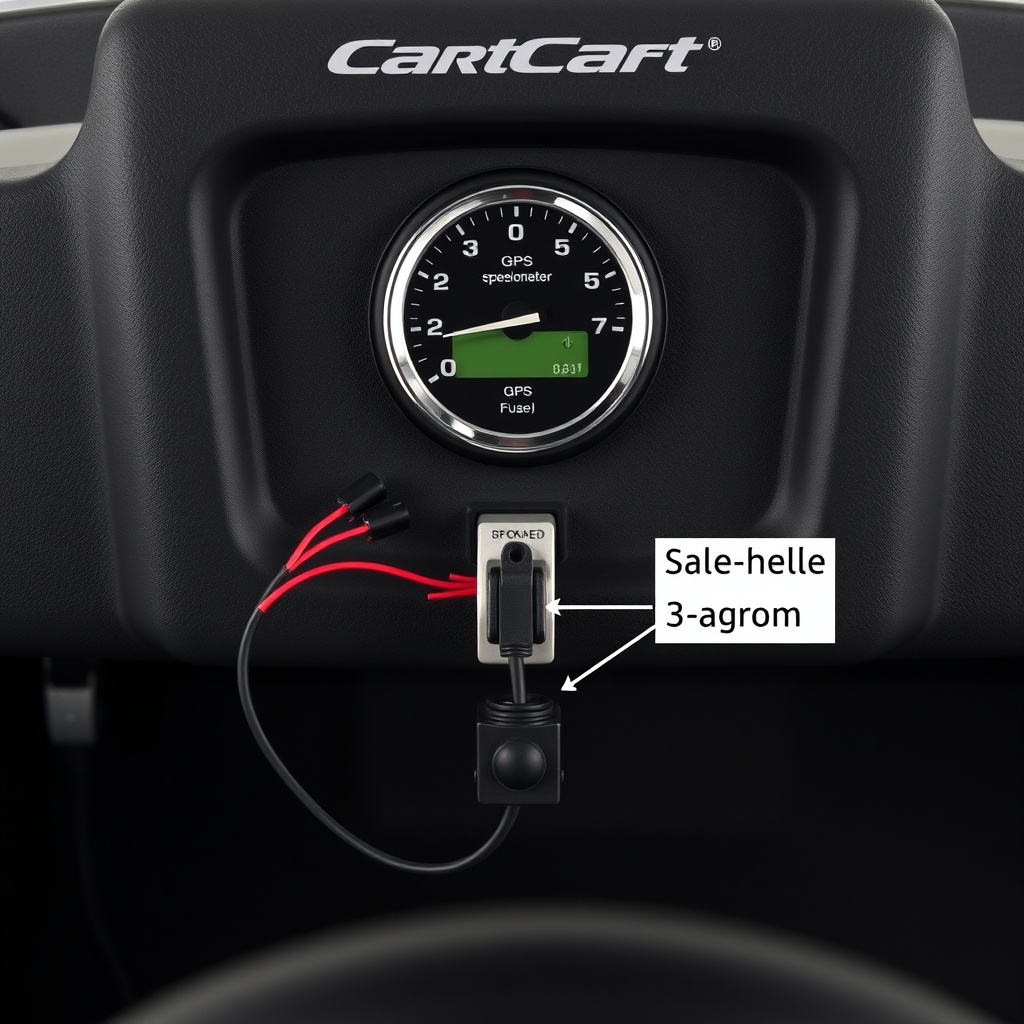
- Identify a switched 12V power source (if your speedometer is 12V only). The key switch output is ideal because it turns the speedometer on and off with the cart. Use a multimeter to confirm voltage with the key on and off.
- Connect the red power wire from the speedometer harness to the switched 12V source. Use an inline fuse (1-5A) as close to the power source as possible.
- Connect the black ground wire to a clean chassis ground point or directly to the battery negative terminal, keeping the path short.
- Route the GPS antenna cable to the antenna location. Do not cut or splice this cable as it is coaxial and sensitive to signal loss.
- Connect the antenna to the back of the display unit. Usually a simple screw-on SMA connector.
- Double-check all connections with a multimeter for continuity and correct polarity before reconnecting the battery.
After wiring, temporarily reconnect the battery and turn the key on. The GPS speedometer should light up. It may take a minute or two to acquire a satellite lock for the first time, especially if indoors or under cover. Once locked, the display will show your current speed, and the odometer will start tracking distance.
How to Calibrate and Test the GPS Speedometer on Your CartCraft
One of the main benefits of a GPS speedometer is that calibration is usually automatic. The unit calculates speed based on the Doppler shift of satellite signals. However, some models allow you to manually enter a wheel size or pulse-per-kilometre value if you want to cross-reference with a mechanical odometer. Factory default settings typically work well for most CartCraft carts.
To test accuracy, drive your CartCraft at a steady speed measured by a second GPS source (like your phone or a handheld GPS). Compare the reading. A well-functioning GPS speedometer should be accurate within 1-2 km/h (0.6-1.2 mph) at typical golf cart speeds (15-40 km/h / 9-25 mph). If you notice a lag or erratic readings, check that the antenna has a clear view of the sky and is not obstructed by a metal roof or thick fibreglass. Some CartCraft models with full enclosures may require the antenna to be mounted externally for best performance.
If the unit includes a trip meter, reset it and verify distance over a known course, such as a measured 1 km or 1 mile stretch. This is valuable for estate managers or golfers who want precise distance tracking. Remember that GPS accuracy can be affected by tall buildings, dense tree cover, or tunnels, but for open-course or neighbourhood driving, it is exceptionally reliable.
What Owners Say About GPS Speedometer Upgrades on Their CartCraft
CartCraft owners who have installed GPS speedometers consistently report improved confidence and convenience. Many mention that the accuracy eliminates the worry of unknowingly exceeding speed limits in areas where golf carts share roads with cars. On private property, owners use the trip meter to measure distances for maintenance routes, property boundaries, or even for fitness tracking during walks. The voltage display on some models is also highly appreciated, giving a real-time gauge of battery health without needing a separate meter.
Common praise includes the simple installation process compared to mechanical speedometers, and the clean, modern look of the digital display. A few users recommend pairing the upgrade with proper CartCraft Golf Cart Tire Pressure Tips: Optimal PSI for Performance and Safety because consistent tyre pressure improves ride comfort and safety at the higher speeds you can now monitor accurately. If you live in a winter climate, remember that GPS speedometers are unaffected by cold weather, but your battery performance may drop; see CartCraft Golf Cart Winter Storage: Battery Care and Maintenance Tips for seasonal preparation.
Frequently Asked Questions
1. Can I install a GPS speedometer on any CartCraft model?
Yes, most CartCraft models are compatible as long as you have a 12V or wide-voltage power source (check your cart’s battery voltage). Lifted carts or those with non-standard tyres benefit the most from GPS speedometers. Ensure the mounting area on your dashboard is large enough for the display.
2. Will the GPS speedometer work if my CartCraft has a metal roof?
It can, but the metal roof may interfere with GPS signal reception if the antenna is mounted underneath it. For best results, mount the GPS antenna externally on the roof or at the front cowl with a clear view of the sky. Some units include a remote antenna that can be placed outside the roof line.
3. How accurate is a GPS speedometer on a golf cart?
Typically within 1-2 km/h (0.6-1.2 mph) at speeds under 40 km/h (25 mph). Accuracy improves with a clear sky view. It is far more reliable than cable-driven speedometers, especially after tyre or lift modifications. However, heavy tree cover or urban canyons can cause momentary signal loss.
4. Do I need to calibrate the GPS speedometer after installation?
In most cases, no. The unit auto-calibrates using GPS satellite signals. Some advanced models allow manual calibration to match a known distance. Always perform a test drive to confirm readings match a secondary GPS source. If readings are erratic, reposition the antenna.
5. Can I wire the GPS speedometer directly to my 48V battery pack?
Only if the speedometer is specifically designed for wide voltage input (e.g., 12V-72V). Most consumer units are 12V only and will be damaged by 48V. Always check the manufacturer’s specifications. Use a 48V to 12V step-down converter if your model requires 12V and your CartCraft runs on a higher voltage.
6. What should I do if the GPS speedometer loses signal while driving?
First, check that the antenna is not obstructed by metal or thick covers. Ensure the antenna cable is not damaged or pinched. If the problem persists, try relocating the antenna to a spot with a better sky view. After parking, the unit may lose signal under cover but should reacquire quickly when you drive out.