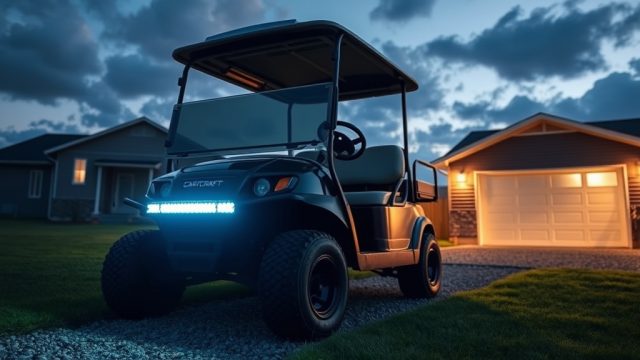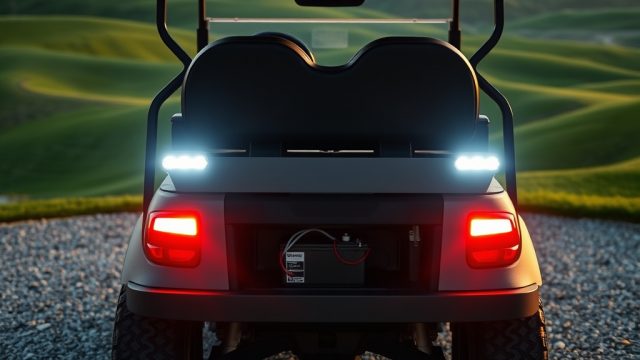

The Appeal of Custom Lighting on Your CartCraft Golf Cart
Upgrading your CartCraft golf cart with an LED light kit is one of the most rewarding customization projects you can undertake. It not only enhances nighttime visibility and safety but also adds a distinct personality to your ride. Whether you are cruising the fairways after sunset or using your cart for neighborhood errands, a well-installed LED kit makes a dramatic difference in both form and function.
In this guide, we will walk you through the entire process, from choosing the right kit to final testing. You will learn about the tools required, the electrical considerations specific to CartCraft models, and how to avoid common pitfalls. The complete installation typically takes two to three hours and costs between £85 and £200 for a quality LED kit, depending on features and brightness.
Which LED Light Kit Is Compatible with My CartCraft Model?
CartCraft offers several chassis generations, and not all light kits fit every model without modification. The most reliable approach is to check your cart’s specific year and body style before ordering. For the majority of CartCraft electric carts made after 2019, universal 12V LED kits with a relay harness work seamlessly. For older models, you might need a voltage reducer or a dedicated 48V to 12V converter.
We strongly recommend a kit that includes a waterproof harness, mounting brackets, and a switch panel. The market leaders for CartCraft are brands like CartCraft OEM Light Kit (around £120) and third-party options such as the “BrightLux 4-Inch Round LED” (about £89). Always verify the lumen output—1000 to 1500 lumens per headlight is ideal for fairway use.

What Tools and Materials Do I Need for the Installation?
Before you begin, assemble the following items:
- Socket set (10mm and 13mm sockets)
- Wire strippers and crimpers
- Heat shrink tubing and a heat gun
- Multimeter for continuity checks
- Zip ties and adhesive cable clips
- Torx screwdriver set (T20 and T25 bits)
- Drill with a step bit (if mounting brackets require new holes)
- Protective gloves and safety glasses
You will also need the specific LED light kit designed for your CartCraft year. For 48-volt systems, a voltage reducer rated at 10 amps is essential. Expect to spend roughly £15 to £30 on additional wiring supplies if your kit is not plug-and-play.
Step by Step: How to Install an LED Light Kit on a CartCraft Golf Cart
Step 1: Disconnect the Battery
Safety first. Flip the run/tow switch to tow mode, then remove the negative battery terminal using a 10mm wrench. Wait at least five minutes for capacitors to discharge.
Step 2: Mount the Light Housing
For front lights, remove the existing plastic trim or headlight bezel. On most CartCraft models, four screws hold the assembly in place. Slide the new LED housing in and secure it. Rear lights typically mount to the upper rear frame; use the supplied brackets or install them via pre-drilled holes.
Step 3: Run the Wiring Harness
Route the main harness along the cart’s frame, behind the dashboard, and toward the battery compartment. Use zip ties every 20 cm to keep the wires tidy. Avoid running wires near moving parts or sharp metal edges. For a clean look, tuck the harness inside the existing wire loom if accessible.
Step 4: Connect the Voltage Reducer (if needed)
If your CartCraft runs on 48V, connect the reducer to the main positive and negative battery terminals. Wire the reducer’s output (12V) to the light kit’s positive (red) and negative (black) wires. Secure the reducer with bolts and ensure it has airflow.
Step 5: Install the Switch and Test
Choose a dashboard spot for the switch. Drill a 19mm hole if your kit includes a toggle switch; push it in place. Connect the switch wiring to the harness. Reconnect the battery, flip the switch, and admire your work. If lights do not come on, check all connections with a multimeter.
Comparing LED Light Kits: Plug-and-Play vs. Universal Kits
To help you decide, here is a comparison of the two main kit types for your CartCraft:
| Feature | Plug-and-Play Kit (e.g., CartCraft OEM) | Universal Kit (e.g., BrightLux 4″) |
|---|---|---|
| Price range (UK) | £110 – £150 | £80 – £130 |
| Installation time | 1–2 hours | 2–3 hours |
| Voltage compatibility | 12V direct (no reducer needed) | Often 12V; requires reducer on 48V carts |
| Wiring harness | Pre-terminated, colour-coded | Generic, may need custom crimping |
| Brightness (lumens) | 1200 per headlight (standard) | Up to 1500 per headlight (high output) |
| Weatherproof rating | IP65 (splash-proof) | IP67 (dust-tight, immersion up to 1m) |
| Best for | Owners wanting a fast, no-hassle upgrade | Users seeking maximum brightness or custom placement |
As the table shows, the choice depends on your technical comfort and budget. While a plug-and-play kit reduces wiring work, universal kits often provide higher light output and durability.
Common Mistakes During LED Installation on CartCraft Golf Carts
Even seasoned DIYers sometimes overlook critical details. Here are the most frequent errors we see:
- Skipping the voltage reducer on 48V systems. Connecting a 12V LED kit directly to the main battery pack will destroy the lights. Always check your cart’s voltage first.
- Poor grounding. A loose or corroded ground wire causes flickering or intermittent operation. Use a dedicated ground point on the frame (clean down to bare metal) and secure with a star washer.
- Incorrect polarity. Reverse wiring can damage LEDs. Verify polarity with a multimeter before permanent connections.
- Over-tightening screws on plastic bezels. This cracks the housing or strips threads. Hand-tighten and then a quarter turn is enough.
- Routing wires near exhaust or moving parts. On gas-powered CartCraft models, keep harnesses at least 15 cm away from the muffler to avoid melting.
To avoid these pitfalls, consider reading our guide on CartCraft Golf Cart Brake Fluid Flush: Step-by-Step Guide for additional safety habits when working on your cart’s systems.
What Owners Say About Upgrading Their CartCraft with LED Lights
CartCraft owners across the UK have shared glowing feedback after installing LED kits. Many report that night driving becomes far more enjoyable, especially on unlit pathways. David from Surrey said, “I installed a 1500-lumen kit last weekend, and now I see every bump and turn. It cost £95 total, and the difference is night and day.”
Another owner, Margaret from Cheshire, found that the LED upgrade improved her cart’s resale value. “I added the CartCraft OEM kit, and the buyer specifically mentioned the lights as a plus. It paid for itself.” Some users note that the universal kits require patience with wiring, but the brightness rewards the effort. For more insights on how modifications like tire changes affect performance, dive into How Tire Size Affects Speed and Range on CartCraft Golf Carts.
Maintaining Your LED Light Kit for Long Life
After installation, proper care ensures years of reliable service. Clean the lenses every two months with a soft cloth and mild soap—avoid abrasive cleaners that can scratch the plastic. Check connectors for corrosion before winter storage, and apply dielectric grease if needed. If your riding season includes harsh weather, inspect seals periodically.
Battery voltage directly affects LED brightness. A healthy 48V system should maintain around 50.9V under load for optimal lighting. For more on battery care across seasons, see CartCraft Golf Cart Winter Storage: Battery Care and Maintenance Tips. Additionally, if you notice dimming after charging issues, read How Temperature Affects Battery Charging on CartCraft Golf Carts.
Frequently Asked Questions
1. Will LED light kit installation void my CartCraft warranty?
If you use a genuine CartCraft OEM kit and follow the instructions, the warranty remains intact. Third-party kits may void coverage for electrical components, so check your warranty terms beforehand.
2. Can I install LED lights on a gas-powered CartCraft?
Yes, gas models typically have a 12V battery system, making installation simpler. Just ensure the kit is rated for engine vibration; most are.
3. Do I need a special switch for the LED kit?
Most kits include a switch. For a cleaner dash, consider a push-button or rocker switch. Ensure it is rated for 10A to handle inrush current.
4. How long does a typical LED light kit last on a golf cart?
High-quality LEDs can last 30,000 to 50,000 hours. In real-world use, expect 5–8 years before noticeable dimming occurs, assuming proper installation.
5. Can I use the kit with my 48V CartCraft without a converter?
Only if the kit is explicitly rated for 48V. Most aftermarket kits are 12V, so a voltage reducer (48V to 12V) is mandatory to avoid immediate burnout.
6. Will brighter lights drain my battery faster?
LEDs are energy-efficient. A 60-watt LED pair consumes roughly 0.5 amps at 12V, which is minimal compared to your cart’s traction power. For range impact, consider reading How Tire Size Affects Speed and Range on CartCraft Golf Carts: Performance Metrics and CartCraft Lithium Battery Conversion: Upgrade for More Range and Faster Charging for a full picture of electrical demands.