Introduction: Why Your CartCraft Golf Cart Needs an LED Light Bar
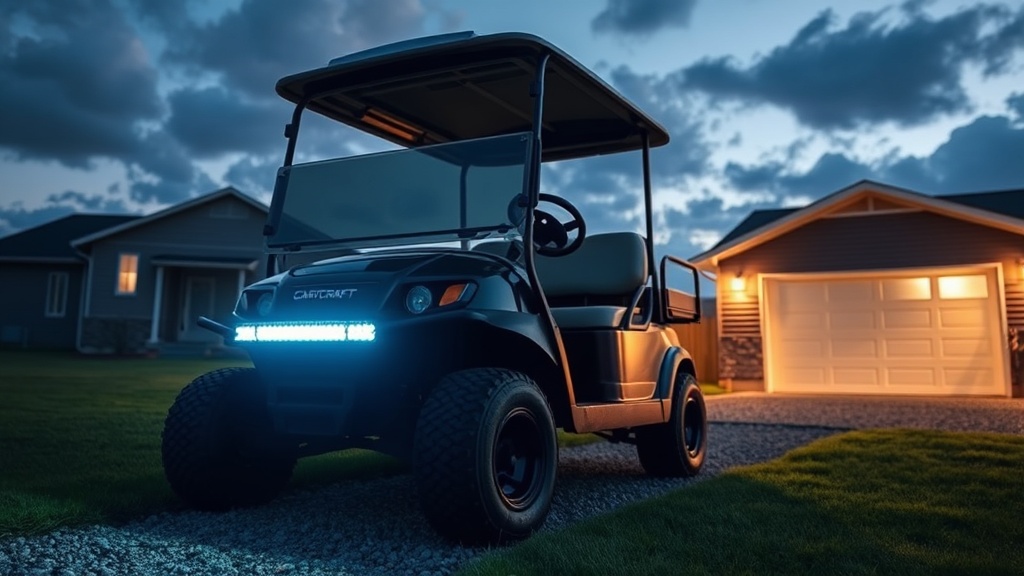
Night riding in a CartCraft golf cart can transform a simple commute into an exhilarating experience, but insufficient lighting often leaves drivers squinting into the darkness. Installing an LED light bar is one of the most impactful customization options, drastically improving visibility and safety. This guide walks through the entire installation process, ensuring your CartCraft shines brightly for every twilight journey.
What LED Light Bar Is Best for a CartCraft Golf Cart?
The ideal LED light bar for your CartCraft golf cart balances output, durability, and ease of installation. A 12-inch to 20-inch light bar in the 120W to 240W range is typical for most golf carts, offering sufficient illumination without overwhelming the electrical system. Look for models with an IP67 waterproof rating to withstand rain and wash-downs. Brands like Nilight and KC HiLiTES are popular, providing reliable performance. Ensure the beam pattern is a combination of spot and flood (combo) for both distance and peripheral visibility.
Before purchasing, check your CartCraft model year. Newer models may have pre-existing wiring harnesses for accessories, while older ones might require a dedicated relay kit. A dedicated harness is always recommended to avoid overloading the stock lighting circuit. Budget around £40 to £150 for a quality light bar and harness kit, depending on features and brand.
What Tools and Materials Do You Need for Installation?
Gathering the right tools before starting ensures a smooth installation. You will need:
- LED light bar and wiring harness (with relay, fuse, and switch)
- Multimeter (for testing voltage and continuity)
- Socket wrench set (typically 10mm and 13mm)
- Screwdrivers (Phillips and flathead)
- Wire strippers and crimpers
- Heat shrink tubing and electrical tape
- Zip ties for cable management
- Drill with metal bit (if mounting requires new holes)
- Safety glasses and gloves
Most light bar kits come with basic mounting brackets, but you may need universal brackets if your CartCraft’s bumper lacks pre-drilled holes. Ensure the wiring harness is rated for at least 20 amps to handle the light bar’s draw.
How Do You Mount the LED Light Bar on a CartCraft?
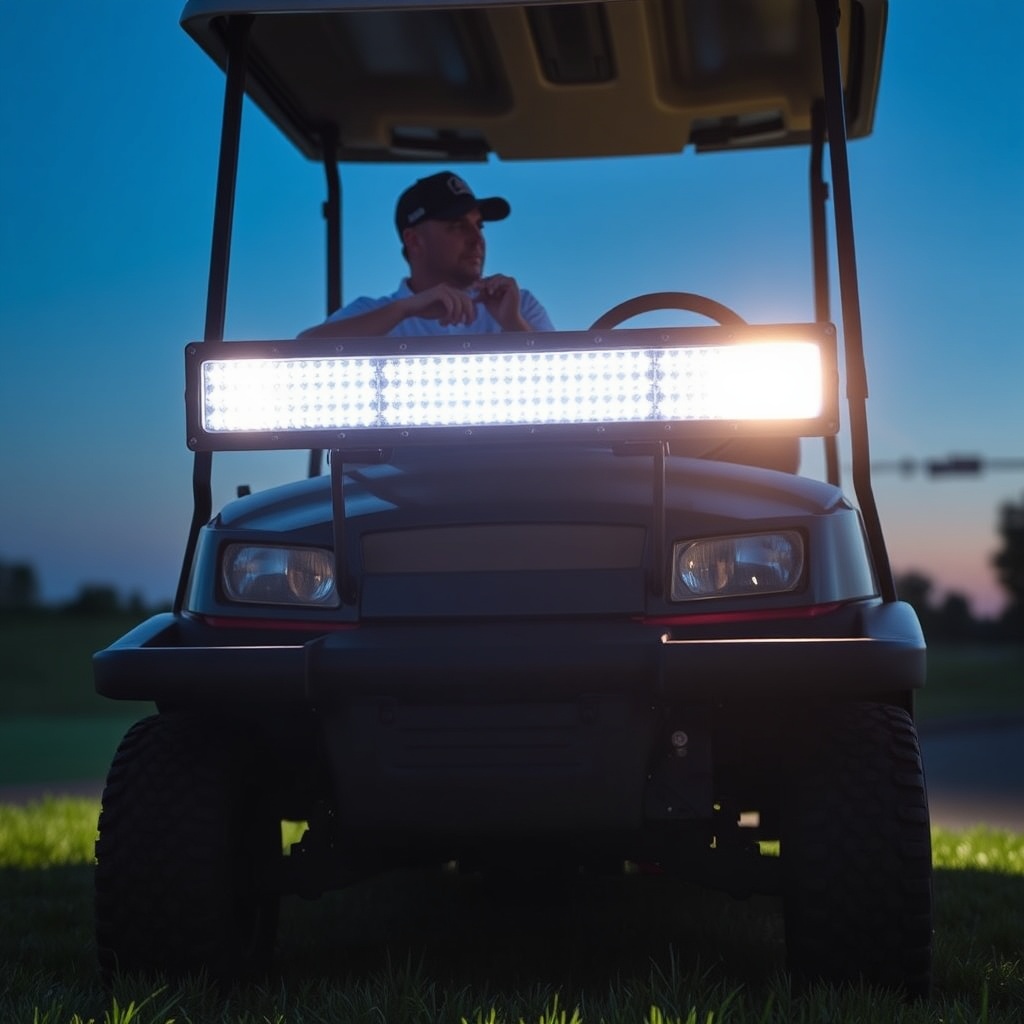
Mounting position is critical for maximum coverage and minimal glare. The most common location is the front bumper, just below the headlights. For a CartCraft with a factory brush guard, you can often attach the brackets directly there. Here is a step-by-step mounting process:
- Disconnect the golf cart’s battery to prevent accidental shorts.
- Position the light bar centered on the bumper or brush guard, ensuring it is level.
- Mark the bracket holes with a pencil or marker. If no pre-drilled holes exist, drill pilot holes carefully, avoiding wiring or components behind the bumper.
- Attach the brackets using stainless steel hardware to resist corrosion. Tighten bolts snugly, but don’t overtighten to avoid stripping threads.
- Mount the light bar onto the brackets, adjusting the angle so the beam points slightly downward—this prevents blinding oncoming traffic.
For a more streamlined look, some owners mount the light bar above the windshield using a roof rack bracket. This is ideal for forward visibility but may cause additional wind noise. Always test the movement range before finalizing.
How Do You Wire the LED Light Bar for a CartCraft Golf Cart?
Proper wiring prevents electrical issues and ensures longevity. Most CartCraft golf carts operate on a 12V DC system, though some older models use 36V or 48V for the drivetrain—confirm your battery configuration before tapping into any wires. Use the dedicated harness that includes a relay, fuse, and switch. Follow these steps:
- Connect the red wire from the light bar to the harness output (typically marked “to light”).
- Run the harness’s power wire (red) through a 15-amp inline fuse to the positive terminal of the 12V accessory battery. If your cart doesn’t have a dedicated 12V battery, you can power it from a 12V converter that steps down from the main pack.
- Connect the black ground wire to a clean metal chassis point, sanding away any paint for a solid connection.
- Mount the relay in a dry location under the dashboard or hood, connecting its control wire to the switch.
- Route the switch wire to a location easily accessible from the driver’s seat, such as the dash or side panel. Drill a small hole if needed, and secure the switch with zip ties.
Test the system before final assembly: reconnect the battery, flip the switch, and verify the light bar illuminates. If it doesn’t work, use a multimeter to check for voltage at the harness. A common mistake is poor ground connections—ensure the contact is solid and rust-free.
| Size (inches) | Power (Watts) | Typical Lumens | Best Use | Estimated Price (GBP) |
|---|---|---|---|---|
| 12″ | 120W | 6,000-9,000 | Basic night cruising | £35 – £60 |
| 18″ | 180W | 9,000-14,000 | Off-road or trail rides | £55 – £90 |
| 22″ | 240W | 12,000-18,000 | Maximum visibility (may need bracket reinforcement) | £80 – £140 |
When running the wiring, keep cables away from moving parts like the steering column and suspension. Use heat shrink tubing on all solder connections and wrap any exposed wires with electrical tape. For extra protection, route the wiring through rubber grommets where it passes through metal holes.
What Are Common Mistakes to Avoid During Installation?
Even experienced DIYers can slip up. Avoid these pitfalls for a hassle-free installation:
- Incorrect beam angle: Pointing the light bar too high blinds other drivers; too low and you lose distance visibility. Aim for a 5-10 degree downward tilt.
- Overloading the electrical system: Never wire a high-wattage light bar directly to the headlight circuit. Use a relay and fuse to protect the battery and wiring.
- Skipping the fuse: A short without a fuse can damage your CartCraft’s electrical components or cause a fire. Always install a fuse rated for your light bar’s draw.
- Poor mounting: Loose brackets cause vibration, reducing light output and potentially damaging the light bar. Use lock washers and thread-locking adhesive.
If your CartCraft has a battery that requires regular maintenance, ensure all connections are isolated from moisture. Hot climates can accelerate corrosion, so apply dielectric grease to connectors.
How Do You Test and Adjust the Light Bar After Installation?
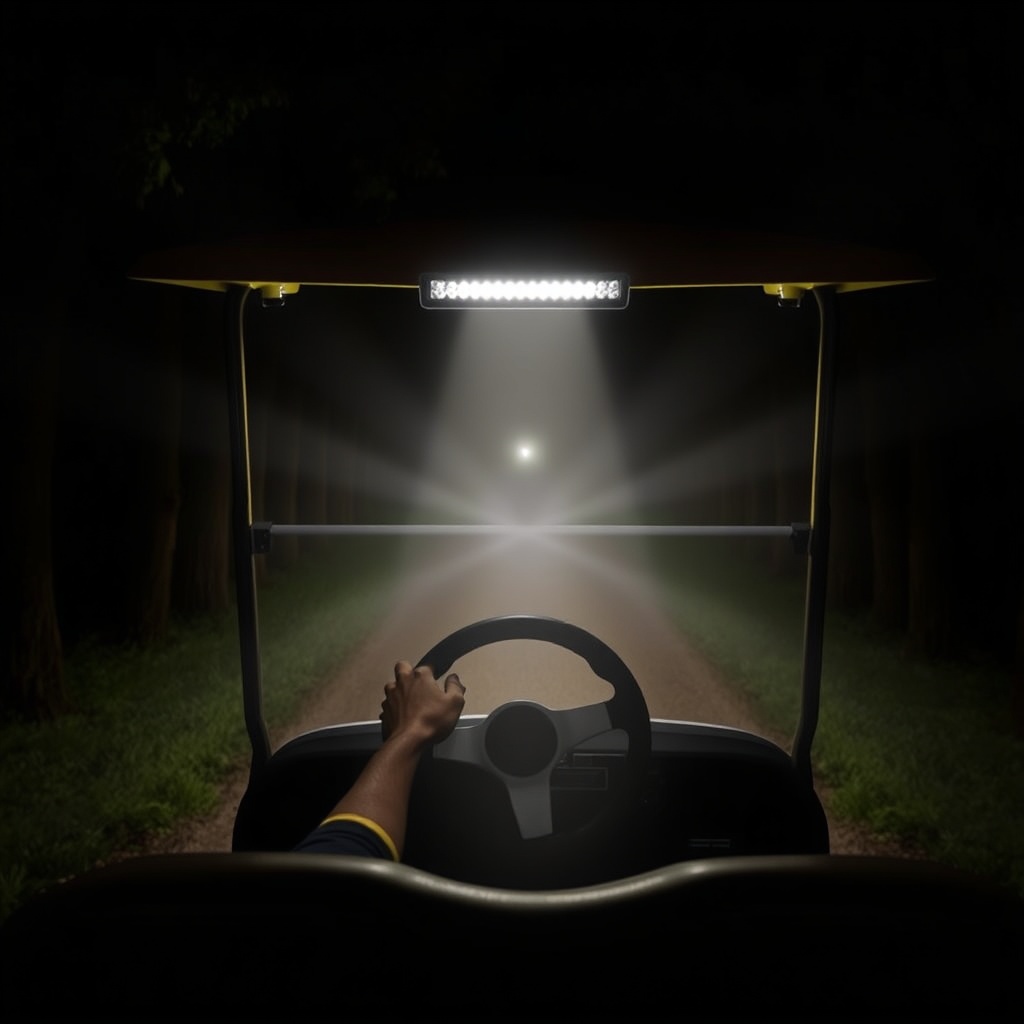
Once mounted and wired, testing is crucial. Park the cart on a flat surface at night in an open area, then:
- Turn on the light bar and note the beam pattern. It should illuminate both sides of the path evenly.
- Check for hot spots or dark zones. Adjust the bracket tilt by loosening the bolts slightly and rotating the bar.
- Check that no wires are rubbing against tires or suspension components. Use zip ties to secure any loose cables.
- Take a short drive—listen for rattles from the light bar or brackets. Tighten any loose parts.
- Verify that the switch operates smoothly and the fuse is accessible for future changes.
After a few rides, re-check the bolts as they may settle. Proper adjustment ensures your investment delivers optimal performance for years. For further performance enhancements, consider combining this with a tire balancing guide for smoother rides at night.
What Owners Say About Their CartCraft LED Light Bar Installations
Many CartCraft owners report significant improvements after adding LED light bars. John from Sussex shares: “I installed a 180W combo bar on our 2023 CartCraft. The difference is night and day—literally. The beam reaches a good 100 meters ahead, and the road edges are crisp. No issues with wiring after a year of use.”
Another owner, Helen from Yorkshire, notes: “We ride on country lanes frequently. The light bar paid for itself in safety and peace of mind. The installation was straightforward, though I recommend using a relay kit to protect the system.” Some owners mention that upgrading the suspension bushings complements the increased visibility, as a smoother ride reduces the risk of misalignment.
On forums, feedback is overwhelmingly positive, with common praise for improved nighttime visibility and the professional look of a well-mounted bar. A few note that extreme weather can fog the lens, but most quality units resist this well.
Frequently Asked Questions
1. Can I install an LED light bar on an older CartCraft model?
Yes, but you may need to add a 12V converter if your cart doesn’t have an accessory battery. Ensure the chassis ground is solid. Older models also have smaller bumpers, so check bracket compatibility.
2. Will a light bar drain my CartCraft’s battery overnight?
Only if left on. Use the provided switch to turn it off when not in use. A properly wired relay ensures no parasitic draw when the switch is off. For carts with small batteries, upgrading the accessory battery is advisable.
3. Is it legal to use an LED light bar on the road for a CartCraft?
Laws vary by region. In the UK, LED light bars are typically allowed for off-road use on private land, but must be covered or angled not to dazzle on public roads. Check your local road traffic regulations before regular use.
4. Do I need to modify my CartCraft’s bumper for mounting?
Most light bars come with universal brackets that bolt onto existing holes or bumper edges. If your bumper lacks mounting points, drilling small holes is necessary, but ensure no wiring is behind the metal.
5. Can I use the light bar in heavy rain or snow?
Yes, if the light bar is IP67 rated. This rating means it is dust-tight and can withstand immersion in up to 1 meter of water for 30 minutes. However, avoid submerging the connectors. Apply dielectric grease to the plug for extra protection.
6. How do I troubleshoot flickering after installation?
Flickering often indicates a loose connection or undersized wiring. Check the ground connection first. If that’s fine, verify the relay is clicking on/off. A faulty relay or insufficient voltage from the battery can cause flickering. Test with a multimeter at the light bar connector.
For further electrical enhancements, explore our differential fluid change guide to maintain overall vehicle health. Additionally, torque converter tuning can optimize power delivery for night drives. And don’t forget to upgrade suspension bushings to reduce noise when navigating bumpy trails at night.