How to Upgrade Suspension on a CartCraft Golf Cart for Better Ride Comfort
Upgrading the suspension on a CartCraft golf cart is one of the most effective ways to improve ride comfort, especially when driving over uneven terrain or rough cart paths. A well-tuned suspension system absorbs bumps, reduces vibration, and provides a smoother experience for both driver and passengers. This guide walks through the key steps, components, and considerations for enhancing the suspension on a CartCraft model, ensuring a more enjoyable ride every time the cart is used.
What Are the Signs That Your CartCraft Suspension Needs an Upgrade?
Many CartCraft owners notice discomfort during daily use, but it is not always obvious that the suspension is the culprit. Common signs include excessive bouncing after hitting a bump, a harsh ride on paved paths, uneven tyre wear, and a noticeable lean when cornering. If the cart feels unstable or the steering becomes light over dips, the suspension components may be worn or undersized for the intended use.
Another indicator is sagging in the rear, especially when carrying passengers or cargo. This can lead to bottoming out over moderate obstacles. Owners who frequently drive on rough terrain or with heavier loads will benefit most from a suspension upgrade. Checking the shock absorbers for oil leaks and inspecting the leaf springs for cracks or sagging can confirm the need for replacement.
For a complete assessment, it is wise to review the CartCraft differential fluid change and troubleshooting noise issues guide, as drivetrain noises can sometimes be mistaken for suspension problems.
Which Suspension Components Are Available for CartCraft Golf Carts?
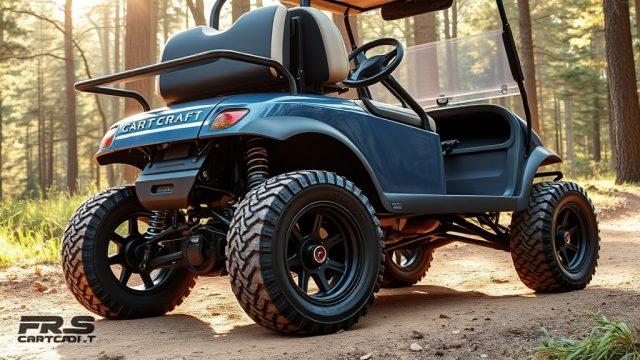
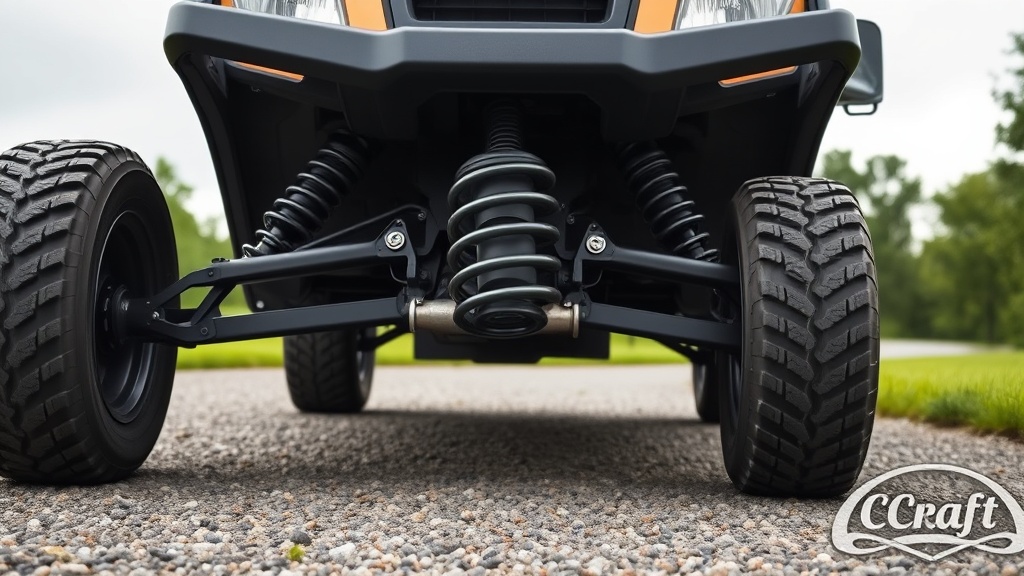
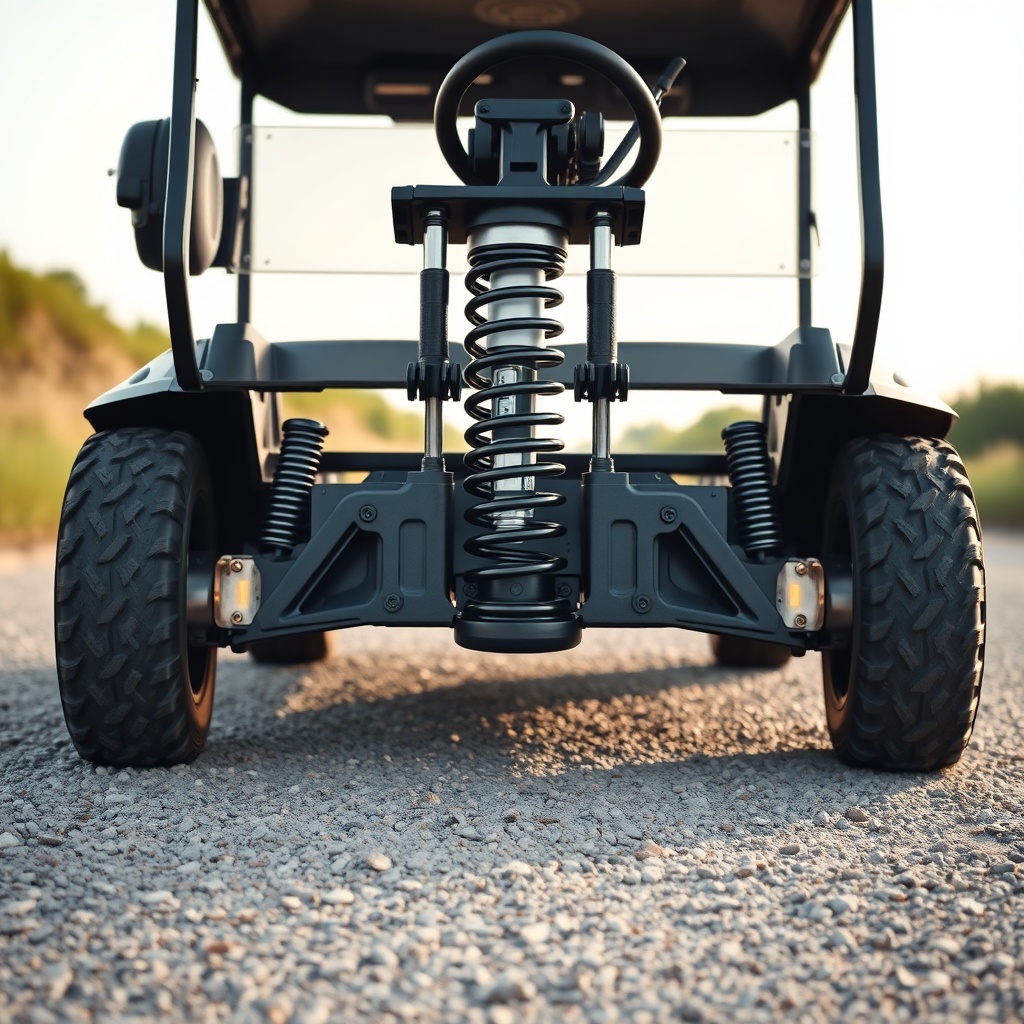
Upgrading the CartCraft suspension involves selecting the right combination of springs, shock absorbers, and sometimes bushings. The most common options include heavy-duty leaf springs for the rear, coil-over shock absorbers, and adjustable air shocks. Each component serves a specific role in improving ride comfort and load handling.
Heavy-duty leaf springs are ideal for owners who carry extra weight, such as camping gear or multiple passengers. They increase load capacity by approximately 100kg to 150kg compared to stock springs. Coil-over shocks combine a spring and damper in one unit, offering adjustable preload and damping. This allows fine-tuning of the ride stiffness. Air shocks are a premium option, enabling on-the-fly adjustment of ride height and firmness via an onboard compressor.
Replacement bushings made from polyurethane instead of rubber can also reduce suspension flex and improve handling precision. These are relatively inexpensive but require careful installation to avoid binding.
How to Choose the Right Shock Absorbers for Your CartCraft
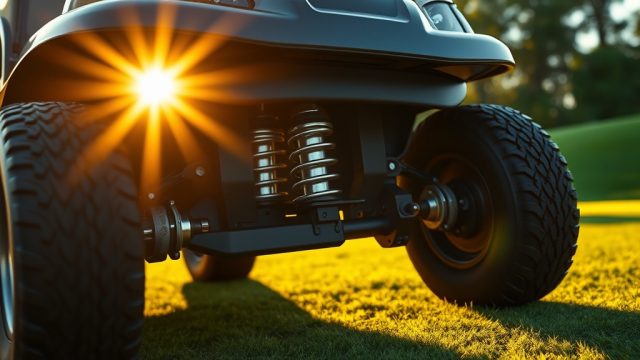
Selecting shock absorbers depends on the intended use, weight load, and desired ride quality. For a CartCraft used primarily on smooth golf course paths, standard gas-charged shocks provide adequate comfort. For off-road or rough terrain, monotube shocks with larger diameter bodies offer better heat dissipation and more consistent damping.
Adjustability is a key feature. Shocks with adjustable rebound and compression settings allow the owner to dial in the ride. A softer setting improves comfort over small bumps, while a firmer setting reduces body roll during cornering. Many aftermarket shocks for CartCraft models offer up to 10 click adjustments per setting, giving good control over the ride character.
It is important to match the shock length to the suspension travel. Installing shocks that are too long can cause the axle to over-extend, leading to driveline issues. Checking the manufacturer’s specifications for the correct extended and compressed lengths avoids such problems.
| Shock Type | Best For | Approximate Price (GBP per pair) | Adjustability | Typical Lifespan |
|---|---|---|---|---|
| Standard gas-charged | Golf course, paved paths | £80 – £120 | None | 2-3 years |
| Monotube heavy-duty | Off-road, rough terrain | £140 – £200 | Rebound only | 3-5 years |
| Coil-over adjustable | Mixed use, custom setups | £220 – £350 | Rebound & compression | 4-6 years |
| Air shocks with compressor | Variable load, frequent passengers | £300 – £500 | Ride height on-the-fly | 5-7 years |
How to Upgrade Leaf Springs on a CartCraft Golf Cart
Leaf springs are the primary load-bearing component in the rear suspension of most CartCraft models. Upgrading them involves removing the old springs and installing new, heavier-duty units. The process requires basic hand tools, a jack, and safety stands. Begin by lifting the rear of the cart securely and supporting the frame, not the axle.
Remove the wheels, then disconnect the shock absorbers from the axle. Unbolt the U-bolts that secure the leaf spring to the axle housing. The spring is attached at the front via a fixed shackle and at the rear via a swinging shackle. Carefully unbolt both ends and lower the spring out. Inspect the spring bushings and replace them if worn.
Install the new leaf spring in reverse order, lightly tightening all bolts until the weight of the cart is on the suspension. Lower the cart and then torque all bolts to the manufacturer’s specification—typically around 35-40 Nm for U-bolts on CartCraft models. Repeat on the other side. The new springs may raise the ride height by 20-40mm, which improves ground clearance and load capacity.
After installation, test the ride over a series of bumps to ensure the springs settle correctly. Check for any clunking sounds, which could indicate loose fasteners or misalignment.
What Is the Installation Process for Upgraded Shocks on a CartCraft?
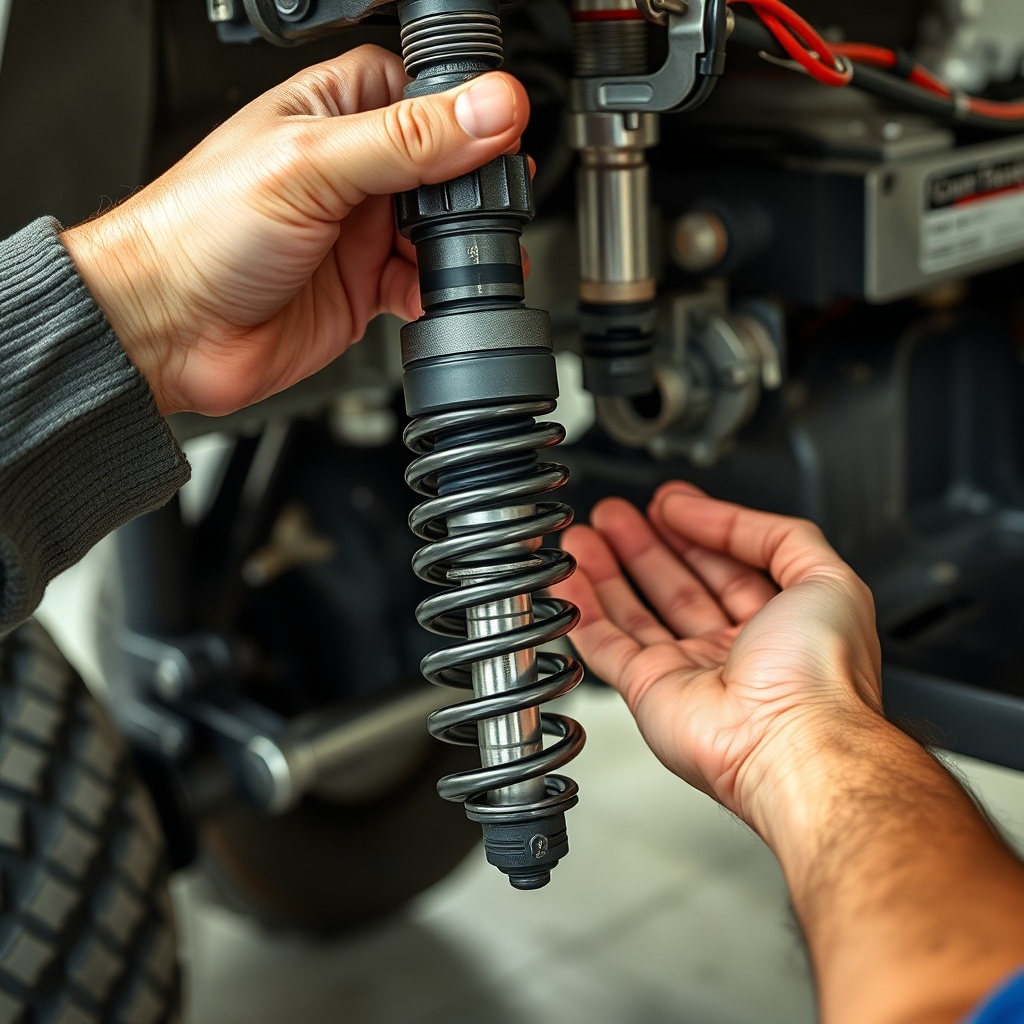
Installing upgraded shock absorbers is a straightforward DIY task that typically takes one to two hours. Park the cart on a level surface and engage the parking brake. Remove the wheels on the side being worked on to access the shock mounts easily. Most CartCraft models use top and bottom studs or eyelets with rubber bushings.
Loosen and remove the top nut, then the bottom bolt or nut holding the shock. Some shocks may require a second wrench to hold the damper rod from spinning. Slide the old shock out and compare its length to the new one. Ensure the new shock has the correct bushing width and stud diameter.
Install the new shock by first attaching the bottom mount, then the top. Tighten the fasteners to the recommended torque—usually around 20-25 Nm for the top nut and 30-35 Nm for the bottom bolt. Reinstall the wheel and repeat on the other side. A test drive on a variety of surfaces reveals immediate improvements in ride smoothness and reduced vibration.
For owners upgrading brakes at the same time, the CartCraft high-performance brakes upgrade guide provides complementary procedures that can be done simultaneously.
How Does Suspension Affect Steering and Braking Performance?
A properly upgraded suspension does more than improve comfort—it also enhances steering response and braking stability. When the suspension is too soft, the cart dives under braking, reducing front tyre grip and increasing stopping distance. Conversely, a stiff suspension can cause the rear to lift under heavy braking, leading to loss of control.
With the right suspension setup, the CartCraft maintains a level stance during hard stops. This improves braking efficiency and shortens stopping distances by up to 15% in some cases. Steering becomes more precise as the tyres maintain better contact with the ground, reducing wander on uneven surfaces.
Upgrading the shocks and springs also reduces body roll in corners, making the cart feel more planted. This is particularly beneficial when driving on sloped paths or during quick evasive manoeuvres. For a complete handling upgrade, consider also performing the CartCraft brake pedal adjustment guide to match pedal feel with the improved chassis dynamics.
What Owners Say About CartCraft Suspension Upgrades
Feedback from CartCraft owners who have completed suspension upgrades is overwhelmingly positive. Many report that the investment transforms the driving experience, especially on rough terrain. One owner noted that after installing heavy-duty leaf springs and adjustable coil-overs, the ride became “night and day smoother” with significantly less jarring over speed bumps and potholes.
Another user highlighted the reduction in vibration felt through the steering wheel, attributing it to better damped shocks. Several owners mentioned that the upgraded suspension allowed them to carry heavier loads without the cart sagging or bottoming out. The ability to adjust ride height with air shocks was particularly praised by those who frequently switch between passengers and cargo.
A few owners cautioned that the ride can become too firm if the shocks are set to maximum damping, so some trial and error is needed to find the sweet spot. Overall, the consensus is that a suspension upgrade provides excellent value for money, with most owners spending between £200 and £500 on parts and achieving noticeable comfort improvements.
Frequently Asked Questions
1. Will upgrading the suspension void my CartCraft warranty?
If the cart is still under warranty, installing aftermarket suspension components may void the coverage for related parts. Always check the warranty terms with the manufacturer or dealer before proceeding.
2. How long does a CartCraft suspension upgrade take to install?
A basic spring and shock upgrade takes 2 to 4 hours for a DIY enthusiast with standard tools. Professional installation is faster, typically 1.5 to 2 hours.
3. Can I mix different brands of shocks and springs on a CartCraft?
It is possible, but not recommended unless the components are designed to work together. Mixing brands can cause uneven damping or spring rates, leading to a poor ride.
4. Do I need to adjust the tyre pressure after a suspension upgrade?
Yes, it is advisable to check and adjust tyre pressure after a suspension change. Lowering the ride height may require slightly lower tyre pressures to maintain contact patch, while lifted carts may need higher pressures for stability. The CartCraft tyre balancing guide offers detailed advice.
5. How often should I replace suspension bushings on a CartCraft?
Polyurethane bushings last 3 to 5 years under normal use, while rubber bushings may need replacement every 2 to 3 years. Inspect annually for cracks or play.
6. Will a suspension upgrade affect the battery range of my CartCraft?
The weight of the upgraded components is minimal, so battery range is not significantly affected. However, a smoother ride may reduce parasitic drag from vibration, potentially offering a slight improvement in efficiency.