Why Does Your CartCraft Golf Cart Feel Rough and Noisy on the Course?
Every seasoned CartCraft owner knows the joy of a silent, smooth glide across the fairway. Yet over time, worn suspension bushings transform that serene ride into a jarring, squeaky affair that compromises both comfort and control. The stock bushings in most CartCraft models, typically made from basic rubber or low-density polyurethane, degrade rapidly under UV exposure, moisture, and the constant pounding of uneven terrain. This guide cuts straight to the solution: upgrading to high-quality suspension bushings specifically tailored for your CartCraft golf cart, reducing noise, sharpening handling, and restoring that premium ride feel without breaking the bank.
Before diving into part numbers and installation steps, it is critical to understand that the entire suspension system—from the front A-arms to the rear leaf spring shackles—relies on these humble components. Neglecting them leads to accelerated wear on shock absorbers, misaligned tires, and even dangerous play in steering. A targeted bushing upgrade is the single most cost-effective suspension modification for any CartCraft model, offering immediate, tangible improvements in ride comfort and road holding.
What Exactly Are Suspension Bushings and Why Do They Wear Out on a CartCraft?
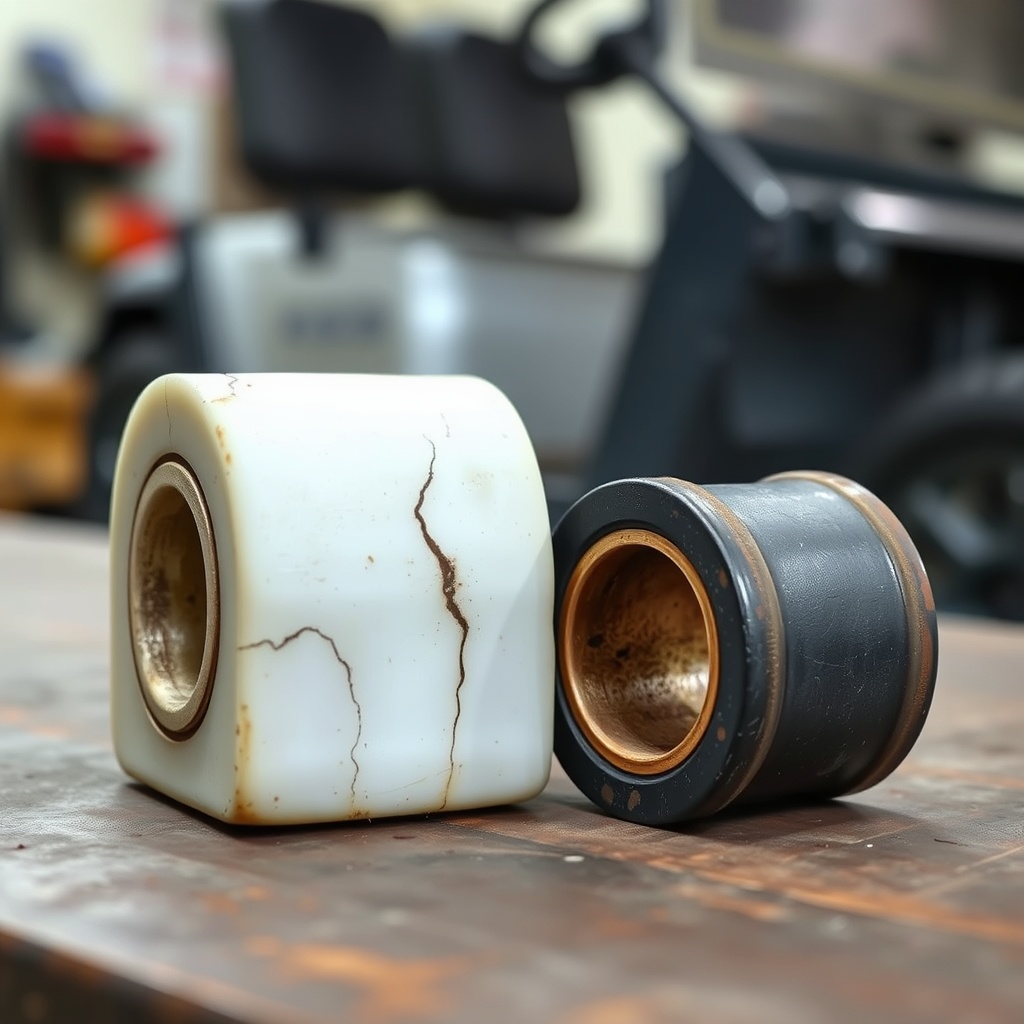
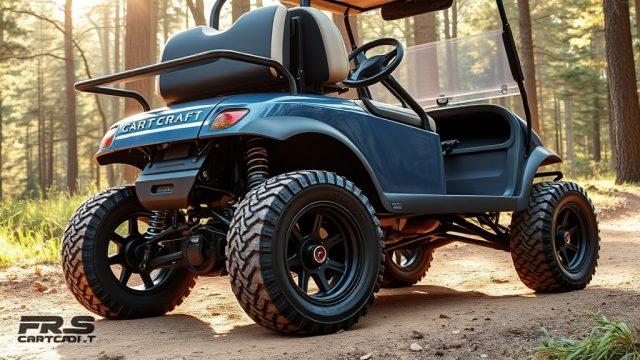
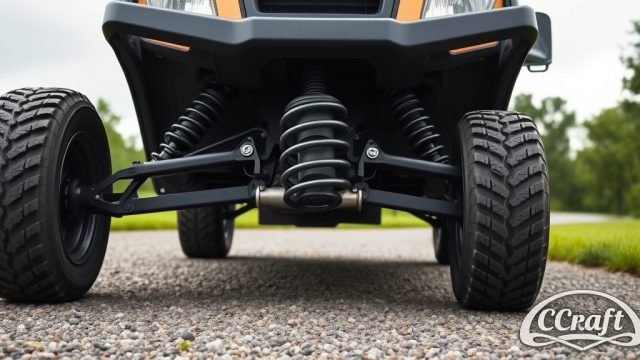
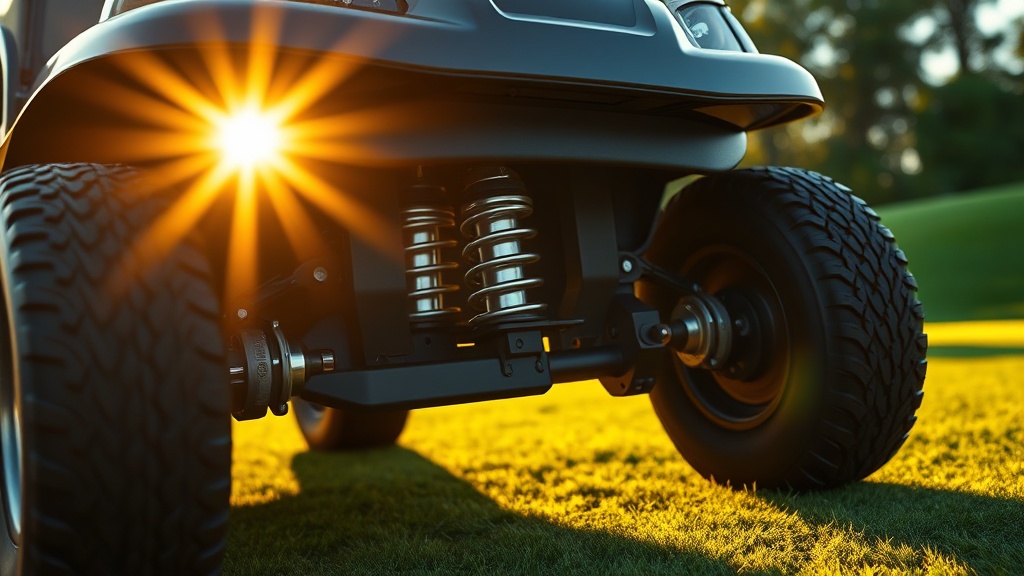
Suspension bushings are cylindrical rubber or polyurethane components that sit between metal suspension parts—the control arms, sway bars, and leaf spring eyes—and their mounting points. They act as cushions, absorbing vibrations and allowing controlled movement while preventing metal-to-metal contact. On a CartCraft golf cart, the front upper and lower control arm bushings, as well as the rear shackle bushings, are the most common failure points.
These bushings degrade for three primary reasons. First, constant exposure to road grit, water, and extreme temperature fluctuations causes the material to harden, crack, and lose elasticity. Second, the heavy weight of a CartCraft with a full passenger load, batteries, and accessories puts continuous stress on the bushings, leading to sagging and compression set. Third, many original equipment (OE) bushings are made from low-grade rubber that simply wasn’t designed for long-term durability. Once they wear, the suspension develops excessive play, which translates directly into steering vagueness, clunking noises over bumps, and a harsh ride that transmits every imperfection through the chassis.
How Do Worn Bushings Affect Your CartCraft’s Handling and Ride Comfort?
The impact is both immediate and cumulative. From the driver’s seat, you will first notice a dull thud or squeak when traversing speed bumps or uneven cart paths. As play increases, the front end becomes reluctant to track straight, requiring constant micro-corrections at the steering wheel. On crowned roads or during cornering, the cart may feel unstable, with a noticeable lean that was absent when the bushings were new.
From a technical standpoint, worn bushings allow the suspension geometry to shift outside its designed parameters. Caster, camber, and toe angles can change dynamically under load, causing uneven tire wear, reduced braking stability, and increased strain on the steering rack. This drift not only ruins ride quality but also compromises safety, especially on moderately fast downhill stretches. A proper bushing upgrade restores the precise suspension geometry, eliminating unwanted movement and allowing the shock absorbers and springs to do their intended job. The result is tighter steering, reduced body roll, and a far more compliant ride that absorbs bumps rather than transmitting them.
What Types of Bushings Should You Choose for Your CartCraft Upgrade?
When selecting replacement bushings, you face a choice between premium rubber and polyurethane. Rubber bushings are quieter and provide a softer ride, but they wear faster and degrade more quickly under harsh conditions. Polyurethane bushings are significantly more durable, resist oil and UV damage, and offer a stiffer, more responsive feel. For most CartCraft owners seeking an optimal balance of comfort and longevity, a medium-durometer polyurethane (around 80-90 Shore A) offers the best compromise.
| Bushing Type | Ride Comfort | Noise Level | Durability (Years) | Cost (GBP per set) | Handling Improvement |
|---|---|---|---|---|---|
| Standard Rubber (OE) | Good (new) | Low | 2–4 | £15–£25 | Fair |
| Premium Rubber | Very Good | Very Low | 4–6 | £30–£45 | Good |
| Low-Density Polyurethane | Good | Low to Moderate | 6–8 | £40–£60 | Very Good |
| High-Density Polyurethane | Firm | Moderate | 8–10 | £55–£80 | Excellent |
For a dedicated course cart that sees weekly use, a full set of polyurethane bushings from a reputable aftermarket supplier will pay for itself within a season by preserving alignment, reducing tire wear, and eliminating the need for premature shock replacement. Many kits also include greaseable sleeves, which further extend service life and reduce squeaking. Always source bushings specifically designed for your CartCraft model year (e.g., 2018–2024 DS-style or newer AC models) to guarantee proper fitment.
How Do You Identify and Replace Worn CartCraft Suspension Bushings?
Diagnosis is straightforward. Park the cart on level ground, chock the wheels, and lift the front or rear axle with a jack. Grab the top and bottom of a front tire and try to rock it inward and outward. Excessive play (more than 3–5 mm) indicates worn control arm bushings. For the rear, grasp the leaf spring shackle and attempt to move it laterally; clunking or visible movement points to blown shackle bushings. Additionally, look for cracked or bulging rubber around the bushing flanges, or rust trails that suggest the metal sleeve has shifted.
Replacement requires basic mechanical skill but patience. You will need a ball joint press or bushing socket set, a torque wrench, penetrating oil, and possibly a press or bench vice for stubborn bushings. The general process is as follows:
- Remove the wheel, brake caliper, and suspension arm or leaf spring as required.
- Use a press or bushing removal tool to push out the old bushing (heat and penetrating oil help if rusted).
- Clean the mounting sleeve thoroughly with a wire brush and apply anti-seize compound to the new bushing shell.
- Press in the new bushing using the same tool, ensuring it is flush and oriented correctly (grease groove or offset if applicable).
- Reassemble and torque all fasteners to manufacturer specifications (typically 40–55 Nm for control arm bolts).
If the suspension arms themselves are bent or the bolt holes are ovaled from years of wear, consider replacing the entire control arm assembly. For detailed steps on related adjustments, see our CartCraft Brake Pedal Adjustment Guide: Improve Pedal Feel and Stopping Distance after this upgrade, as new bushings often require a brake pedal re-centre.
What Does a Typical CartCraft Bushing Upgrade Cost and How Long Does It Take?
For a standard CartCraft golf cart, a complete bushing replacement kit (front control arms, rear shackles, and sway bar bushings) ranges from £65 to £120 depending on material and brand. A professional installation at a specialist shop adds roughly £100–£200 in labour, meaning the total outlay lands between £165 and £320. For the DIY mechanic, expect the job to take two to four hours on a first attempt, longer if rust is severe.
Investing in a quality kit and taking the time to do the job correctly pays dividends. After the upgrade, the difference in ride quality is immediately noticeable: harshness over expansion joints disappears, steering becomes precise, and the cabin noise from suspension creaking is eliminated. Many owners report that the cart feels “new again” and that they reclaim a sense of stability at higher speeds that was previously lost. For those also addressing tire vibration, our CartCraft Golf Cart Tire Balancing Guide: Reduce Vibration and Extend Tire Life is the perfect companion to this upgrade.
What Owners Say
Feedback from the CartCraft community strongly echoes the benefits. “I was ready to sell my 2020 CartCraft because the ride was so awful – clunking over every bump and wandering on the road,” reports Simon T. from Surrey. “After swapping to a polyurethane bushing kit, it’s like having a different cart. The noise vanished, and it tracks straight as an arrow.” Another owner, Janet P. from Cornwall, notes: “My husband did the upgrade in an afternoon using a tutorial online. The cost was under £100, and the difference in comfort for my mobility needs is incredible. No more jarring back pain after 18 holes.”
Common praise revolves around the elimination of squeaks and the newfound confidence when carrying passengers. Some owners pair this upgrade with a shock absorber replacement for maximum effect, while others emphasise the importance of greasing polyurethane bushings annually with silicone-based lubricant to maintain their quiet operation. Additional resources like our CartCraft Golf Cart Differential Fluid Change and Troubleshooting Noise Issues can help rule out drivetrain noise that may be mistaken for suspension problems.
Frequently Asked Questions
Q: How often should CartCraft suspension bushings be inspected?
A: At least once per season or every 1,000 miles. Check for cracking, bulging, or visible play when rocking the wheel.
Q: Can I drive my CartCraft with worn bushings?
A: Yes, but it is not recommended. Worn bushings cause uneven tire wear, reduced steering precision, and can lead to more expensive damage to shocks and ball joints.
Q: Are polyurethane bushings too stiff for daily use?
A: Medium-durometer polyurethane (80–90 Shore A) provides a noticeable but comfortable improvement in stiffness. For solely on-course use, premium rubber may be preferable.
Q: Do I need to replace all bushings at once?
A: While it is best practice to replace all bushings in a single axle simultaneously, you can replace only the visibly worn ones. However, doing all at once ensures even performance.
Q: Will upgrading bushings affect my CartCraft’s warranty?
A: Aftermarket suspension bushings may void the suspension portion of a factory warranty. Check with your dealer before proceeding if the cart is still under warranty.
Q: What tools are essential for a DIY bushing swap?
A: A ball joint press or bushing removal and installation tool set, a torque wrench, penetrating oil, jack stands, and a rubber mallet. A press is helpful for stubborn bushings.
For those looking to further refine the ride, consider also reviewing our How to Upgrade Suspension on a CartCraft Golf Cart for Better Ride Comfort guide. And to ensure your upgraded suspension lasts, don’t overlook battery care—see CartCraft Golf Cart Battery Maintenance in Hot Weather for crucial seasonal upkeep. Finally, to maximise engine response alongside your new handling, our CartCraft Golf Cart Torque Converter Tuning and Maintenance for Optimal Performance is a must-read.