How to Install a Lift Kit on a CartCraft Golf Cart: Step-by-Step Guide for Off-Road Clearance
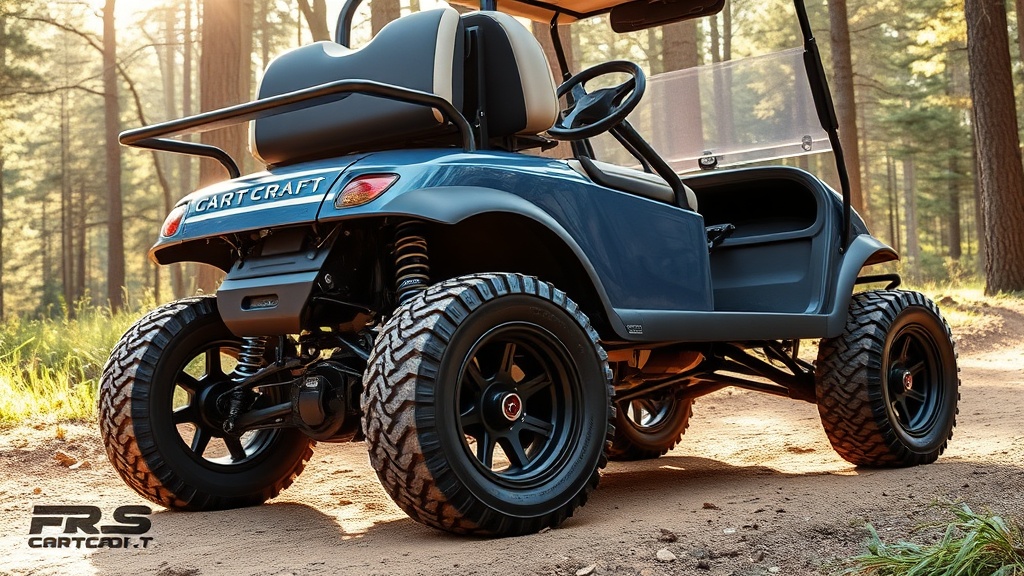
Installing a lift kit on a CartCraft golf cart transforms it from a fairway cruiser into a capable off-road machine, providing essential ground clearance for tackling uneven terrain. This comprehensive guide walks through the entire process, from selecting the right kit to fine-tuning suspension components for optimal ride comfort. With the right tools and a methodical approach, any CartCraft owner can achieve a professional-grade lift in a weekend, ensuring both enhanced clearance and preserved ride quality.
What Tools and Materials Are Needed for a CartCraft Lift Kit Installation?
Before beginning, gather all necessary equipment to avoid interruptions. A basic socket set, torque wrench, floor jack, jack stands, and penetrating oil are essential. For CartCraft models specifically, a 4-inch lift kit (priced around £180–£350 depending on brand) typically includes new leaf springs, shock absorber extensions, and stabiliser bar brackets. Additional items include a spring compressor for front coils and a drill with step bits for any bracket modifications. It is crucial to consult the CartCraft owner’s manual for model-specific torque specifications—usually 55 lb-ft for control arm bolts and 25 lb-ft for shock mounts. A typical installation consumes 4–6 hours for one experienced person working with basic tools.

How to Prepare the CartCraft Golf Cart for Lifting?
Preparation ensures safety and reduces complications later. Start by parking the CartCraft on a level surface and disconnecting the battery (both 12V and, if equipped, the main pack using a CartCraft Golf Cart Battery Water Level Maintenance routine to check electrolyte levels beforehand). Remove the floor mats and seat assembly to access the chassis. Using a floor jack, support the frame near the front and rear axle points—never jack from the battery tray area. Then, completely loosen all lug nuts (but do not remove) and raise the entire cart on four jack stands placed under the frame rails. Security note: ensure the parking brake is engaged and wheel chocks are placed behind the rear tyres. For lithium-powered models, review CartCraft Golf Cart Lithium Battery Safety Tips before proceeding.
What Is the Step-by-Step Process for Removing Stock Suspension on a CartCraft?
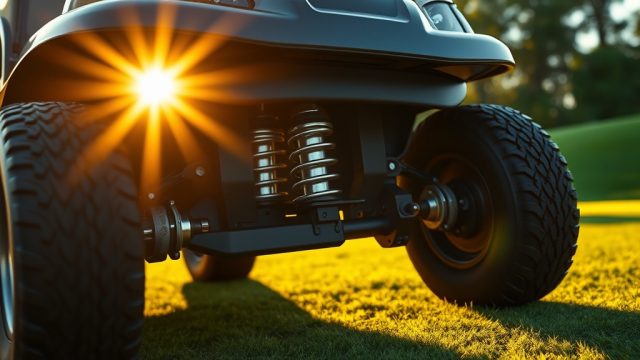
The removal phase is critical and must be performed systematically. Begin with the front suspension: locate the upper and lower control arm bolts, spray with penetrating oil, and let soak for 10 minutes. Using a socket and breaker bar, remove these bolts, along with the shock absorber mounting hardware. Carefully lower the control arms and slide out the existing coil springs. For the rear, support the axle with a second jack, then unbolt the leaf spring U-bolts and shackles. Mark the orientation of the original parts (e.g., which side the thick bushings face) to aid reassembly. Remove the stabiliser bar links and any auxiliary washer plates. During this phase, inspect for worn bushings or damaged bolts; replacing them now avoids future CartCraft Golf Cart Suspension Noise Diagnosis and Fix issues.
How to Install the New Lift Kit Components on a CartCraft Golf Cart?
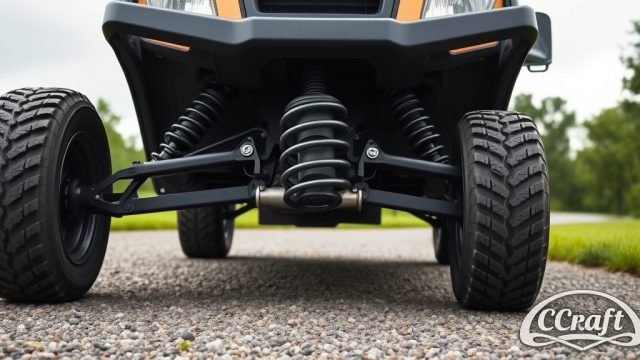
Installing the new components requires careful alignment and torque specifications. For a typical 4-inch lift, start with the rear: position the new tapered lift blocks between the axle and leaf springs, ensuring the offset faces rearward. Install longer U-bolts with new lock nuts, hand-tightening first, then torquing to 50 lb-ft. Reattach the shock absorber extensions (usually included with the kit) using the supplied longer bushings. For the front, compress the new lift springs with a spring compressor, place them onto the control arm seat, then reattach the new extended-length shock absorbers. Reinstall control arm bolts with fresh Nylock nuts, torquing to 55 lb-ft. Connect the stabiliser bar using relocation brackets—this maintains anti-sway functionality. Finally, reattach the steering linkage; if the kit includes a drop pitman arm, follow specific instructions to avoid turning radius issues.
How to Adjust and Align the CartCraft After Lifting?
Proper alignment ensures safe handling and tyre longevity. After installing the kit, lower the CartCraft onto its wheels (with tyres inflated to 28–30 psi) and roll forward a few metres to settle the suspension. Using a tape measure, check the wheelbase on both sides—differences over 1/4 inch indicate a misaligned axle. Adjust rear axle centring by loosening U-bolts and shifting the axle. For front toe adjustment, loosen the tie rod lock nuts and rotate the tie rod until the front of the tyres are 1/8 inch closer together than the rear (toe-in setting). A full thrust angle check should be performed by a professional if the cart pulls. Re-torque all suspension bolts after 20 miles of driving per the manufacturer’s recommendation. If the cart now feels stiff, consider revisiting CartCraft Golf Cart Throttle Response Tuning to complement the new stance.
Table: Comparison of Lift Kit Heights and Their Effect on Ride Comfort for CartCraft
| Lift Height | Ground Clearance (inches) | Ride Comfort Rating (1–5) | Recommended Tyre Size | Installation Difficulty |
|---|---|---|---|---|
| 2 inches | 8–9 | 5 (Excellent) | 18×8.5-8 | Easy (2 hours) |
| 4 inches | 10–11 | 4 (Good) | 20×10-10 | Moderate (4–5 hours) |
| 6 inches | 12–13 | 3 (Fair) | 22×11-10 | Difficult (6–8 hours) |
| 8 inches | 14–15 | 2 (Poor) | 23×11-12 | Expert (8+ hours) |
Note: Comfort ratings reflect stock CartCraft suspension with appropriate shock upgrades; stiffer springs for higher lifts trade comfort for load capacity.
How to Restore Ride Comfort After a CartCraft Lift Kit Installation?
Off-road clearance often introduces harshness, but several refinements can mitigate this. First, upgrade to gas-charged shock absorbers (starting at £60 per pair) designed for lifted carts—these resist heat buildup and provide controlled damping. Second, install polyurethane bushings in the leaf spring shackles; they reduce articulation noise while offering 15% more compliance than standard rubber. Third, consider a steering damper kit (about £90) to reduce bump steer effects. Fourth, ensure tyre pressure is set 2–3 psi lower than standard for a smoother ride over gravel. Finally, check the CartCraft Golf Cart Steering System Upgrade to correct any play introduced by driveline angle changes. For battery electric carts, adjusting the speed controller via CartCraft Golf Cart Speed Controller Tuning Guide can reduce jolting on deceleration.
What Owners Say About CartCraft Lift Kit Installation and Ride Comfort
Many CartCraft owners report that a 4-inch lift kit significantly improves off-road capability while maintaining a pleasant ride for daily use. One owner from the CartCraft enthusiast forum noted: “After installing a 4-inch lift with dual-rate springs, my CartCraft handles forest trails like a small 4×4. The ride on pavement is still smooth—no more jarring than before. And I save money by not having to buy a separate cart for hunting trips.” Another owner shared: “I did the 6-inch lift myself and really recommend upgrading the shocks. The stock ones were bottoming out, but after fitting $120 Monroe gas shocks, it’s silky.” A third commented: “Check all your brake lines—I had to add a bracket to avoid kinking. The lift is worth the effort, but be patient with the steering alignment.” Many emphasise that proper torquing of all bolts (especially after driving 50 miles) prevents looseness and clunking, linking back to effective CartCraft Golf Cart Suspension Noise Diagnosis and Fix techniques.

Frequently Asked Questions About CartCraft Lift Kit Installation
Q1: Will a lift kit void my CartCraft warranty?
Most CartCraft warranties do not cover modifications. Always check with your dealer beforehand; some accept aftermarket parts if professionally installed. If in doubt, retain original components to revert if needed.
Q2: Can I install a lift kit on a CartCraft with pre-existing battery issues?
Yes, but resolve any battery problems first. A lifted cart requires more power on slopes, increasing load on cells. Follow CartCraft Golf Cart Battery Water Level Maintenance before the upgrade to ensure optimal voltage.
Q3: How much does it cost to lift a CartCraft golf cart?
Kit prices range from £180 for basic 2-inch lifts to £420 for 6-inch kits with heavy-duty springs. Professional installation adds £150–£250. Budget for extras like shocks (£60+ each) and tyres (£75–£150 each).
Q4: Will a lift kit affect my CartCraft turning radius?
Yes, the turning radius may increase by 6–12 inches, particularly with 6-inch+ lifts. A steering damper or drop pitman arm can mitigate this. For maximum manoeuvrability, keep the lift under 4 inches.
Q5: Do I need to upgrade the brakes after lifting?
Not always, but larger tyres add unsprung weight, reducing braking efficiency. If towing or hill climbing, consider upgrading brake shoes and cables. Some owners report improved braking after installing a steering damper.
Q6: How often should I inspect the lift kit bolts?
Check all torque after the first 20 miles, then every 200 miles or before heavy off-road use. Use a torque wrench; hand-tightened bolts can loosen from vibration. Use thread lock (e.g., Loctite Blue) on control arm bolts for extra security.