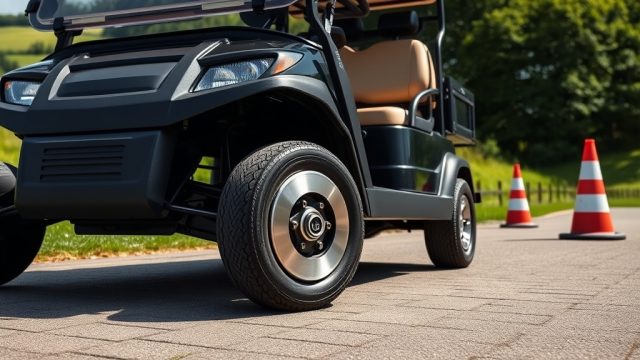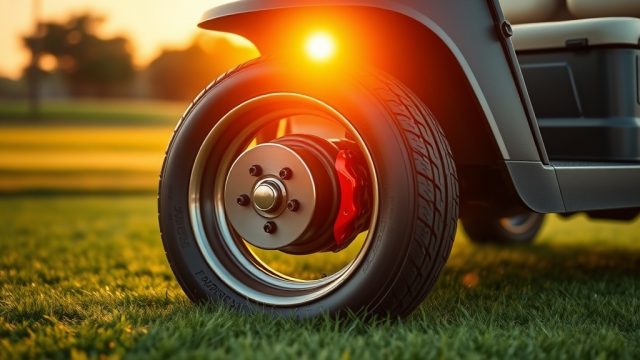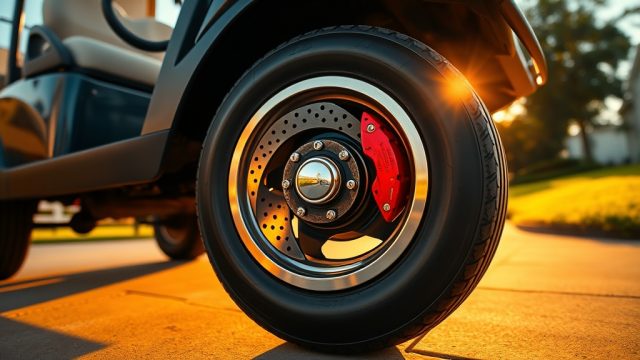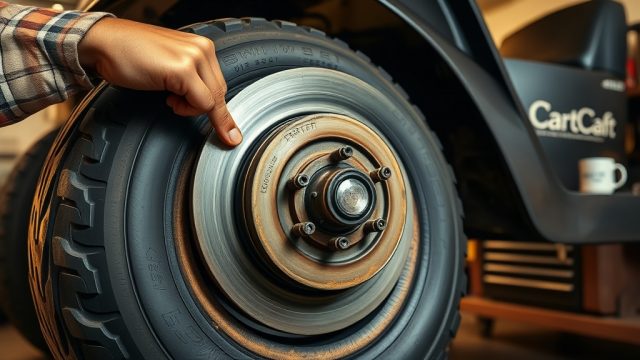
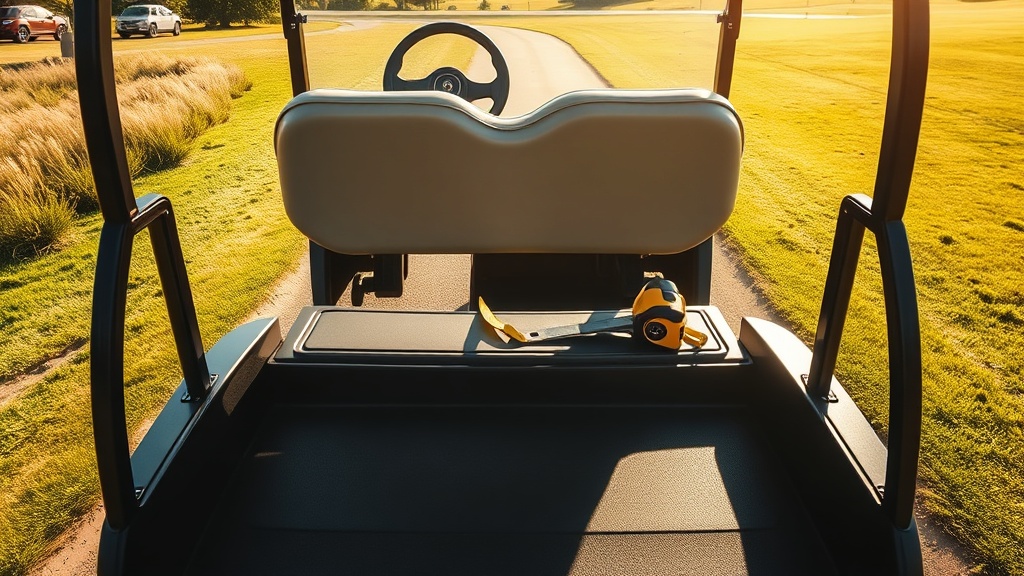
Adjusting the brake pedal on your CartCraft golf cart is a critical maintenance step that directly influences pedal feel, stopping distance, and overall safety. Over time, cables stretch, linkages wear, and the pedal free-play can increase, leading to a spongy brake pedal and reduced stopping power. This guide provides a systematic process for restoring optimal brake pedal geometry on any CartCraft electric or gas model, ensuring consistent, predictable braking performance on the course or in your neighbourhood.
Why Does Brake Pedal Free-Play Matter on a CartCraft Golf Cart?
Brake pedal free-play, also known as lash, is the small amount of pedal movement before the brake shoes or pads begin to engage. In a CartCraft, proper free-play (typically 1/2 to 3/4 inch at the pedal pad) ensures that the brake light switch activates correctly and that the master cylinder or cable mechanism is not under constant tension. Too much free-play results in a long, delayed pedal stroke, increasing stopping distance by 15 to 25 feet at full speed. Too little free-play can cause the brakes to drag, overheating the linings and accelerating wear. Adjusting free-play is the first step in refining pedal feel.
How Do I Check the Current Brake Pedal Adjustment on My CartCraft?
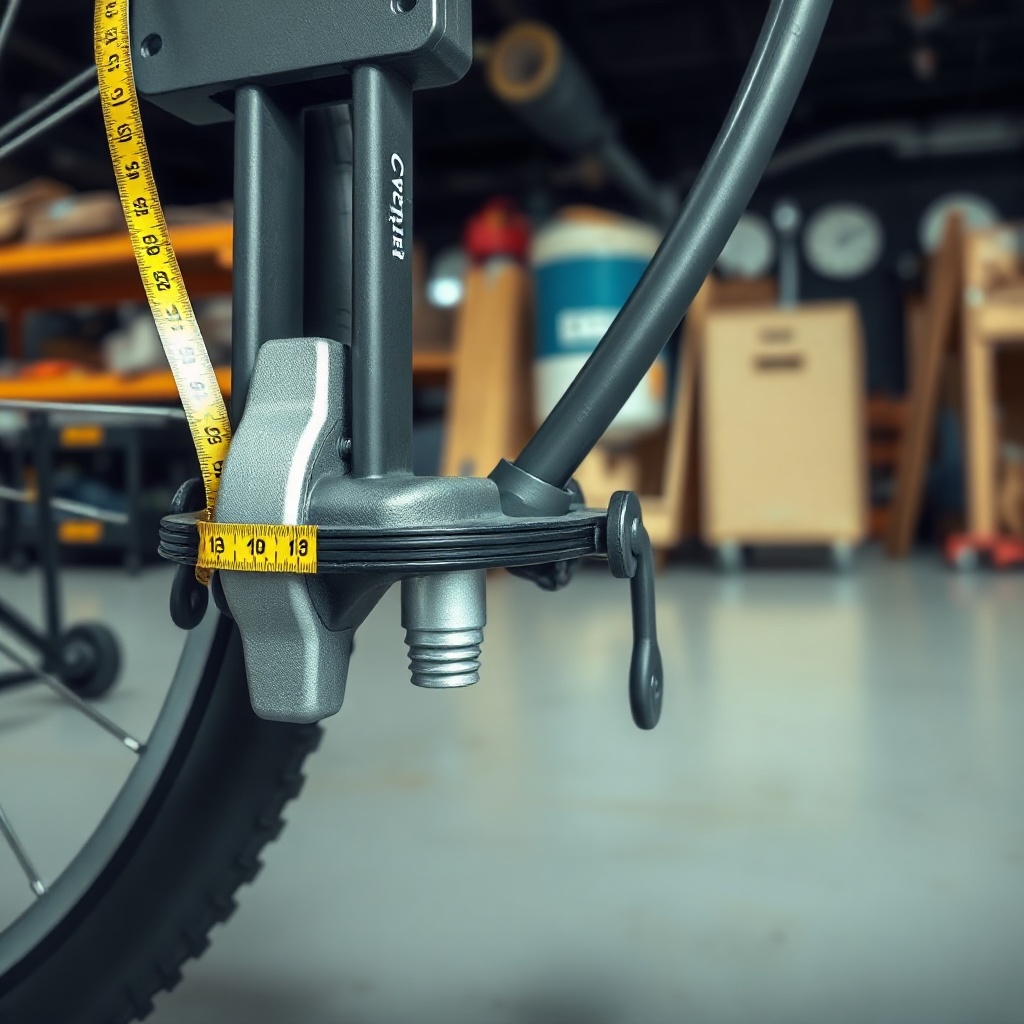
Before making any adjustments, baseline measurement is essential. Park the cart on a level surface, chock the wheels, and confirm the parking brake is released. With the engine or motor off, press the brake pedal by hand and note the point where resistance is first felt. Use a ruler or tape measure to record the distance from the pedal pad’s rest position to this initial engagement point. For most CartCraft models using a mechanical cable system (E-Z-GO and Club Car variants), the specification is 0.50 to 0.75 inches. For disc brake conversions or hydraulic systems, refer to the manufacturer’s service guide. If the free-play exceeds 0.75 inches, adjustment is required.
What Tools Are Needed for Brake Pedal Adjustment on a CartCraft?
Most CartCraft models allow pedal adjustment without removing the floorboard. Typical tools include:
- 10mm or 12mm combination wrench (for pedal stop nut)
- Phillips-head screwdriver (for cable adjuster lock nuts)
- Measuring tape or ruler (in inches or mm)
- Penetrating oil (for seized adjuster threads)
- Torque wrench (if using jam nuts)
Optional but recommended: a helper to depress the pedal and observe the brake light activation. If you are upgrading the entire braking system, consider reading the CartCraft Golf Cart Brake System Upgrade Guide: Performance Brake Pads and Rotors for matched performance components.
Step by Step: How to Adjust the Brake Pedal on a CartCraft Golf Cart
Follow this sequence for precise pedal adjustment:
1. Locate the pedal stop bolt. This is usually a hex-headed bolt above the brake pedal arm, contacting the pedal stop bracket. Turn the bolt clockwise (shorten) to increase pedal height and reduce free-play, or counterclockwise to increase free-play. Make quarter-turn adjustments only.
2. Adjust the brake cable tension. For cable-operated systems, find the adjuster at the brake pedal arm or at the equaliser bar (if equipped). Turn the adjuster nut to remove slack. The pedal free-play should remain within spec after this step.
3. Check the brake light switch. The switch should click on as the pedal moves about 0.25 inches into its stroke.
4. Test drive. On a flat surface, press the pedal firmly. The pedal should travel no more than 1.5 inches before the brakes fully engage. If the pedal hits the floor, the brake shoes or pads may be excessively worn—refer to the CartCraft Golf Cart High-Performance Brakes Upgrade: Disc Brake Conversion Kit Installation for replacement options.
| Model | Pedal Free-Play (inch) | Pedal Height (inch) | Adjuster Location |
|---|---|---|---|
| CartCraft CC2 (gas) | 0.50 – 0.75 | 6.0 – 6.5 | Pedal stop bolt only |
| CartCraft EE1 (electric) | 0.60 – 0.80 | 5.8 – 6.2 | Pedal stop + cable nut |
| CartCraft Pro 48V | 0.65 – 0.85 | 5.5 – 6.0 | Equaliser bar adjuster |
| CartCraft Hydraulic Retrofit | 0.30 – 0.50 | N/A | Master cylinder pushrod |
Can Wrong Brake Pedal Position Affect Stopping Distance?
Absolutely. Pedal position directly impacts the mechanical advantage applied to the braking system. If the pedal is set too low (excessive free-play), the driver must push farther to generate the same clamping force, effectively increasing reaction time by 0.2 to 0.4 seconds. At 20 mph (29.3 ft/s), this adds about 6 to 12 feet to the overall stopping distance. Conversely, a pedal that is too high or preloaded can cause the brakes to drag, overheating the rotors and pads. Combined with worn cables, this can lead to dangerous fade. For improved throttle response and pedal modulation, also review How to Program the Hall-Effect Accelerator on CartCraft for Better Throttle Response, which complements precise braking control.
What Owners Say About Brake Pedal Adjustment on CartCraft
CartCraft owners frequently report that a half-hour pedal adjustment restores a firm, responsive pedal. “After adjusting the pedal stop, my cart stopped exactly where I wanted it—no more creeping at stop signs,” states Mike from Florida. Another owner, Sarah from Arizona, notes: “I was ready to install a whole new brake system, but a simple cable adjustment fixed my soft pedal. I saved £120.” Community forums emphasise that many perceived “brake failure” cases are simply poor pedal geometry. One enthusiast combined pedal adjustment with a differential fluid change, documented in CartCraft Differential Fluid Change and Troubleshooting Noise Issues, to eliminate a grabbing brake issue. Most agree that pedal feel is the single most impactful $0 maintenance procedure.
Frequently Asked Questions
Q: How often should I check brake pedal free-play on my CartCraft?
A: Every 3 months or 500 miles. Off-road usage requires monthly checks.
Q: Can I adjust the brake pedal without removing the floor mat?
A: Yes. Most CartCraft models provide access via the pedal arm pivot area. Some gas models require removal of a small access panel under the dash.
Q: What if my pedal adjustment does not fix soft brakes?
A: The brake cables may be stretched or corroded. Replace cables first, then consider upgrading to a disc system. The How to Install a Marine-Grade Stereo on a CartCraft Golf Cart is unrelated but provides an example of quality replacement parts.
Q: Does pedal adjustment affect battery life on electric CartCraft models?
A: Indirectly, yes. Dragging brakes increase motor load, shortening range. Proper adjustment can improve range by up to 5%.
Q: What is the correct torque for the pedal stop nut?
A: 120–140 in-lbs (10–12 Nm). Overtightening can deform the bracket.
Q: Should I adjust the accelerator pedal at the same time?
A: Many owners adjust both. See How to Install a GPS Speedometer on a CartCraft Golf Cart for related instrumentation improvements.