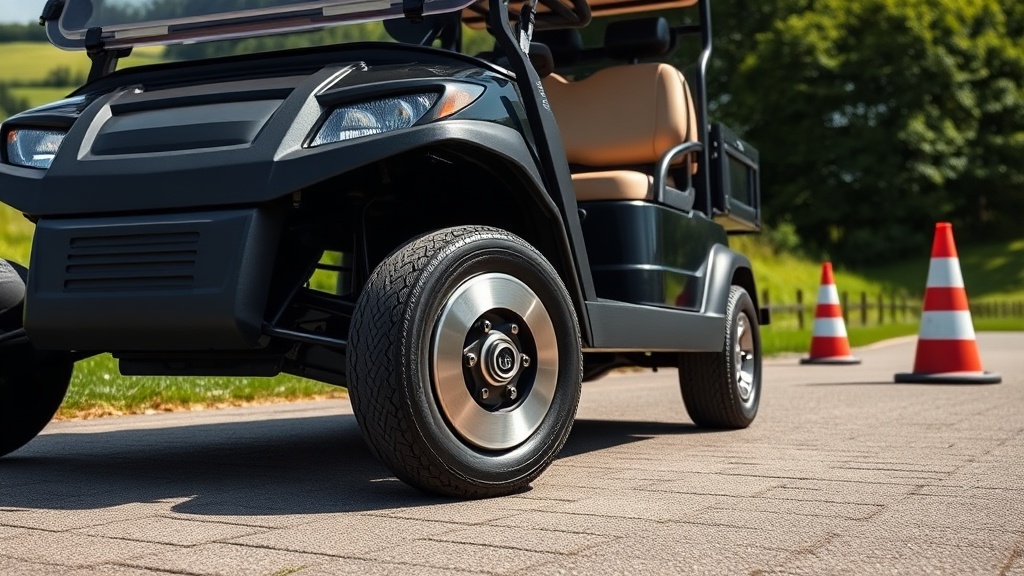
Why Upgrade to a Disc Brake Conversion Kit on Your CartCraft Golf Cart?
When it comes to golf cart safety, the braking system is the single most critical component for both driver and passenger protection. Standard drum brakes, common on older CartCraft models, can fade under repeated use, especially on hilly terrain or when carrying heavy loads. A high-performance disc brake conversion kit provides reliable, consistent stopping power, reducing stopping distances by up to 40% in wet conditions. This upgrade not only enhances safety but also improves pedal feel and reduces maintenance frequency, making it a worthwhile investment for any CartCraft owner who values control and peace of mind.
What Does a CartCraft Disc Brake Conversion Kit Include?
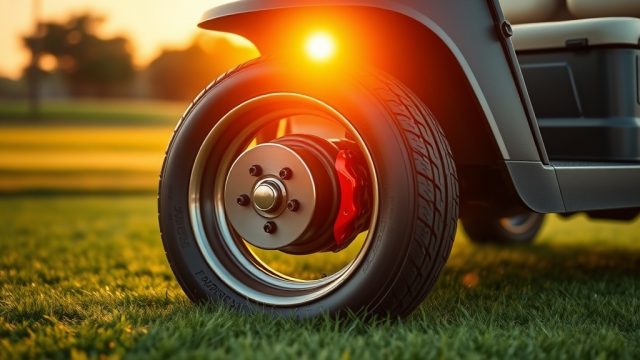
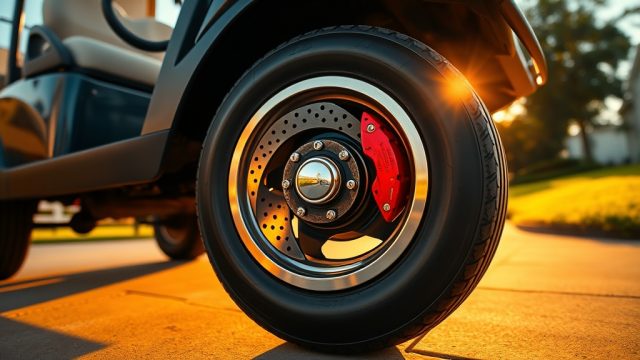
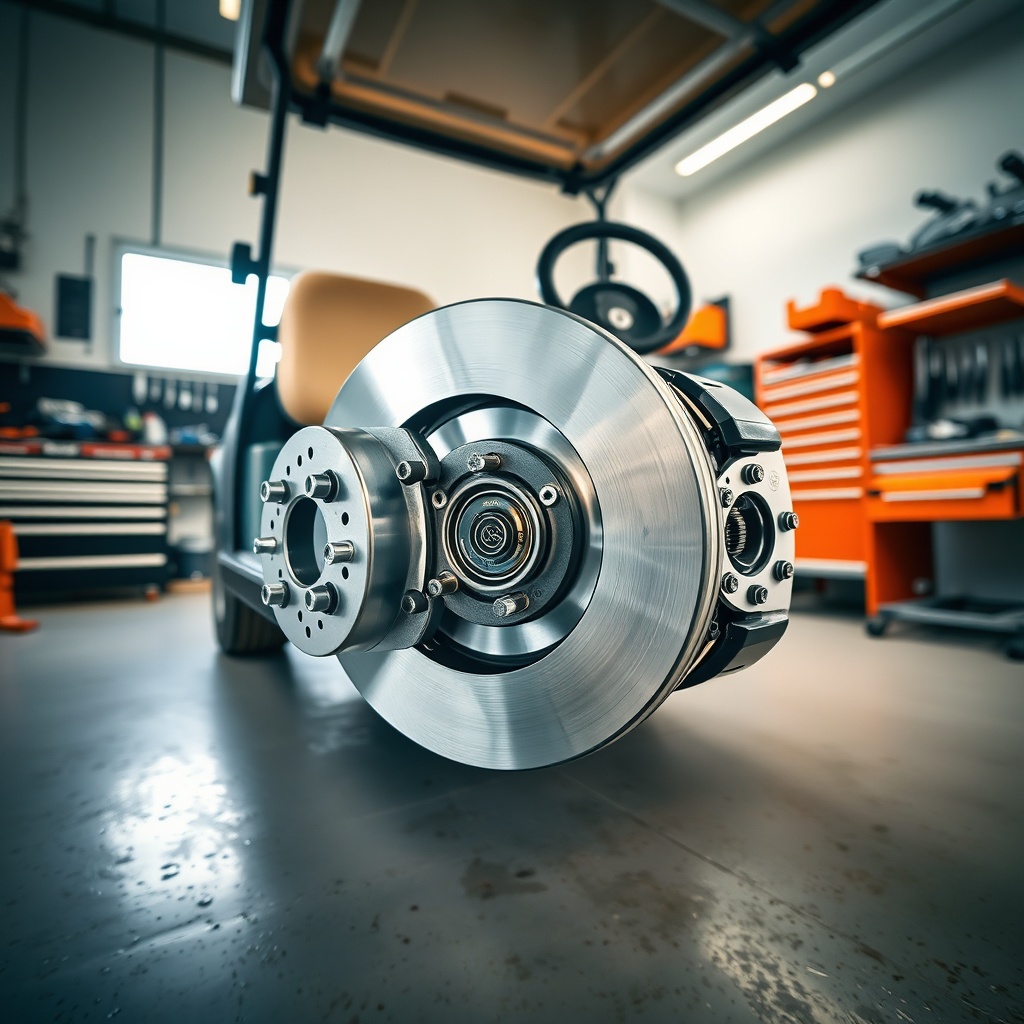
A comprehensive disc brake conversion kit for CartCraft golf carts typically includes two or four wheel hubs with pre-installed rotors, calipers, mounting brackets, brake pads, hydraulic lines, and all necessary hardware. Premium kits, such as those from Alltrax or local UK specialists, also feature stainless steel braided lines for improved brake fluid flow and reduced expansion under pressure. For a CartCraft model built after 2018, the kit may be plug-and-play, while older units might require minor drilling or bracket adaptation. Always verify compatibility with your specific CartCraft model year before purchasing.
Key components in a standard kit:
- Rotors (typically 10-inch diameter, vented for heat dissipation)
- Dual-piston calipers with corrosion-resistant coating
- Mounting brackets with grade 8.8 bolts
- High-friction ceramic brake pads (low dust, long life)
- 3/16-inch copper-nickel brake lines or stainless steel braided hoses
- Brake fluid (DOT 4 or DOT 5.1, about 500ml for full system flush)
How Much Does a Disc Brake Conversion Cost for a CartCraft?
The price of a disc brake conversion kit for CartCraft varies depending on axle configuration (front only vs. all four wheels) and brand. A front-only kit from a reputable supplier starts at approximately £220 GBP, while a complete four-wheel system ranges from £450 to £800 GBP. Installation labour, if you choose a professional shop, typically adds £150–£300 GBP, depending on your area. For those with basic mechanical skills, DIY installation is achievable in 4–6 hours with common tools like a torque wrench, brake line flaring tool, and jack stands.
| Kit Type | Typical Price (GBP) | Installation Time (DIY) | Brake Fluid Required |
|---|---|---|---|
| Front Disc Conversion (2 wheels) | £220–£350 | 3–4 hours | 250ml DOT 4 |
| Rear Disc Conversion (2 wheels) | £250–£400 | 3–5 hours | 250ml DOT 4 |
| Full 4-Wheel Disc Conversion | £450–£800 | 5–7 hours | 500ml DOT 5.1 |
| Professional Installation (full system) | £600–£1100 (parts + labour) | N/A | 500ml DOT 5.1 |
What Tools Do I Need to Install the Disc Brake Kit on My CartCraft?
Before beginning the installation, gather these essential tools: a 3-ton jack and jack stands, metric socket set (10mm, 12mm, 14mm, 17mm, 19mm), torque wrench (range 20–150 Nm), brake bleeder kit, tubing for fluid collection, flare nut wrench for brake lines, and a rubber mallet. You’ll also need thread-locking compound (medium-strength, blue Loctite) for caliper mounting bolts, and a container for old brake fluid. If your CartCraft has a lift kit, you may require extended brake lines, which are often sold separately. For safety, a second person to assist with bleeding the brake system is highly recommended.
Step-by-Step: How to Install the Disc Brake Conversion on a CartCraft
Follow these steps for a successful installation. Always work on a level surface with the golf cart’s parking brake engaged and the key removed. Disconnect the battery before working near any electrical components, though the brake system is purely mechanical.
- Step 1 – Wheel Removal: Jack up each corner and secure the cart on jack stands. Remove the wheel and tyre assembly, taking care not to damage wheel studs.
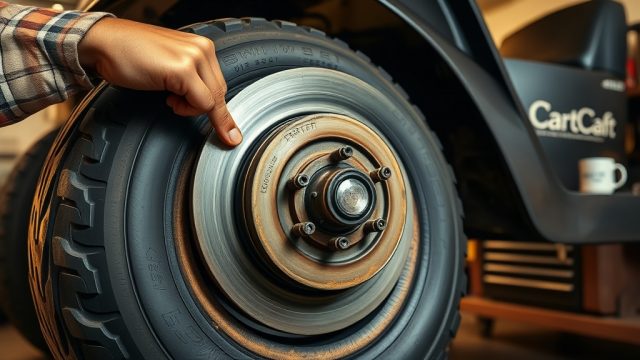
- Step 2 – Dismantle Old Drum Brakes: Unscrew the brake drum retaining screws, then pull the drum off. Disconnect the brake cable from the shoe lever and remove the shoe assembly. Clean the axle hub surface thoroughly.
- Step 3 – Install New Hub and Rotor: Slide the new rotor/hub combination onto the axle splines. Hand-tighten the axle nut to the manufacturer’s torque specification (typically 120 Nm).
- Step 4 – Mount Caliper Bracket: Attach the caliper mounting bracket to the steering knuckle or axle flange using provided bolts. Apply a drop of thread-locking compound. Torque to 70 Nm.
- Step 5 – Attach Caliper and Pads: Slide the caliper over the rotor, ensuring proper alignment. Insert brake pads into the caliper carrier. Tighten caliper slide pins to 25 Nm.
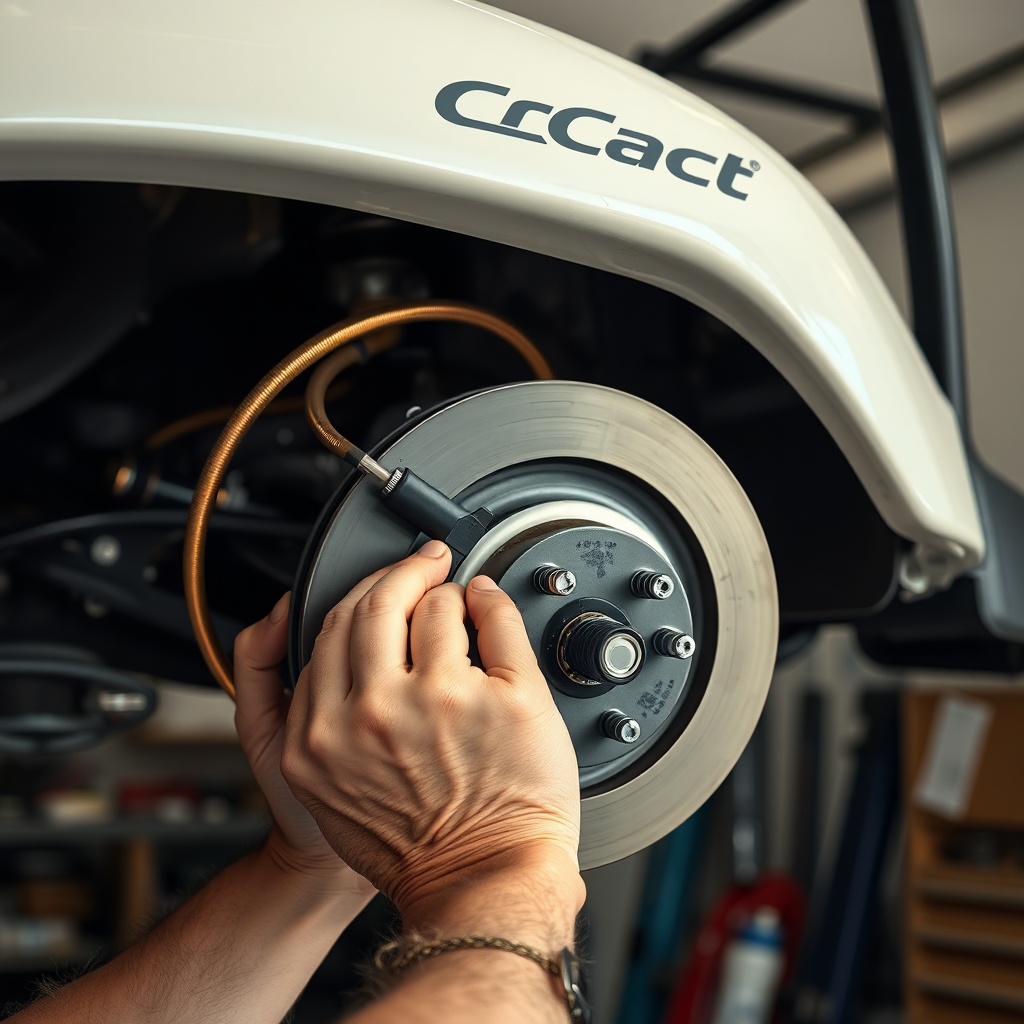
- Step 6 – Connect Brake Lines: Attach the new steel or copper-nickel brake line from the caliper to the chassis hardline. Use flare nut wrenches to avoid rounding fittings. Check for leaks.
- Step 7 – Bleed Brakes: Fill the master cylinder reservoir with fresh DOT 4 fluid. Using the bleed sequence (furthest wheel first: right rear, left rear, right front, left front), open the bleeder valve and pump the pedal until clear fluid flows with no air bubbles. Tighten bleeder valves to 12 Nm.
- Step 8 – Test and Adjust: Pump the brake pedal several times to build pressure. Check for firm pedal feel. Recheck all bolt torques after 10 brake applications.
After installation, bed in the brake pads by performing 10 gentle stops from moderate speed (about 15 km/h) to mate pad material to rotor surface. This improves braking performance and reduces noise.
How Does the Disc Brake Upgrade Affect Other CartCraft Systems?
Upgrading to disc brakes may influence other golf cart systems. The increased stopping power can highlight weaknesses in tire grip, making proper CartCraft Golf Cart Tire Pressure Tips: Optimal PSI for Performance and Safety essential for balanced braking. If you have installed a How to Install a GPS Speedometer on a CartCraft Golf Cart, the improved brake response will make speed management more precise. Furthermore, the reduced pedal travel from disc brakes can affect the accelerator-to-brake transition; consider refreshing the How to Program the Hall-Effect Accelerator on CartCraft for Better Throttle Response for smoother modulation.
The conversion also reduces stress on the differential because drum brakes often cause axle wind-up during hard stops. For carts with rear disc brakes, a proper CartCraft Differential Fluid Change and Troubleshooting Noise Issues after installation is good practice to ensure lubricant isn’t contaminated by brake dust. Additionally, if you’ve upgraded other performance parts, such as a How to Install a Marine-Grade Stereo on a CartCraft Golf Cart, ensure all wiring is secured away from hot brake components.
What Owners Say About the CartCraft Disc Brake Upgrade
CartCraft owners who have made the switch to disc brakes consistently report dramatic improvements. “I converted my 2017 CartCraft to front disc brakes because we live in the Peak District hills. The stopping power is night and day—I no longer panic at the bottom of long slopes,” says Mark H. from Derbyshire. Sarah T., who runs a 2020 CartCraft for her holiday rental property, notes: “The pedal feel is much firmer. Guests feel safer, and maintenance is almost zero compared to the old shoes.” Common praise includes reduced fade during heavy use, easier bleeding than drum systems, and the ability to stop with a moderate pedal press. Some users caution that the initial cost is higher, but the long-term savings in pad replacements (often lasting 3–5 years) offset the expense.
Frequently Asked Questions
Can I install disc brakes on only the front of my CartCraft?
Yes, upgrading only the front axle is a common first step. Front brakes handle about 60–70% of the braking force in a golf cart. A front-only kit improves stopping distance significantly, though for best safety and balance, a four-wheel conversion is recommended for hilly terrain or heavy-load usage.
Will disc brakes work with my CartCraft’s existing hydraulic system?
Yes, most disc brake kits are designed to connect to the standard MasterCraft hydraulic brake system. You may need to flush the old fluid and replace it with DOT 4 or DOT 5.1, depending on the kit. Ensure the master cylinder reservoir has sufficient capacity (usually at least 500ml).
How often should I replace the brake pads after converting to discs?
With typical recreational use (about 500–800 km per year), high-quality ceramic pads last approximately 3–5 years or 1,500–2,000 km. Check pad thickness visually every 6 months; when the friction material is down to 3mm, replace the pads immediately.
Do I need a lift kit to install disc brakes on my CartCraft?
No, most disc brake conversion kits fit standard-height CartCraft models with 10-inch or 12-inch wheels. If you have a lift kit (e.g., 4-inch or larger), you may need extended brake hoses to avoid tension. Always confirm with the kit supplier for lift-specific components.
Can I perform the installation myself without prior brake experience?
DIY installation is achievable if you have basic mechanical aptitude, but bleeding the brakes correctly is the most challenging step. We recommend watching several video tutorials and having a helper. If you are uncertain, professional installation is a safer option and often comes with a warranty.
Will the conversion affect my CartCraft’s warranty?
If your CartCraft is still under factory warranty (typically 2 years from purchase), adding aftermarket disc brakes may void the brake system warranty. However, it usually does not void other component warranties. Check your warranty terms or consult your CartCraft dealer before proceeding. Many owners choose to wait until warranty expires.