Introduction
Maintaining proper battery water levels on your CartCraft golf cart is a critical yet often overlooked aspect of battery care. Inconsistent water levels can drastically reduce the lifespan of your batteries, leading to expensive replacements and unreliable performance on the course. This guide walks through every essential step, from checking electrolyte levels to refilling safely, ensuring your CartCraft’s power system delivers consistent output for years. Proper water maintenance also directly influences charging efficiency, so by mastering this routine, you safeguard both the battery pack and the charger.
What Tools Do I Need to Check Battery Water Levels on a CartCraft?
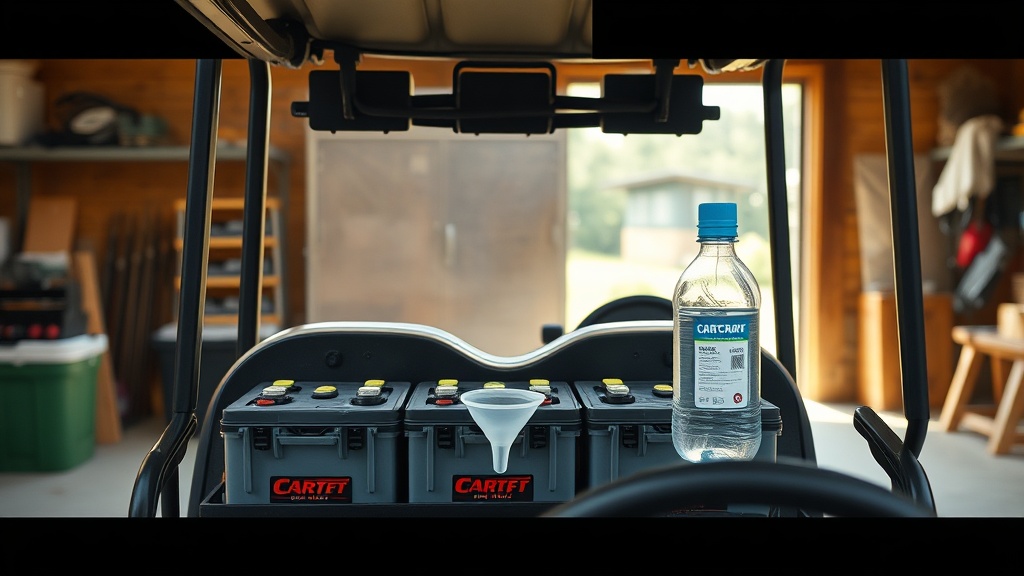
Before you begin, gather the following items to ensure a safe and accurate check: distilled water (never tap water), a clean funnel or battery watering bottle, safety glasses, rubber gloves, a multimeter for verifying charge state, a flashlight, and a clean cloth for wiping spills. Many CartCraft owners prefer dedicated watering systems that attach directly to the battery vents, minimising mess. You should also have a hydrometer on hand to measure specific gravity if your batteries are flooded lead-acid type. Avoid using metal tools around the battery terminals—stick to plastic or rubber options.
How Often Should I Check Battery Water Levels on a CartCraft?
The frequency depends on usage and climate. For CartCraft owners who use their cart daily, check water levels every two weeks during the charging season. In hot weather, evaporation accelerates, so weekly checks may be necessary. For casual users (once or twice per week), monthly inspections suffice. Always check after charging—never before—because water levels naturally rise during charging due to gas expansion. If you notice frequent low water, it could indicate overcharging, which requires a review of your CartCraft Battery Charging Safety Tips: Avoiding Common Mistakes.
How to Add Water to a CartCraft Battery: Step-by-Step Process
1. Charge the Batteries Fully
Always water batteries after a full charge cycle, not before. If you add water before charging, the electrolyte can overflow during charging, causing acid spills and corrosion. Follow the manufacturer’s charge time—usually 6-10 hours for a standard CartCart 48-volt system.
2. Remove the Vent Caps
Twist off each cell cap carefully. Wipe the top of the battery with a cloth to prevent dirt from dropping inside. Some CartCraft models have a single watering manifold that lifts off as one piece.
3. Check the Electrolyte Level
Look into each cell—the fluid should cover the plates completely and be about 1/8 inch (3 mm) below the bottom of the fill well. If you see exposed plates, add distilled water immediately.
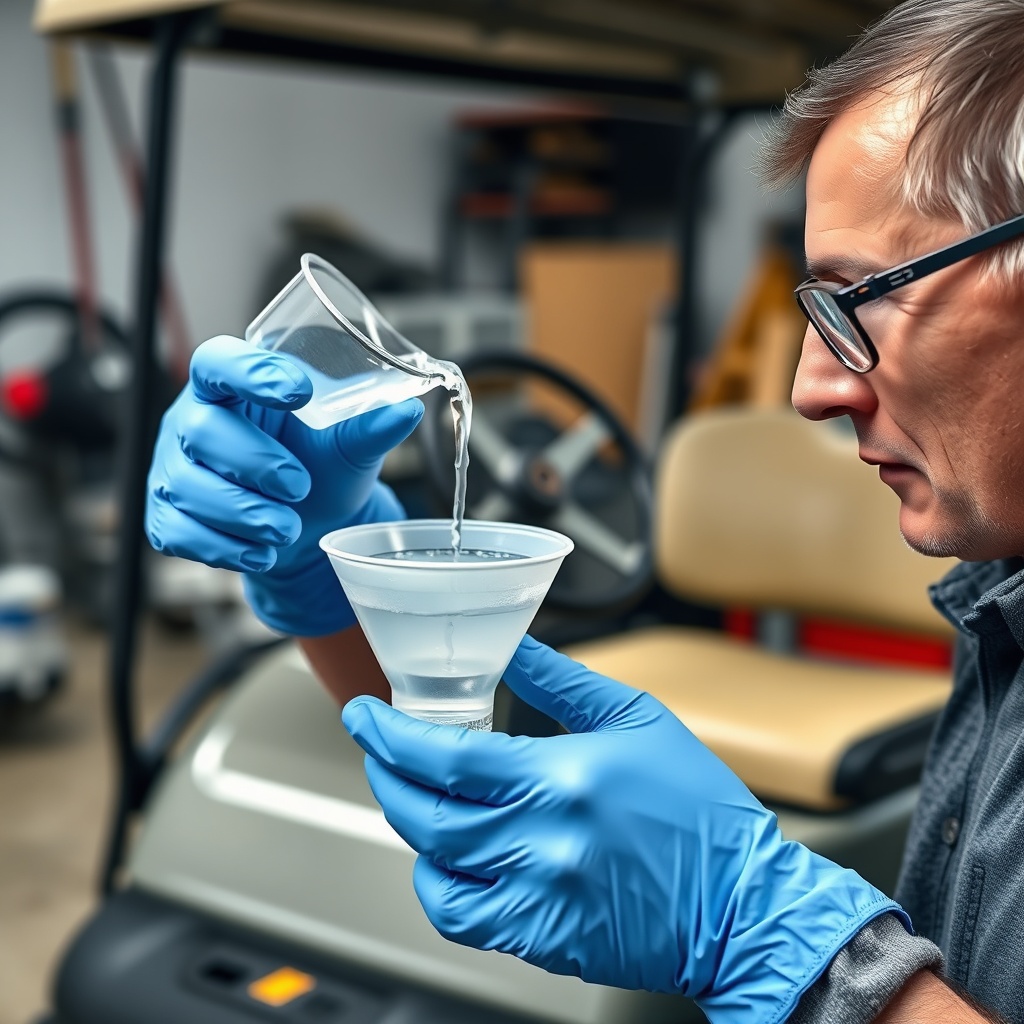
4. Add Distilled Water Slowly
Use the funnel or watering bottle to add distilled water until it just reaches the bottom of the fill tube. Do not overfill. After replacing caps, wipe any drips from the battery top.
5. Recharge After Watering
If you added water to a fully charged battery, you can skip this step. But if you added water to a discharged battery, run a short 30-minute charge to mix the water with the electrolyte thoroughly.
For deeper insights on the entire maintenance routine, check our CartCraft Battery Water Maintenance: Essential Tips for Long Battery Life.
What Happens If Battery Water Levels Get Too Low?
Low water levels expose the lead plates to air, causing them to sulphate and crack. This irreversible damage reduces capacity by up to 50% and can cause a complete battery failure within weeks. Furthermore, low water increases internal resistance, making the charger work harder and shortening its lifespan. On a CartCraft, one dry cell can drag down the entire battery pack’s voltage, leading to sluggish acceleration, shorter range per charge, and possible damage to the motor controller. The table below shows severity levels:
| Water Level (below plates) | Severity | Effect on CartCraft Performance | Recommended Action |
|---|---|---|---|
| 0–5 mm | Moderate | Slight reduction in range (10–15%). | Add distilled water immediately; check charging habits. |
| 6–15 mm | High | Range cut by 30–50%; slower acceleration; charger may overheat. | Add water; test battery voltage; consider equalisation charge. |
| >15 mm or plates exposed | Critical | Permanent damage; cart may not move; risk of thermal runaway during charging. | Replace the affected battery; inspect entire pack for damage. |
How Does Charging Affect Battery Water Levels on a CartCraft?
During the charging process, electrochemical reactions cause water molecules to split into hydrogen and oxygen gas. This electrolysis gradually consumes water, which is why levels drop over time. The faster and hotter you charge, the more gassing occurs. CartCraft chargers typically deliver a constant current until the battery reaches absorption voltage, after which they taper. If the charger does not transition properly (a sign of faulty voltage regulation), excessive gassing can happen, emptying cells quickly. To minimise water loss, always charge in a well-ventilated area at ambient temperatures below 30°C. Also, use the charger’s correct profile for your battery type—flooded lead-acid batteries require a higher absorption voltage than gel or AGM. Our CartCraft Battery Charging Safety Tips: Avoiding Common Mistakes covers these nuances in depth.
What Owners Say About CartCraft Battery Water Maintenance
Regular CartCraft owners on forums and review sites consistently highlight the importance of water level checks. “I ignored it for months and lost two batteries within a year—cost me nearly £180. Now I have a watering kit with a level indicator, and the pack lasts twice as long,” says Andrew T. from Manchester. Another owner, Sarah L., notes that “after following the tips in the CartCraft manual about adding water only after charging, my batteries never leaked acid on the garage floor again.” Many also recommend purchasing a hydrometer to check specific gravity every three months. The consensus is clear: consistent water maintenance is the cheapest insurance for a long battery life. Several users have also paired this routine with How to Install a Sound System on a CartCraft Golf Cart, ensuring every upgrade is powered by healthy cells.
Frequently Asked Questions
- What type of water should I use in my CartCraft batteries? Always use distilled water. Tap water contains minerals that contaminate the electrolyte, reducing battery life by up to 40%.
- Can I add water to a hot battery after charging? Yes, but wait at least 30 minutes after charging ends to allow the gases to settle and the electrolyte to stabilise. Do not add water to a boiling battery.
- How do I know if my CartCraft battery has enough water? Look at the level indicator inside each cell—the fluid should be 1/8 inch (3 mm) below the bottom of the fill tube. A hydrometer test also gives a specific gravity reading (1.265–1.300 for full charge).
- What if I overfill a battery cell? Overfilling causes acid to spill during charging, which corrodes terminals and the battery tray. Remove excess water using a turkey baster or battery syringe. Neutralise spilled acid with a baking soda solution.
- Can I drive my CartCraft with low battery water? You can, but it risks permanent damage to the plates. Range will drop significantly, and voltage may sag under load. Address low water before the next charge cycle.
- How often should I replace the batteries in a CartCraft? With proper water maintenance, typical flooded lead-acid batteries last 4–6 years. Without water care, failure occurs in 18–24 months. Always check water before and after each full charge cycle.
For owners looking to expand their cart’s functionality, consider Customizing Your CartCraft Golf Cart with LED Lights and Accessories or checking the CartCraft Brake System Inspection: Signs of Wear and When to Replace to maintain safety alongside battery health. Also verify CartCraft Golf Cart Tire Pressure Tips: Optimal PSI for Performance and Safety for a balanced driving experience.