

Why Does the EZGO TXT Solenoid Fail and What Are the Signs?
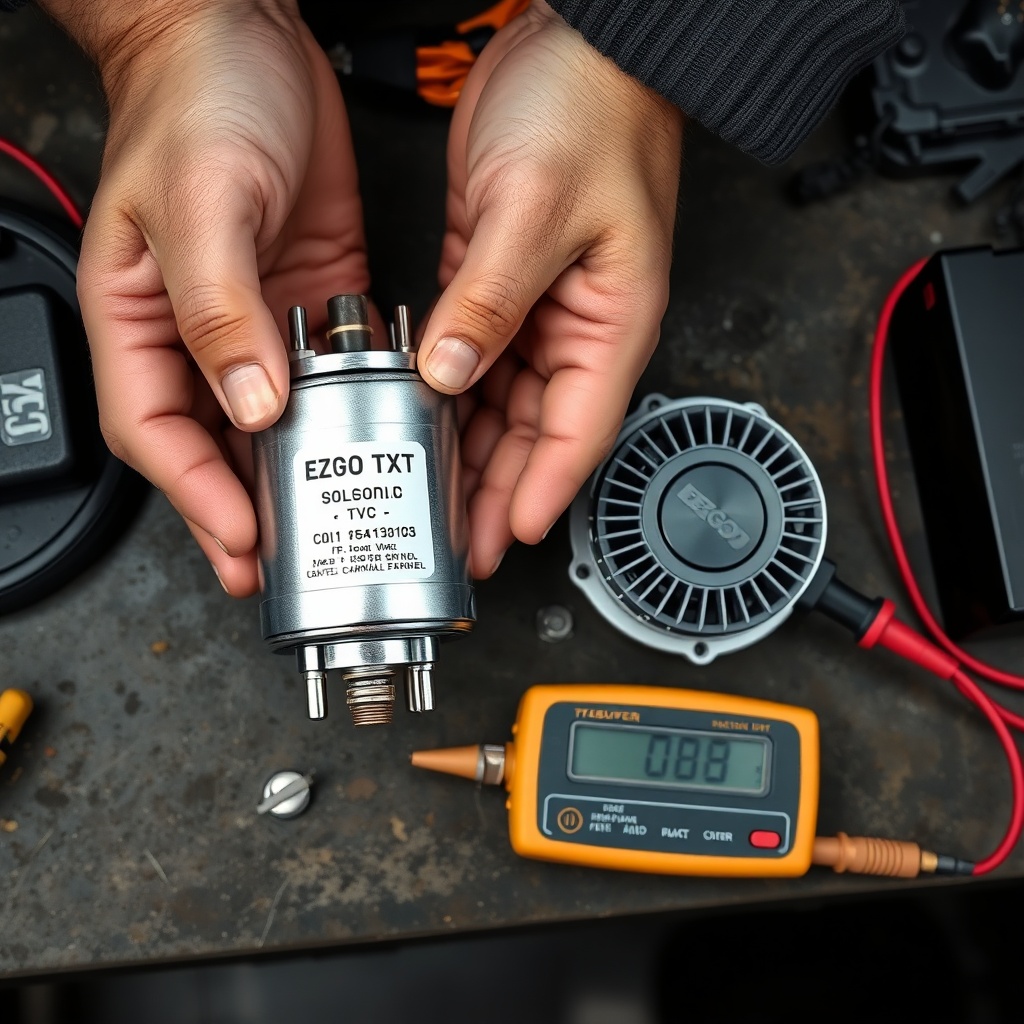
The solenoid on an EZGO TXT acts as the main electrical switch that connects the battery pack to the motor controller when the accelerator pedal is pressed. Over time, internal contacts wear down, coil resistance changes, or corrosion sets in, leading to intermittent or complete starting failure. Common symptoms include a single loud “click” when pressing the pedal but no movement, a buzzing sound from the component area, or the golf cart needing multiple pedal presses before it moves. If your TXT is a 1994–2013 model with a Curtis or Danaher controller, the OEM solenoid is typically a 36V or 48V continuous-duty unit rated at 200–300 amps. Ignoring these warning signs can leave you stranded on the course or in your neighbourhood. Replacing the solenoid is one of the most straightforward yet impactful maintenance-repair tasks you can perform to restore reliable starting performance.
How Do I Select the Correct Replacement Solenoid for My EZGO TXT?
Choosing the right solenoid for your EZGO TXT is critical because the voltage and amp rating must match your cart’s drive system and battery configuration. Most TXTs with a 36V system require a continuous-duty solenoid rated at 200–300 amps, while 48V conversions demand a 48V-rated unit. Aftermarket brands like Rage, Yami, or OEM Ezgo replacements are widely available. The following table summarises the typical specifications based on powertrain type:
| Battery System | Controller Type | Recommended Solenoid Rating | Typical Price (GBP) |
|---|---|---|---|
| 36V (standard) | Danaher or Curtis (125–300A) | 36V continuous-duty, 200A | £22 – £45 |
| 48V (conversion) | Curtis 400–500A | 48V continuous-duty, 400A | £35 – £60 |
| AC Drive (some newer TXT) | AC controller | 48V continuous-duty, 400A+ | £40 – £75 |
| Custom high-perf (lifted) | Alltrax or Navitas | 48V, 500A with low-resistance contacts | £60 – £90 |
Always confirm the coil resistance using a multimeter. A healthy solenoid coil should read around 100–200 ohms for a 36V unit or 400–600 ohms for a 48V unit. If your reading is significantly lower (under 10 ohms) or open, the coil is shorted or burnt — replace it immediately. For more comprehensive upgrades that affect starting and handling, pairing a new solenoid with an improved suspension can dramatically change your driving experience. See our EZGO TXT Suspension Upgrade Guide: Improve Ride Comfort and Handling for complementary modifications.
What Tools and Safety Precautions Do I Need for the Replacement?
Before you start, park the cart on a level surface, chock the wheels, and switch the key to the OFF position. Disconnect the negative battery cable first, then the positive, and wait at least 15 minutes for the capacitors in the controller to discharge. You will need a 10mm socket with a ratchet, a 13mm socket for the solenoid mounting bolts, a multimeter with continuity and resistance settings, dielectric grease, and a pair of needle-nose pliers. A torque wrench (set to 8–12 Nm for small terminal nuts) is recommended but not mandatory. Wear insulated gloves and safety glasses — the battery pack can deliver a dangerous current even when the key is off. Verify that your replacement solenoid has the same mounting hole spacing (usually 56mm on the TXT) to avoid drilling new holes in the frame bracket.
Common pitfalls include using too much torque on the small coil terminals (snapping the studs) or cross-threading the large battery cables onto the solenoid posts. If your TXT has been upgraded with a higher-amp aftermarket controller, as highlighted in the EZGO TXT Suspension Upgrade Guide: Improve Ride Comfort and Handling, the solenoid must be derated by at least 20% on amp capacity to handle the surge current.
What Is the Step-by-Step Procedure for Replacing the Solenoid?
Follow this sequence carefully to ensure a trouble-free installation. The process takes roughly one to two hours for a first-time DIYer.
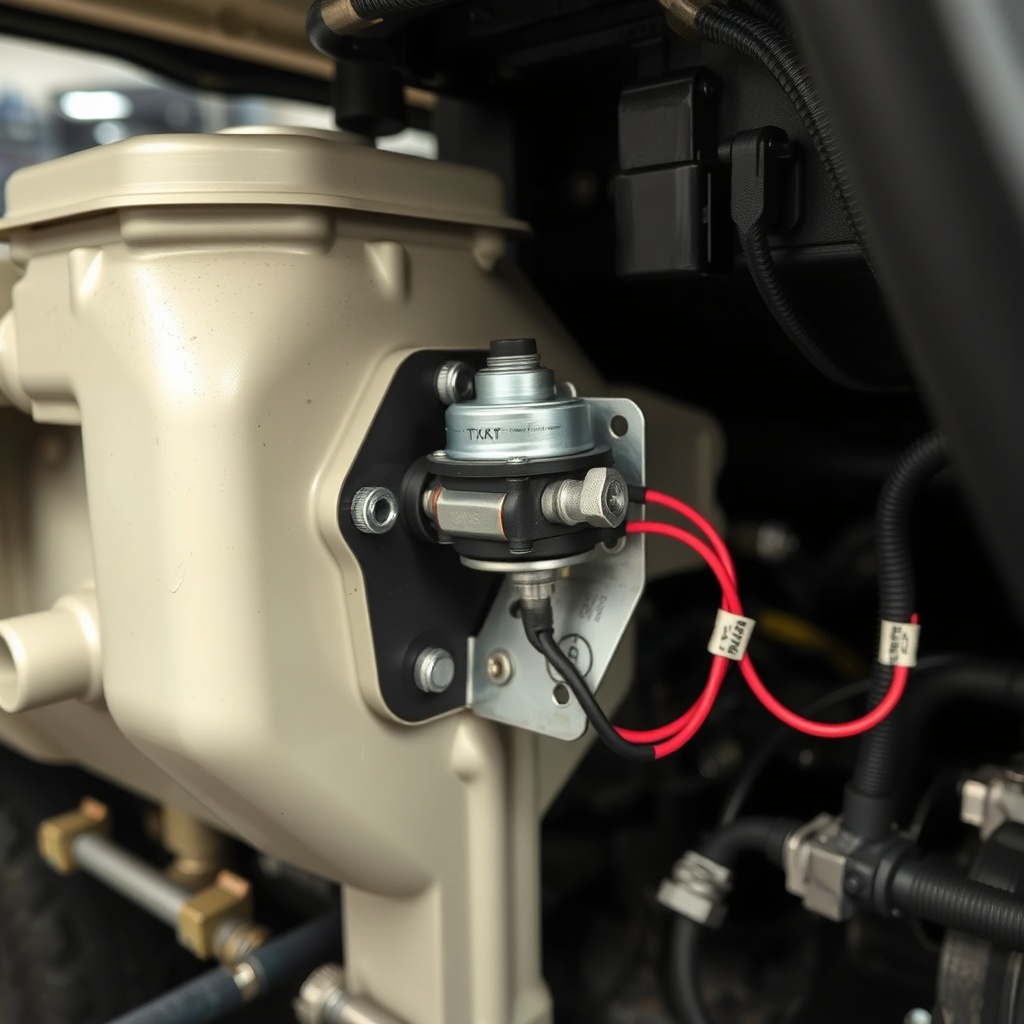
Step 1 – Access the Solenoid: Locate the solenoid mounted near the controller, usually on the driver’s side under the seat or behind the battery tray. Remove the plastic cover if present using a 10mm socket. Photograph the wiring layout with your phone to aid reassembly.
Step 2 – Remove Old Solenoid: Using the 13mm socket, unbolt the solenoid from its bracket. Disconnect the two large motor and battery cables from the solenoid terminals first (these are the main current paths). Then remove the two small coil wires from the smaller terminals. Note which small wire goes to which terminal (polarity is generally irrelevant for DC coils, but orientation matters for the resistor/diode pack).
Step 3 – Transfer the Resistor/Diode: The original solenoid often has a pre-charge resistor and a snubber diode connected across the large terminals. Carefully remove these and install them on the new solenoid using a small amount of dielectric grease on the connections. If you skip this step, the controller may not charge its capacitors and the cart may not engage properly.
Step 4 – Mount New Solenoid: Position the new solenoid on the bracket and hand-tighten the bolts. Torque to 8–10 Nm. Do not over-tighten — the alloy housing can crack.
Step 5 – Reconnect Wiring: Reattach the two large cables: the battery positive cable goes to one large post, and the controller B+ cable to the other large post. Connect the small coil wires (typically a white/black pair on stock TXT) to the two small terminals. Polarity is not critical for the coil but maintain the same orientation as the original to avoid confusion later.
Step 6 – Final Checks: Reconnect battery power: positive first, then negative, while being careful with sparks near the battery. Turn the key to ON, press the accelerator pedal, and listen for a firm click from the solenoid. The cart should move forward under its own power. If the solenoid chatters (clicks rapidly), the coil resistance is mismatched or the battery voltage is low — recheck your wiring.
What Owners Say About the EZGO TXT Solenoid Replacement Experience
Many owners on UK golf cart forums report that replacing the solenoid completely resolves the intermittent “no-go” condition that plagued their TXT after a few years of coastal or woodland driving. On average, a new solenoid restores crisp, immediate engagement. One owner in Surrey noted that after fitting a heavy-duty 48V solenoid on a converted TXT, the cart now climbs a steep hill on the course without hesitation — something the original unit struggled with. Another common observation is that using a cheap £15 generic solenoid often fails again within three months, while a quality aftermarket unit from a trusted supplier lasts between three and five years with typical weekly use. The general consensus is that the replacement procedure, while simple, demands patience with wiring — especially if the resistor/diode pack is incorrectly transferred, which can cause premature controller failure. Many recommend replacing the solenoid at the same time as upgrading the battery cables to 4 AWG for maximum current delivery.
For owners considering a suspension overhaul to complement the electrical fix, the EZGO TXT Suspension Upgrade Guide: Improve Ride Comfort and Handling discusses how a smoother ride reduces vibration that can loosen solenoid mountings over time.
Frequently Asked Questions (FAQ)
1. Can a faulty solenoid drain my EZGO TXT battery?
Yes, a solenoid with a shorted coil can cause continuous current draw, draining the battery pack overnight. Test the coil resistance with the key off — if it reads under 10 ohms, replace the solenoid immediately to avoid battery damage.
2. Should I use a standard-duty or continuous-duty solenoid for my TXT?
Always use a continuous-duty solenoid for any EZGO TXT, even if you only drive short distances. Standard-duty solenoids are designed for intermittent use (like starter motors) and will overheat and fail quickly in the constant-power application of a golf cart.
3. How do I test if the solenoid is bad without replacing it?
Set your multimeter to continuity mode. With the key off, place probes across the two large terminals — you should read infinite resistance (no continuity). Have a helper press the accelerator pedal while the key is ON; you should hear a click and see near-zero resistance (continuity). If you get continuity constantly without pedal input, the solenoid is stuck closed.
4. My replacement solenoid clicks once but the cart won’t move — what’s wrong?
This usually indicates a high-resistance connection: the solenoid is closing but current is not flowing. Check that the large cables are tightened to 8–12 Nm, that the controller’s main fuse is intact, and that the battery pack voltage is within spec (36V = 38.2V fully charged; 48V = 50.9V). Also verify that the resistor/diode pack is correctly wired across the large terminals.
5. Can I use a car or marine solenoid as a replacement?
Only if the marine solenoid is rated for continuous duty and matches your battery voltage and amp rating. Most car starter solenoids are intermittent-duty and will fail within weeks on a golf cart. It is far safer and more reliable to use a dedicated golf cart solenoid.
6. How much does an EZGO TXT solenoid replacement typically cost in the UK?
A quality aftermarket solenoid costs between £25 and £50 for a standard 36V unit, while heavy-duty 400A examples for 48V conversions run £45–£75. Labour at a repair shop adds roughly £40–£80 if you prefer professional installation. Considering the part costs and simplicity of DIY, this is one of the most cost-effective maintenance-repair tasks for extending the life of your TXT.