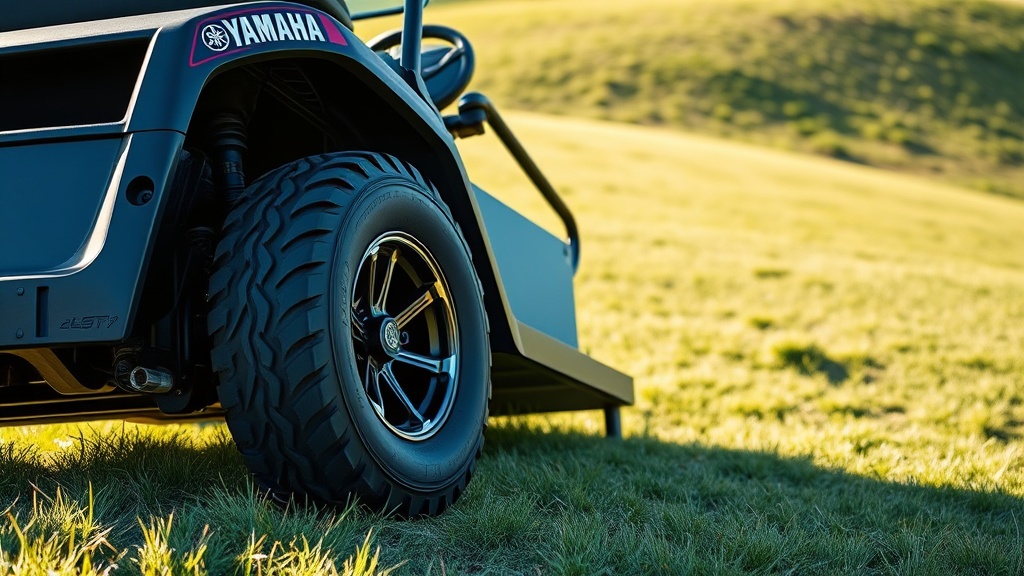
How to Replace Tires on a Yamaha Drive2 PTV: A Complete Guide
Replacing the tires on a Yamaha Drive2 PTV is a straightforward maintenance task that can significantly improve traction, ride comfort, and overall safety. Whether you’re dealing with worn treads, looking to upgrade to an all-terrain set, or simply performing routine Yamaha Drive2 PTV Brake System Inspection, proper tire removal and installation are essential skills. This guide covers everything from selecting the right tires to the step-by-step replacement process, ensuring your cart stays roadworthy for years to come.
What Tools Will I Need to Replace Tires on a Yamaha Drive2 PTV?
Before starting, gather the following tools and materials. Having everything ready prevents unnecessary delays and ensures a safe, efficient job.
- Jack (rated for at least 1,000 lbs) and jack stands
- Lug wrench or torque wrench (17 mm or 19 mm socket typical for Yamaha Drive2 PTV)
- New tires (matched to your cart’s rim size, usually 18×8.5-8 or 20×10-10)
- Air compressor or tire inflator
- Valve core tool (optional, for tubeless tires)
- Lubricant (soapy water or tyre mounting paste) for bead seating
- Penetrating oil for stubborn lug nuts
- Safety glasses and gloves
Check your cart’s specifications: the Yamaha Drive2 PTV typically uses 8-inch rims on front and 10-inch rims on rear, but some models have four identical 10-inch rims. Always verify before purchasing replacements. If you’re also planning a Best Suspension Upgrades for the Yamaha Drive2 PTV, this is an ideal time to combine both jobs.
How Do I Choose the Right Tires for My Yamaha Drive2 PTV?
Tire selection depends on your primary use. Below is a comparison table of common tire types for the Yamaha Drive2 PTV.
| Tire Type | Best Use | Tread Life (miles) | Approx. Price per Tire (£) |
|---|---|---|---|
| Street (smooth) tyre | Pavement, golf courses, neighbourhoods | 8,000-12,000 | £55-£85 |
| All-terrain (knobby) | Light off-road, gravel, grass | 6,000-10,000 | £70-£110 |
| Mud terrain (aggressive) | Heavy off-road, sand, deep mud | 4,000-8,000 | £90-£140 |
| High-traction snow tyre | Winter conditions, ice, snow | 5,000-9,000 | £80-£120 |
For most owners, an all-terrain tyre strikes a good balance between ride comfort on pavement and off-road capability. If you mainly drive on pavement, street tyres will last longer and ride quieter. Consider your local terrain and typical load. Note that altering tire size can affect speedometer accuracy and top speed, which may be relevant if you’ve performed a How to Remove the Governor on a Yamaha Drive2 PTV for More Speed.
Severity Warning: Installing tires with a diameter more than 2 inches larger than stock can cause rubbing on the suspension or bodywork. Verify clearance before final installation. Also, always use tires that match the load rating of your cart. The Yamaha Drive2 PTV has a gross vehicle weight rating (GVWR) of approximately 1,250 lbs (567 kg).
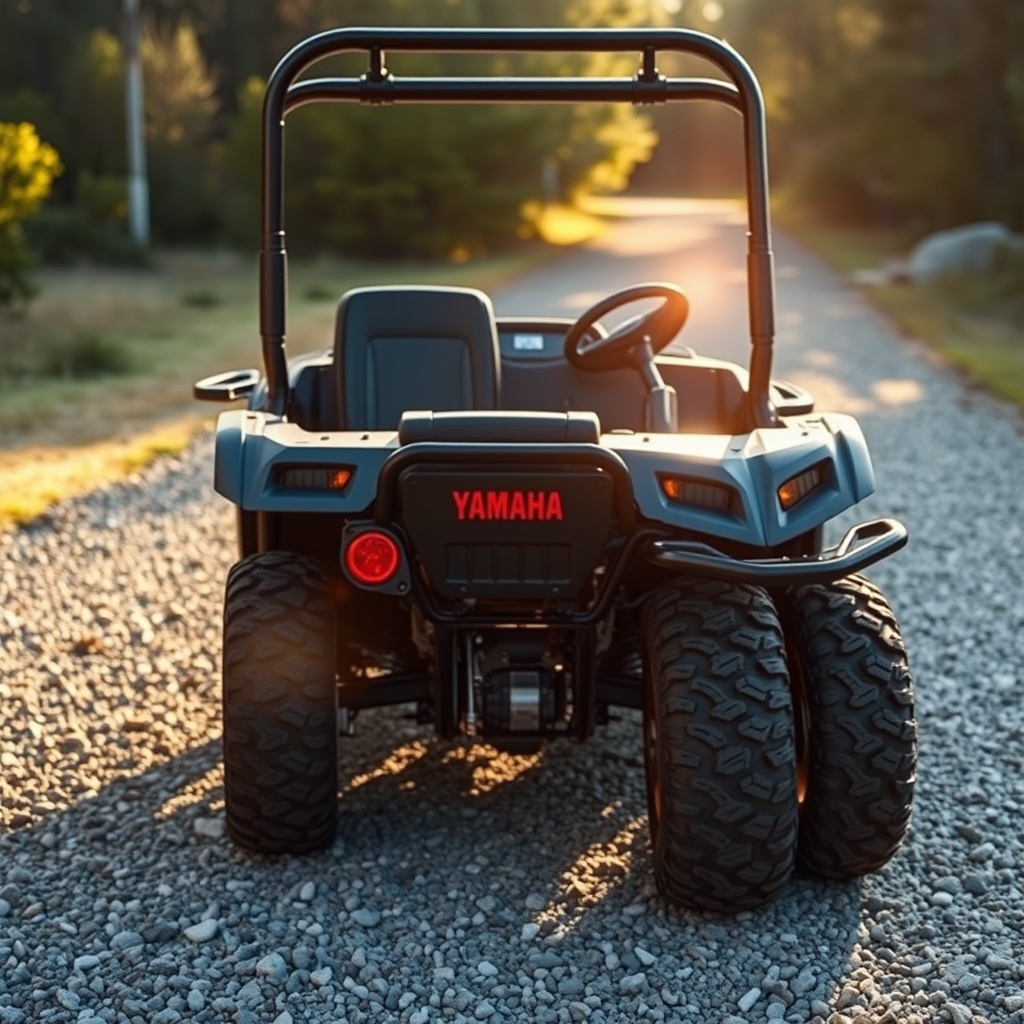
What Is the Step-by-Step Process to Remove the Old Tires?
Follow these steps carefully to avoid injury or damage to the cart.
- Park the cart on level ground and engage the parking brake. Turn off the power.
- Loosen the lug nuts with a lug wrench while the wheel is still on the ground. Turn them counter-clockwise, but do not remove them yet.
- Jack up the cart at the designated jack point (usually under the frame rail near the axle). Place jack stands under the frame for safety.
- Remove the lug nuts completely and pull the wheel straight off the hub. If stuck, tap the rim gently with a rubber mallet.
- Remove the valve core (if tubeless) to release all air. Use a tire bead breaker to separate the tire from the rim. If you don’t have one, carefully use a pry bar or take the assembly to a shop.
- Cut the old tire off with a utility knife or angle grinder if recycling is not an issue. For reusable rims, pry the bead off both sides and remove the tire.
- Inspect the rim for cracks, bends, or rust. Check the hub for How to Replace Brake Pads on a Yamaha Drive2 PTV if you’re already doing brake work.
How Do I Install New Tires on the Yamaha Drive2 PTV Rims?
Installing new tires requires patience and the right technique to prevent bead damage.
- Apply tyre lubricant to the bead area of the new tire and the rim’s bead seat. This prevents tearing.
- Mount the tire onto the rim by levering one side of the bead over the rim flange using two tyre irons. Work from the opposite side of the valve stem.
- Insert the inner tube if your tire is designed for tubes (check manufacturer specs). For tubeless tires, simply continue seating the second bead.
- Use tyre irons to lever the second bead over the rim flange. Avoid pinching the tube.
- Inflate the tire to approximately 20-25 PSI (check your cart’s recommended pressure, typically 18-22 PSI). Seat the bead by inflating to 30-35 PSI briefly, then reduce to correct pressure.
- Check for leaks using soapy water around the bead and valve stem. Bubbles indicate a leak.
If the bead won’t seat, apply more lubricant, deflate, and re-inflate. Never exceed the maximum bead seating pressure (usually 40 PSI) listed on the tire sidewall.
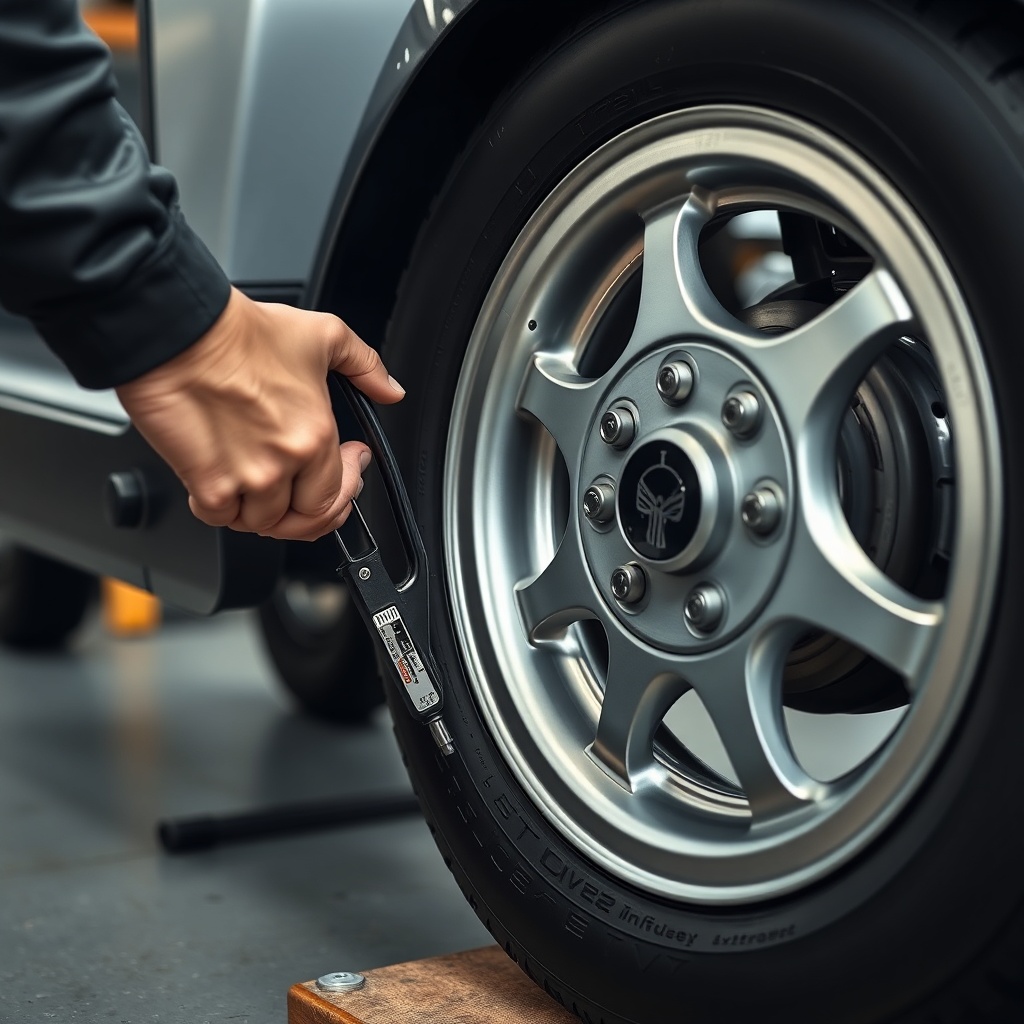
How Do I Reinstall the Wheel and Torque the Lug Nuts Correctly?
Proper reinstallation is critical for safety and preventing vibration.
- Clean the hub surface with a wire brush to remove rust or debris.
- Place the wheel on the hub and hand-tighten the lug nuts until snug.
- Lower the cart off the jack stands so the wheel contacts the ground.
- Torque the lug nuts in a star pattern to the manufacturer’s specification. For Yamaha Drive2 PTV, torque is typically 70-85 ft-lb (95-115 Nm). Consult your owner’s manual for exact values.
- Re-check torque after driving 10-20 miles, as lug nuts can settle.
Under-torqued lug nuts can loosen, causing wheel wobble. Over-torquing can warp brake rotors or damage studs. If you recently performed a Yamaha Drive2 PTV Battery Range Test: Real-World Results, note that improper lug torque can reduce range due to increased rolling resistance.
What Owners Say About Yamaha Drive2 PTV Tire Replacements
Owners frequently praise the ease of replacing tires on the Yamaha Drive2 PTV due to its simple hub design. Many report that upgrading from stock street tires to all-terrain tires transforms the cart’s ability to handle grass, gravel, and light mud without sacrificing too much on-pavement comfort. Common complaints include difficulty seating the bead on budget tires and occasional rust on lug studs requiring penetrating oil. Several owners recommend spending a little extra on name-brand tires like Carlisle or Kenda for longer life. One owner noted that after upgrading to 20-inch tires, they needed to adjust the governor to maintain reasonable speeds, referencing the How to Remove the Governor on a Yamaha Drive2 PTV for More Speed guide. Overall, the job is considered a great DIY project for anyone comfortable with basic tools.
Frequently Asked Questions
- Can I replace only two tires on my Yamaha Drive2 PTV?
Yes, but it’s recommended to replace tires in pairs (both front or both rear) to maintain even traction. Mixing different treads can cause handling issues. - What is the correct tire pressure for a Yamaha Drive2 PTV?
Standard pressure is 18-22 PSI for street tires and 15-20 PSI for off-road tires. Always check the sidewall for max pressure and adjust based on load. - How often should I replace tires on a Yamaha Drive2 PTV?
Every 3-5 years or when tread depth reaches 1.6 mm (1/16 inch), whichever comes first. Inspect for cracks or dry rot every six months. - Can I use car tires on my Yamaha Drive2 PTV?
No. Golf cart tires have a different bead profile, load rating, and diameter. Car tires are too heavy and may not fit the rim properly. - Do I need to balance the tires after installation?
For street use, balancing is recommended to avoid vibration. For off-road use, balancing is less critical but still beneficial for tire life. - What should I do if a lug nut breaks during removal?
Use a stud extractor tool or drill out the stud. Replace the stud immediately. Driving with a missing or broken stud is dangerous.