
Why Is Brake Inspection Critical for the Yamaha Drive2 PTV?
The Yamaha Drive2 PTV is a capable personal transport vehicle often used on golf courses, resorts, and private estates. However, its braking system demands regular attention to prevent costly repairs and ensure passenger safety. Without timely inspection, worn brake components can lead to reduced stopping power, uneven wear, and potential failure. This article focuses specifically on brake system inspection for the Yamaha Drive2 PTV, covering signs of wear, replacement intervals, and practical owner insights.
What Are the Early Signs of Brake Wear on a Yamaha Drive2 PTV?
Recognising the early indicators of brake degradation is essential. The following signs should prompt an immediate inspection:
- Squealing or grinding noises – Metallic sounds from the rear drums indicate worn brake shoes that have reached the wear indicators.
- Reduced pedal firmness – A spongy or sinking brake pedal suggests air in the hydraulic lines or low fluid levels.
- Increased stopping distance – If the cart takes longer to stop than usual, the brake linings may be glazed or worn thin.
- Pulling to one side – Uneven brake application indicates sticking wheel cylinders or uneven shoe wear.
- Vibration through the pedal – Warped drums or loose components can cause pulsation when braking.
Early detection prevents damage to the drums and wheel cylinders, which can triple repair costs.
How Often Should You Inspect the Brake System on a Yamaha Drive2 PTV?
Manufacturer guidelines recommend a full brake inspection every 12 months or 500 operating hours, whichever comes first. However, usage patterns heavily influence this interval. For vehicles used on hilly terrain, sandy paths, or in stop-start environments such as rental fleets, inspection every six months is prudent. A visual check of shoe thickness, cable adjustment, and drum condition should be part of any Yamaha Drive2 PTV Battery Range Test: Real-World Results routine, as poor braking can drain battery efficiency due to increased drag.
Recommended Inspection Intervals
| Usage Type | Inspection Frequency | Typical Shoe Replacement (miles/km) |
|---|---|---|
| Light household use (flat terrain) | Every 12 months | 3,000–5,000 miles (4,800–8,000 km) |
| Moderate resort/golf course use | Every 6–8 months | 2,000–3,500 miles (3,200–5,600 km) |
| Heavy rental fleet or hilly terrain | Every 3–4 months | 1,000–2,500 miles (1,600–4,000 km) |
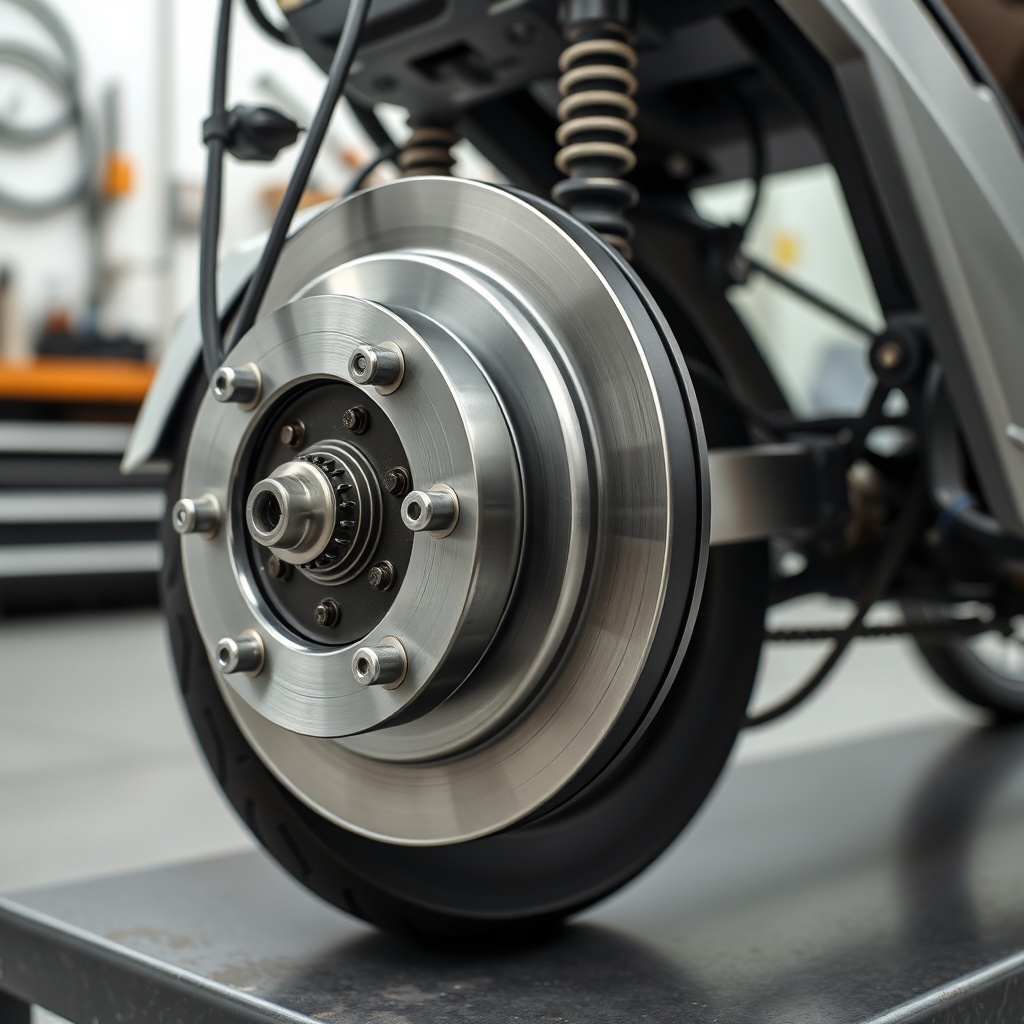
What Components Should You Check During a Brake Inspection?
A thorough inspection goes beyond looking at the brake shoes. Here is a checklist of key components:
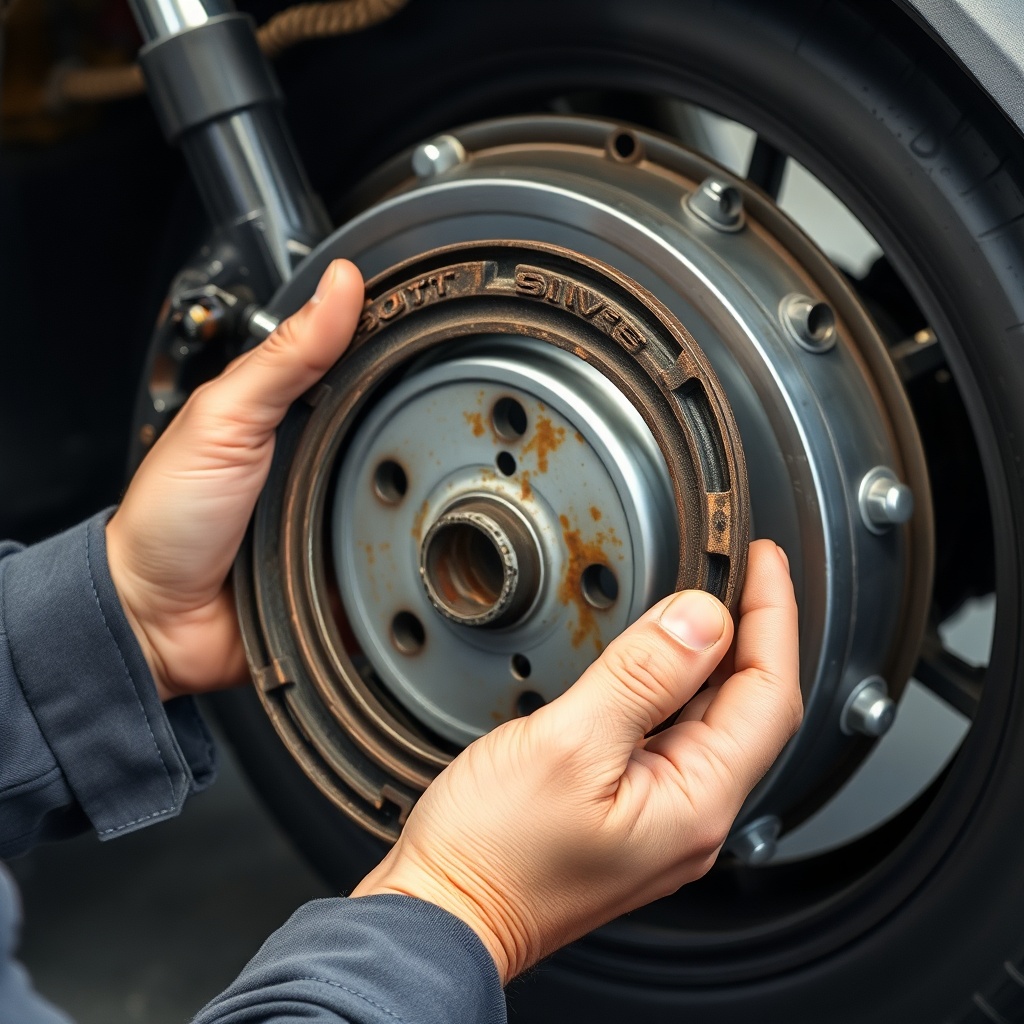
- Brake shoes – Measure lining thickness; replace if less than 1.5 mm remains.
- Brake drums – Check for scoring, warping, or cracks; resurface or replace if damaged.
- Wheel cylinders – Look for fluid leaks or corrosion; replace if any seepage is found.
- Cables and linkage – Ensure free movement without fraying or rust; lubricate pivot points annually.
- Hydraulic fluid – Check level and condition; replace every two years with DOT 3 or DOT 4 fluid.
- Parking brake mechanism – Test engagement and release; adjust cable tension if needed.
When upgrading brake components, consider pairing with a Best Suspension Upgrades for the Yamaha Drive2 PTV to improve overall vehicle stability and ride comfort.
When Should You Replace Brake Components Instead of Repairing Them?
The decision to replace versus repair depends on the component’s condition and cost effectiveness. Here is a severity-based guide:
| Component | Sign of Failure | Action | Estimated Cost (GBP) |
|---|---|---|---|
| Brake shoes | Lining less than 1.5 mm | Replace | £25–£45 per axle set |
| Brake drums | Scored deeper than 0.5 mm | Resurface or replace | £40–£80 per drum |
| Wheel cylinders | Fluid leaks | Replace | £15–£30 each |
| Cables | Frayed or seized | Replace | £10–£25 each |
| Hydraulic fluid | Contaminated or low | Flush and refill | £10–£20 |
If the drum surface is glazed but not deeply scored, resurfacing is a cost-effective option. However, drums that are warped or thinner than the minimum specification (usually stamped on the drum) must be replaced for safety. For DIY owners, following a detailed guide like How to Replace Brake Pads on a Yamaha Drive2 PTV can save labour costs.
What Owners Say About Brake Reliability on the Yamaha Drive2 PTV
Real-world feedback from Yamaha Drive2 PTV owners highlights both strengths and common pitfalls. The consensus is that the braking system is adequate for normal use but requires diligent maintenance in demanding environments.
- John from Hampshire (4 years of ownership): “The brakes are fine for flat courses, but on the hills of our estate, I had to replace shoes every 18 months. I now inspect them twice a year.”
- Sarah, fleet manager at a Kent resort: “We run 30 PTVs. The hydraulic system is reliable, but cables need yearly lubrication. One seized cable caused a full brake failure.”
- Mark, weekend golfer: “I noticed squealing at 2,000 miles. The shoes were almost down to the metal. I replaced them myself using a guide from CartCraft—saved £150 in labour.”
- Liam, mechanic specialising in electric carts: “The rear drums are the weak spot. If you upgrade to a more powerful motor, your braking system will need an upgrade too. See How to Remove the Governor on a Yamaha Drive2 PTV for More Speed—but don’t forget to upgrade brakes.”
Owner forums frequently mention that brake performance degrades faster after governor removal or when using larger tyres. This underscores the importance of synchronising drivetrain modifications with brake enhancements.
Frequently Asked Questions
How do I know if my Yamaha Drive2 PTV brakes need adjustment?
If the brake pedal travels more than halfway to the floor before engaging, or if the parking brake does not hold the cart on a slope, adjustment is needed. Most models have a self-adjusting mechanism, but manual adjustment at the cables may be required.
Can I replace just the brake pads on a Yamaha Drive2 PTV?
Yes, but the cart uses drum brakes with shoes, not pads. The shoes can be replaced individually. However, it is recommended to replace both shoes on an axle simultaneously to ensure even braking. See our How to Replace Brake Pads on a Yamaha Drive2 PTV guide for step-by-step instructions.
What type of brake fluid does the Yamaha Drive2 PTV use?
The Yamaha Drive2 PTV uses DOT 3 or DOT 4 brake fluid. DOT 4 has a higher boiling point and is recommended for frequent use in hot climates. Never use DOT 5 silicone-based fluid, as it is incompatible with the system.
How much does it cost to replace brakes on a Yamaha Drive2 PTV?
DIY replacement costs range from £50 to £100 for parts (shoes, hardware, and fluid). Professional installation typically adds £80 to £150 in labour. Full system replacement including drums and cylinders can reach £250 to £400.
Can I upgrade the brakes for better performance on a modified Yamaha Drive2 PTV?
Yes. Aftermarket performance brake shoes with higher friction material, larger drums, or disc brake conversion kits are available. These are strongly recommended if you have removed the governor or upgraded the motor, as stock brakes may overheat. Read How to Remove the Governor on a Yamaha Drive2 PTV for More Speed for compatibility details.
Why are my Yamaha Drive2 PTV brakes locking up?
Locking brakes often result from seized wheel cylinders, misadjusted cables, or contaminated brake shoes. Inspect for fluid leaks, check cable free play (should be 0.5–1 inch at the pedal), and replace any corroded components. Do not drive the cart until resolved.