
Introduction
Maintaining the braking system on your CartCraft golf cart is critical for safe operation, especially when navigating hilly courses or carrying heavy loads. Worn brake pads not only reduce stopping power but can also damage rotors, leading to costly repairs. This guide provides a step-by-step walkthrough for replacing brake pads on a CartCraft, ensuring your cart remains a reliable and safe companion on the fairways.
Regular brake inspections and timely pad replacements are the cornerstone of How to Program the Curtis Controller on CartCraft for Maximum Torque safety, as a properly tuned controller won’t help if you can’t stop effectively.
What Tools Do I Need for CartCraft Brake Pad Replacement?
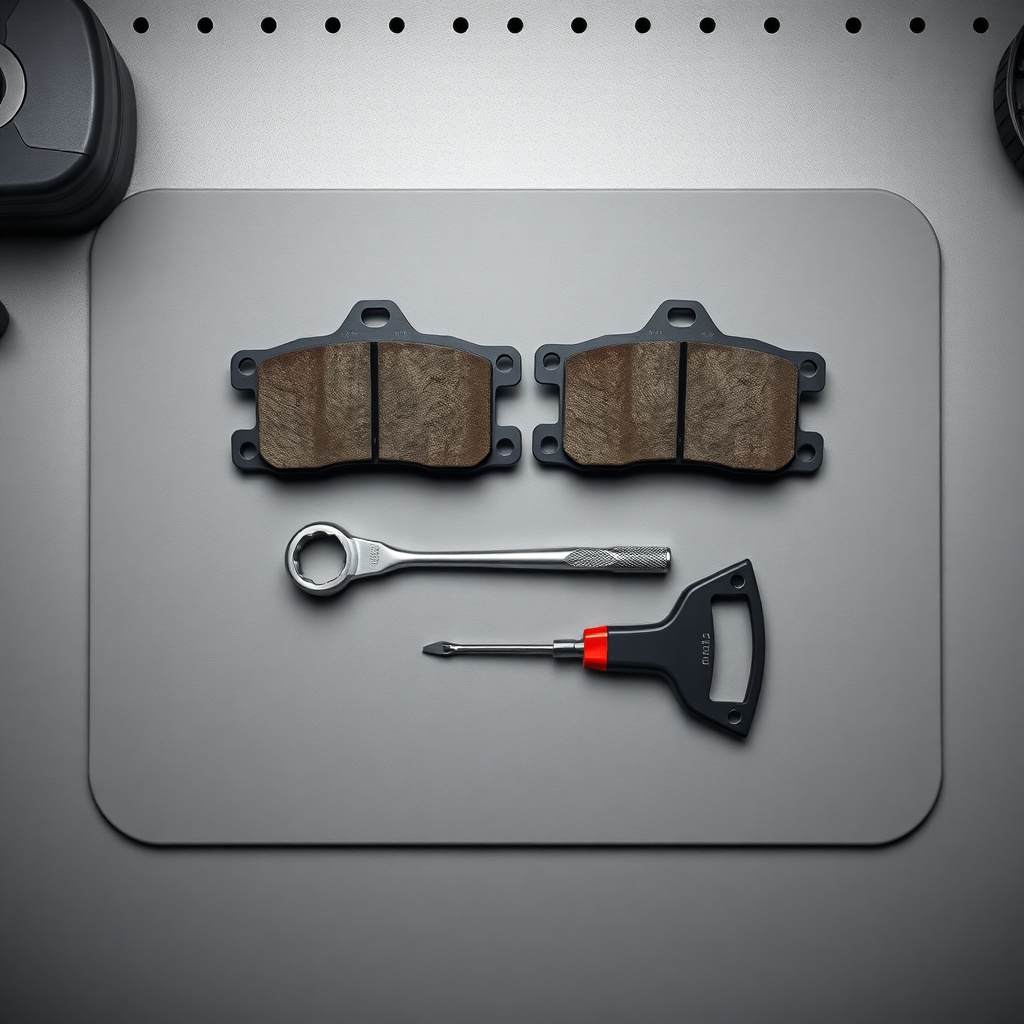
Before starting, gather the correct tools. Using the wrong size socket or a poor-quality jack can lead to frustration and safety hazards. Here is the essential toolkit:
- Jack and jack stands (rated for at least 500 kg)
- Lug wrench (typically 19 mm or 21 mm socket)
- Brake pad spreader or large C-clamp
- Torque wrench (range: 20–100 Nm)
- Flathead screwdriver (for prying old pads)
- Brake cleaner spray
- Paper towels or rags
- New brake pads (specific to CartCraft models – part number CC-BP-001)
- Anti-seize compound (for mounting bolts)
- Safety gloves and glasses
How Do I Safely Lift and Secure the CartCraft?
Safety must come first. A CartCraft golf cart weighs between 250 kg and 400 kg depending on the model and battery type. Follow these steps to avoid injury:
- Park the cart on a flat, level surface. Engage the parking brake and remove the key.
- Place wheel chocks behind the rear wheels (if lifting the front) or in front of the front wheels (if lifting the rear).
- Position the jack under the axle or frame-recommended lift point (refer to your CartCraft owner’s manual).
- Raise the cart just high enough to remove the wheel, then place jack stands under the frame. Never rely solely on a jack.
- Double-check stability by gently pushing the cart before beginning work.
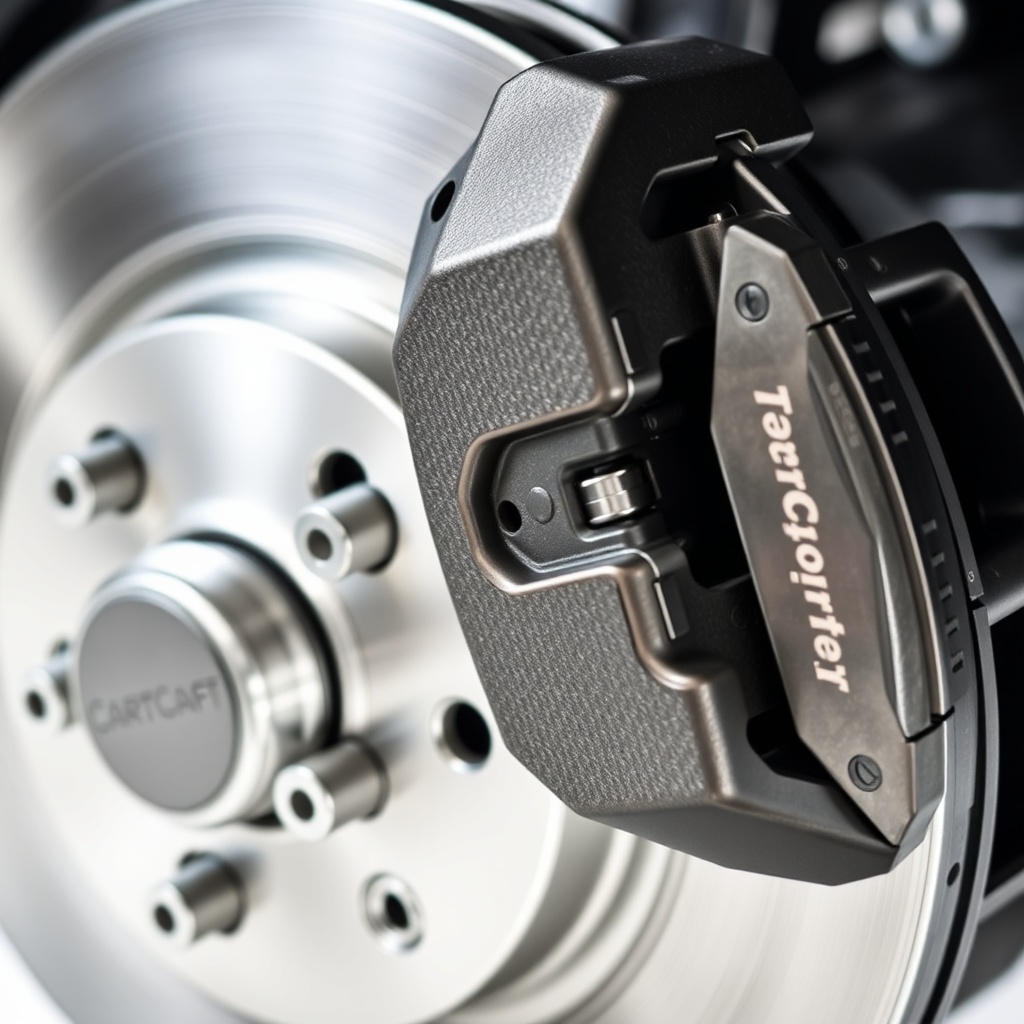
How Do I Remove the Old Brake Pads from a CartCraft Caliper?
Once the wheel is off, you’ll see the brake caliper and rotor. CartCraft uses a single-piston floating caliper design on most models. Here’s how to remove the worn pads:
- Locate the caliper retaining bolts (usually two 13 mm or 14 mm bolts).
- Use a socket and ratchet to remove these bolts. Some models may have hex keys (Allen bolts) instead.
- Gently pull the caliper away from the rotor. Do not let it hang by the brake hose—support it with a zip tie or hanger.
- Slide the old brake pads out of the caliper bracket. They may be held in by spring clips; remove these carefully with pliers.
- Inspect the rotor surface for deep grooves, scoring, or cracks. If the rotor thickness is below the minimum specification (usually 9 mm for CartCraft), CartCraft Suspension Upgrade Guide: Improve Ride Comfort and Handling will be irrelevant if you’re replacing a warped rotor.
What Is the Correct Procedure for Installing New Brake Pads on a CartCraft?
Installation requires precision. Improperly seated pads can cause noise, reduced performance, or even catastrophic failure. Follow these steps:
- Use a brake pad spreader or C-clamp to compress the caliper piston fully. Place the old pad against the piston to protect it while compressing.
- Apply a thin coat of anti-seize compound to the back of the new pads where they contact the caliper bracket.
- Slide the new pads into the bracket. Ensure the pad shims or anti-rattle clips are correctly installed.
- Reattach the caliper over the rotor. Align the bolts and tighten them to the manufacturer’s specification (typically 30–40 Nm). Over-tightening can strip threads or warp the bracket.
- Reinstall the wheel, hand-tighten the lug nuts, then lower the cart and torque the lug nuts to 90–100 Nm in a star pattern.
| Parameter | Specification |
|---|---|
| Pad Material | Metallic / Semi-Metallic |
| Pad Thickness (New) | 10.5 mm |
| Minimum Safe Thickness | 2.5 mm |
| Rotor Thickness (New) | 10 mm |
| Rotor Minimum Thickness | 9 mm |
| Bolts Torque (Caliper) | 35 Nm |
| Bolts Torque (Lug Nuts) | 95 Nm |
| Average Pad Cost | £30–£50 per set (€35–€60) |
How Do I Bed-In New Brake Pads on a CartCraft Golf Cart?
Bedding-in, or “burnishing,” transfers a thin layer of pad material to the rotor surface, maximizing friction and reducing noise. Skipping this step can lead to uneven wear and reduced stopping power. Perform this procedure in a safe, open area:
- Drive the cart to a maximum speed of 15–20 km/h.
- Apply the brakes progressively until you come to a gentle stop. Do not lock the wheels.
- Repeat this 5–7 times, allowing 30 seconds between cycles for the brakes to cool.
- Then, perform 2–3 more aggressive stops from a higher speed (25 km/h) to set the final pad surface.
- Allow the brakes to cool for 15 minutes before parking. Avoid touching the rotor or caliper—they will be very hot.
What Owners Say
CartCraft owners consistently report that replacing brake pads themselves saves significant money compared to dealership service. “I paid £45 for a set of pads and spent an hour in my garage,” says James T., a CartCraft E7 owner from Kent. “The dealer quoted £120 including labour.” Others highlight that after upgrading to heavier tires, their pads wore out twice as fast. “After switching to 22-inch tires, I had to replace pads every 100 cycles,” notes Alex R. This reinforces the importance of matching your brake system to your setup—see How Tire Size Affects Performance and Speed on CartCraft for more on this relationship.
Another common tip from the community: always keep a spare set of pads on hand. “I carry a set in the glove box during long tournaments,” says Maria L., a CartCraft user in Portugal. “Also, CartCraft Charging Station Setup: Tips for Faster and Safer Battery Charging doesn’t help if you ignore brake maintenance.”
Frequently Asked Questions
- How often should I replace my CartCraft brake pads?
Every 6–12 months, or every 1,500–2,000 km, depending on terrain and load. Hilly terrain requires more frequent checks. - Can I replace just the front or rear pads on a CartCraft?
Yes, but it’s recommended to replace axles in pairs (both front or both rear) to maintain balanced braking. - My CartCraft makes a grinding noise after new pad installation. What’s wrong?
First, ensure the anti-rattle clips are installed. If noise persists, check if the pads are contacting the rotor correctly. A thin shim of grease can help, but avoid grease on friction surfaces. - Why do my new brake pads feel spongy?
Air may be in the brake lines. Bleed the brakes using a standard pump-and-hold method. Alternatively, check for a leaking caliper or master cylinder. - Is it safe to reuse the old brake bolts from a CartCraft?
Not recommended. Brake bolts are often single-use and stretch over time. Always replace with new, torque-to-yield bolts when possible. - Should I change brake fluid when replacing pads?
Yes, it’s a good practice. Replace brake fluid every 2 years or when it appears dark or contaminated. Use DOT 3 or DOT 4 fluid as recommended in your manual.

