How to Replace Brake Pads on a Yamaha Drive2 PTV
Brake pad replacement on a Yamaha Drive2 PTV is a straightforward maintenance task that can be completed in about an hour with basic tools. Over time, the factory semi-metallic pads wear down, especially on carts used for hilly terrain or heavy passenger loads. This guide covers the specific steps for the Drive2 PTV’s sealed wet brake system, including rotor inspection and proper pad bedding procedures.
What Tools and Parts Do You Need for a Yamaha Drive2 PTV Brake Job?
Before lifting the cart, gather these specific items. The Drive2 PTV uses a unique brake shoe design different from Yamaha’s earlier G-series models. You will need a 10mm and 12mm socket, a C-clamp or brake piston tool, a torque wrench, and a wire brush. For replacement pads, use Yamaha OEM part number JN6-F2552-00-00 or aftermarket equivalents from Alltrax or EMP. A typical set costs £35–£55 for the axle set. Also pick up a small bottle of DOT 3 or DOT 4 brake fluid for bleeding, though replacing pads alone rarely needs bleeding unless the reservoir was contaminated.
Inspect the brake discs for scoring or thickness below 4.5mm. The Drive2 PTV rotors are 200mm diameter and should be replaced if warped. You can find rotor specifications in our guide on Best Suspension Upgrades for the Yamaha Drive2 PTV, as worn suspension components often accelerate brake wear.
How Do You Safely Lift and Support the Yamaha Drive2 PTV for Brake Work?
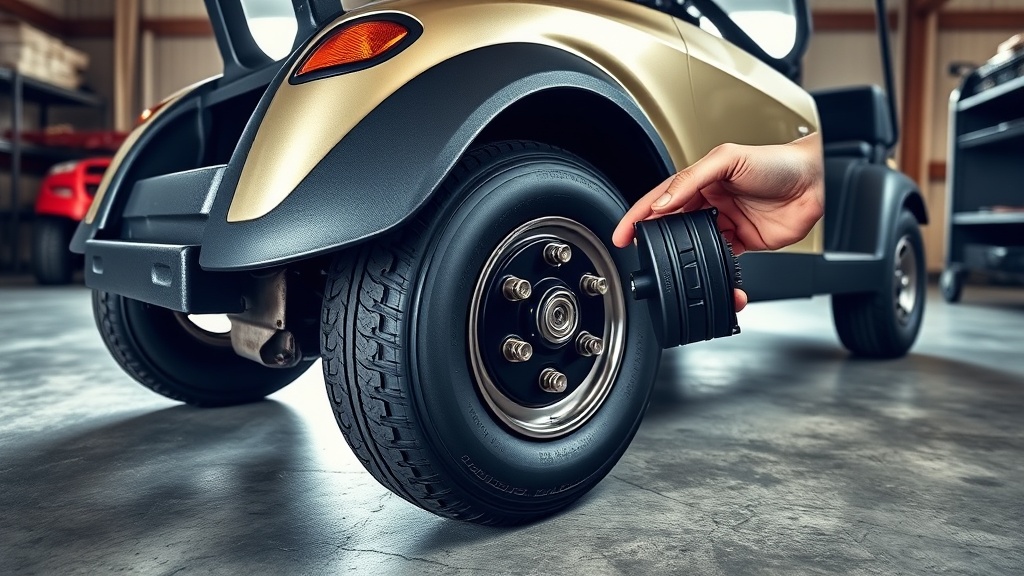
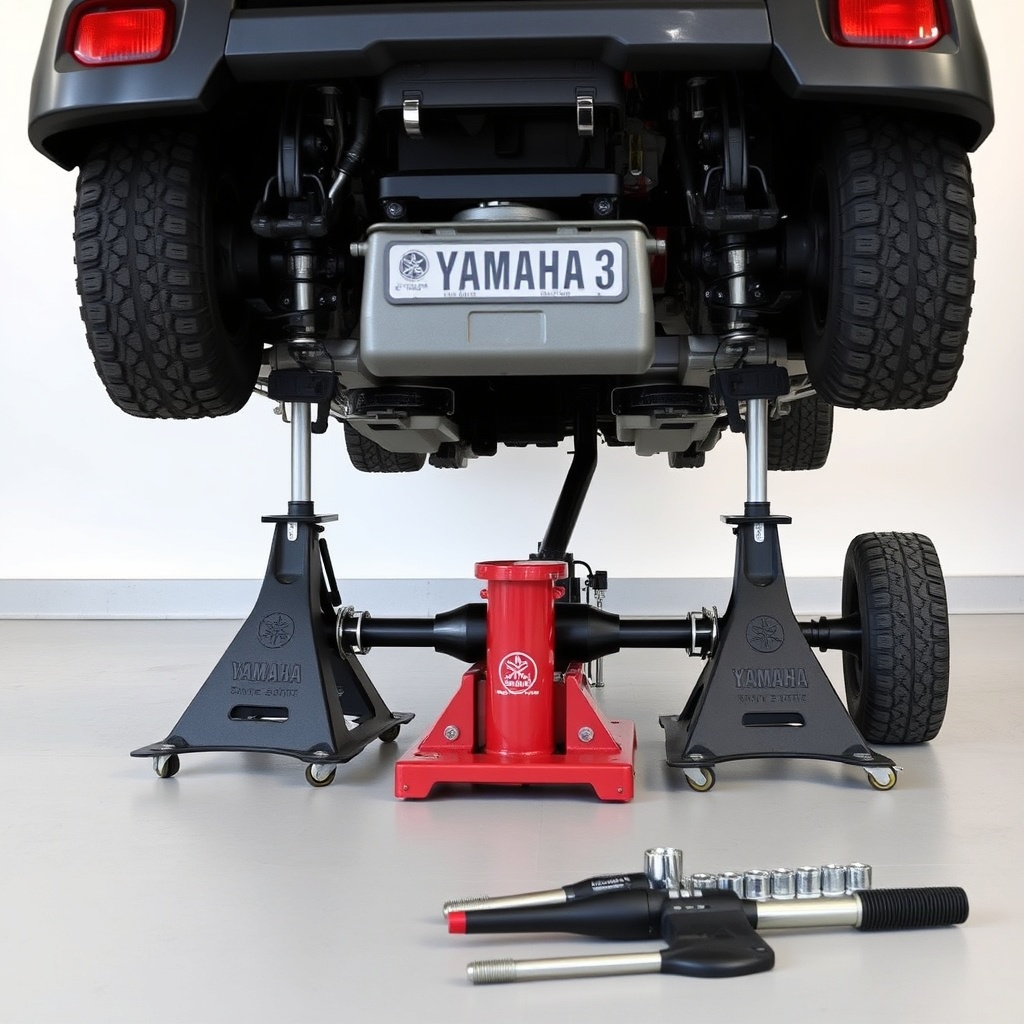
The Drive2 PTV weighs around 410 kg dry (with batteries), so proper lifting is critical. Use a low-profile trolley jack placed under the rear axle housing near the differential—not the plastic battery tray. Lift until the tyres clear the ground by about 15 cm, then place jack stands under the axle tube’s flat section near each wheel. Never rely solely on the hydraulic jack. Remove the rear wheels using a 19mm socket; the lug nut torque is 65–75 lb-ft. Note that the Drive2 PTV’s rear brake drums are integrated into the hub—you will access the pads through the drum’s rear cover.
If your cart has a lift kit, check that the brake lines aren’t stretched when the suspension droops. For lifted carts, we recommend reading our How to Remove the Governor on a Yamaha Drive2 PTV for More Speed article for related safety considerations when increasing speed beyond 25 km/h.
How Do You Remove the Old Brake Pads on a Yamaha Drive2 PTV?
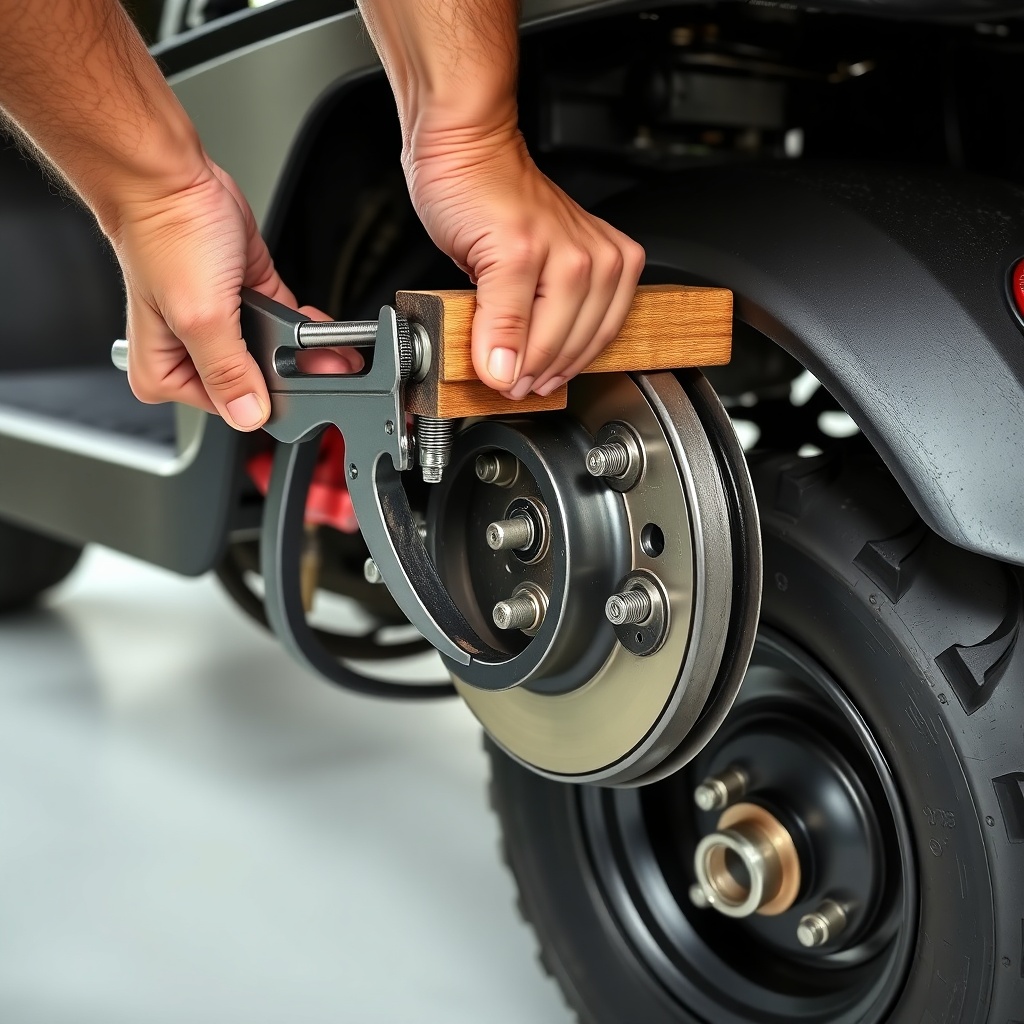
With the wheels off, locate the two Phillips-head screws securing the brake drum’s access cover plate. Remove those, then tap the cover loose with a rubber mallet if stuck. Behind the cover, you will see the two brake shoes held by two retainer springs and a tension spring. Use a brake spring tool or long-nose pliers to unhook the springs. Slide out the old pads—note the orientation of the friction material chamfer (it faces the direction of rotation).
Compare the new pads to the old ones. The Drive2 PTV pads have a slot that fits over the wheel cylinder’s piston. If the new pads have a different slot depth, they may not seat correctly. Also check the backing plates for rust or deep grooves. Light surface rust is normal, but deep gouges mean the caliper guide pins need replacement. If you notice uneven pad wear, inspect the caliper slides for corrosion—this is common in carts used in coastal areas.
How Do You Install New Brake Pads on a Yamaha Drive2 PTV?
Before installing new pads, retract the brake caliper piston fully using a C-clamp. Place a wooden block over the piston to avoid damaging the dust boot. The piston should push back smoothly; if it sticks, apply gentle pressure while opening the bleeder valve slightly. Tighten the bleeder afterwards. Lubricate the caliper guide pins with silicone brake grease—never use petroleum-based grease as it swells the rubber dust boots.
Position the new pads into the caliper bracket. The inboard pad (next to the piston) has a metal shim that clips into the piston face. The outboard pad sits against the caliper frame. Reattach the retainer springs, ensuring the hooks seat fully into the pad holes. Hand-tighten the two access cover screws to 6–8 lb-ft—overtightening cracks the cover. Reinstall the wheels, torque lug nuts to 75 lb-ft, and lower the cart. Before driving, pump the brake pedal firmly 10–15 times to seat the pads against the rotor.
How Do You Bed In New Brake Pads on a Yamaha Drive2 PTV?
Bedding-in the pads properly ensures maximum stopping power. Wear your seatbelt and find a straight, empty road or path. From about 25 km/h, apply the brakes smoothly but firmly down to walking speed (not a full stop). Repeat this procedure 8–10 times. This process transfers a thin layer of pad material evenly onto the rotors. If you smell a mild metallic burning odour, that is normal. After bedding, park the cart and let the brakes cool for 30 minutes before adjusting the parking brake cable if needed.
Do not perform emergency stops or ride the brakes during the first 100 km with new pads. The Drive2 PTV’s regenerative braking system (if equipped) can be set to a low regenerative strength during bedding to avoid premature glaze formation. Check the parking brake tension weekly for the first month—new pads settle slightly, reducing lever travel. If the pedal feels spongy after bedding, you may have air in the lines; bleed the system using DOT 3 fluid. Review Yamaha Drive2 PTV Battery Range Test: Real-World Results for insight on how aggressive braking habits affect range.
| Condition | Severity | Recommended Action |
|---|---|---|
| Slight brake squeal when cold | Usually not urgent | Clean pads with brake cleaner; check for glazing |
| Brake pedal goes to floor | Needs attention soon | Inspect brake fluid level; bleed system nearest caliper |
| Pulsing pedal during braking | Needs attention soon | Replace or resurface rotors (below 190mm thickness) |
| Unilateral braking (pulls to one side) | Needs attention soon | Check caliper slide pins; replace piston if seized |
| Metallic grinding sound | Critical | Stop driving immediately; replace pads and inspect rotors |
What Owners Say About Brake Pad Replacement on the Yamaha Drive2 PTV
Long-time owner Mark T. from Cornwall says: “I was surprised how easy the pads are to change compared to my old G9. The spring clips can be fiddly, but once you know the trick of hooking them from the inside out, it takes five minutes per side.” Another owner, Susan L. from Florida, notes: “My Drive2 PTV ate the stock pads in 18 months because of the sandy soil. I switched to ceramic aftermarket pads, and they last twice as long. Just be aware that ceramic pads need a longer bedding cycle—about 20 stops instead of 10.” Finally, a fleet manager for a golf course in Scotland reports: “We replace pads every 1500 miles. I keep a log of each cart. The Drive2 PTV’s drums don’t warp easily, but the parking brake cable often needs adjustment after new pads. Check that before taking it out.”
Frequently Asked Questions About Yamaha Drive2 PTV Brake Pad Replacement
1. How often should I replace brake pads on a Yamaha Drive2 PTV?
Replace pads when the friction material thickness is less than 3mm. Expect replacement every 1,200–1,800 miles under normal use, or sooner if driving on steep terrain or with heavy cargo loads.
2. Can I use car brake pads on a Yamaha Drive2 PTV?
No, car pads are too thick and may interfere with the caliper. Always use pads designed for golf cart applications—they have narrower profiles and the correct slot for the wheel cylinder piston.
3. Do I need to replace both left and right brake pads at the same time?
Yes. Replace pads in axle sets to maintain equal braking force. Mixing old and new pads will cause the cart to pull during hard stops.
4. Why does my Yamaha Drive2 PTV brake pedal feel spongy after pad replacement?
Air entered the hydraulic system when retracting the piston. Bleed the brakes starting from the farthest caliper (passenger rear, driver rear, passenger front, driver front) until no bubbles appear. Use fresh DOT 3 fluid.
5. Can I resurface the brake rotors on a Yamaha Drive2 PTV?
Yes, if the rotor is at least 4.5mm thick and has no deep grooves. A professional can turn them to a minimum thickness of 4.0mm. Rotors below 4.0mm must be replaced.
6. How do I adjust the parking brake after pad replacement?
Locate the adjustment nut on the parking brake cable, usually found under the rear body panel near the driver side. Tighten until the brake lever rises about 3–4 clicks when fully engaged. Test by trying to push the cart on a slight incline—it should hold without rolling.
After completing the replacement, take a moment to inspect your Drive2 PTV’s general brake system health. Worn suspension bushings often cause uneven pad wear, something covered in our Best Suspension Upgrades for the Yamaha Drive2 PTV article. For those planning faster builds, balancing braking performance with acceleration is covered in How to Remove the Governor on a Yamaha Drive2 PTV for More Speed. And to understand how aggressive braking impacts driving range, Yamaha Drive2 PTV Battery Range Test: Real-World Results provides valuable data.