How to Install a Custom Steering Wheel on a CartCraft Golf Cart
Upgrading the steering wheel on your CartCraft golf cart is one of the most satisfying customization projects you can undertake. A quality aftermarket wheel transforms the driving feel, adds a personal statement, and often improves grip over the stock rubber unit. This guide walks you through every step, from selecting the right adapter to torqueing the final nut, with careful attention to CartCraft-specific wiring and column geometry.
What Tools and Parts Do You Need for the Installation?
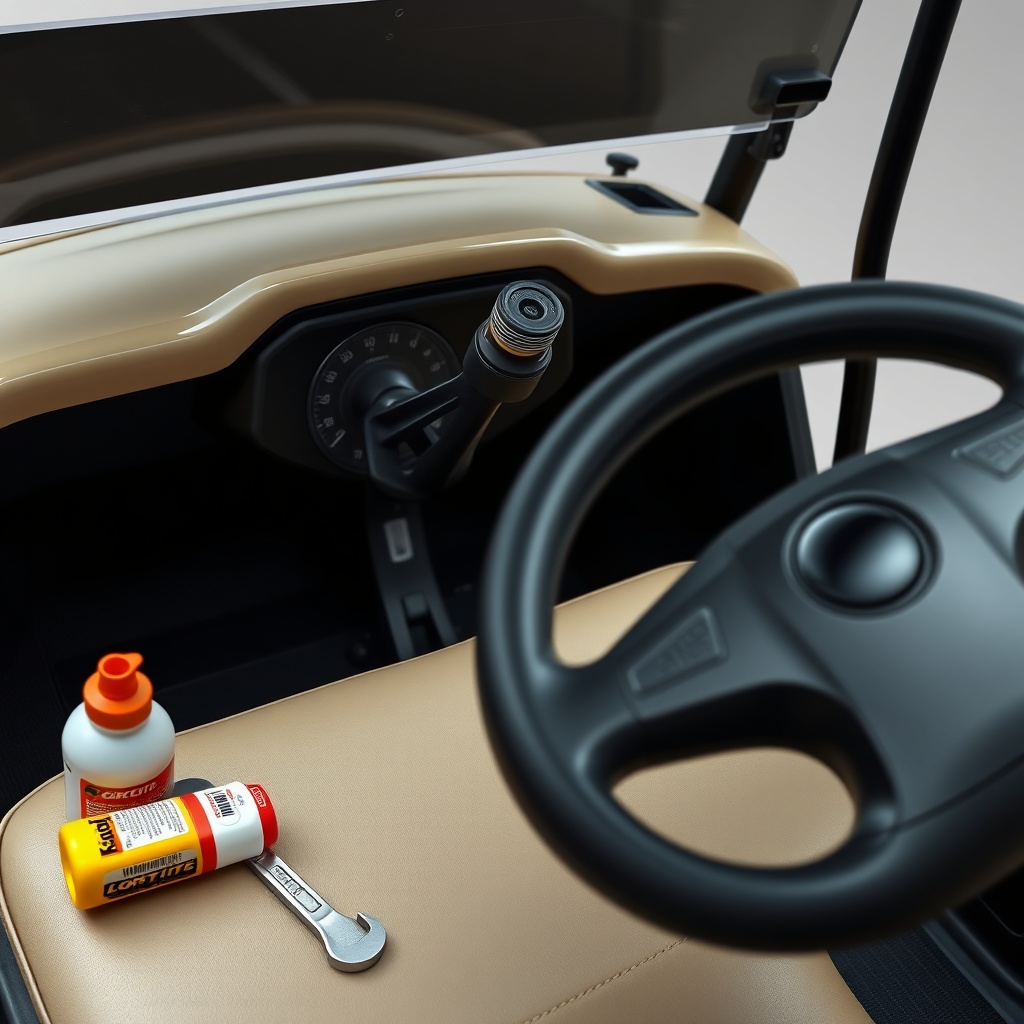
Before starting, gather all components: a custom steering wheel (typically 12 to 14 inches in diameter), a compatible steering wheel adapter hub (keyed for the CartCraft spline), a puller, a torque wrench, a 19mm socket, a flat-head screwdriver, and a small pick tool for removing the horn button. Many CartCraft models from 2020 onward use a 5/8-inch tapered shaft with a 36-spline count. Verify your unit’s spline and shaft taper by checking the manual or contacting CartCraft support.
Additional items: dielectric grease, thread-locking compound (Loctite 242), and optionally a quick-release hub for track days or security. The total cost for a mid-range wheel and adapter runs about £120–£200. Expect to pay around £45 for a quality adapter from UK specialists like CartCraft Accessories Ltd. If you own an older model with a different spline, contact the dealer before ordering.
How to Safely Remove the Original Steering Wheel from a CartCraft
Start by disconnecting the 48V battery pack—isolate the negative terminal. Wait 5 minutes for any residual charge in the controller capacitors to dissipate. Then gently pry off the centre horn cover using the flat-head screwdriver. You will find a single screw or two M5 bolts holding the cover. Underneath, unplug the horn wire connector (usually a spade type) and remove the main steering wheel nut with a 19mm socket. Apply the torque wrench set to 35 N·m (26 ft·lb) for loosening—if the nut is stubborn, use a breaker bar. Mark the nut’s position with a permanent marker for reference during reassembly.
Install a steering wheel puller across the hub. Turn the puller’s centre bolt counter-clockwise until the wheel pops loose. Do not hammer on the shaft—this can damage the CartCraft column bearing. On some 2023+ models, there is a plastic alignment key that might break; if so, replace it with a new one from a CartCraft dealer (part number CC-KEY-822).
How to Select and Install the Correct Steering Wheel Adapter for CartCraft
Not all adapters fit CartCraft. The stock CartCraft column uses a D-shaped hole for the horn contact, with a positive wire running through the centre. Choose an adapter that includes a brass or copper slip ring to maintain horn functionality. The typical adapter has a recess that clears the turn signal return cam. For most CartCraft models, the adapter must have a 70 mm bolt circle (PCD) with 6 holes. Aftermarket wheels often feature a 6×70 mm pattern—verify before buying. You can find a reliable adapter from UK-based CartCraft specialists for about £55. Installation steps: slide the adapter onto the spline, ensuring the flat side faces the driver. Align the D-shaped hole with the horn contact. Hand-tighten the nut, then torque to 38 N·m (28 ft·lb). Apply a drop of thread-locker on the nut’s threads.
If you also plan to upgrade the CartCraft suspension for better handling, the steering upgrade complements the improved ride quality.
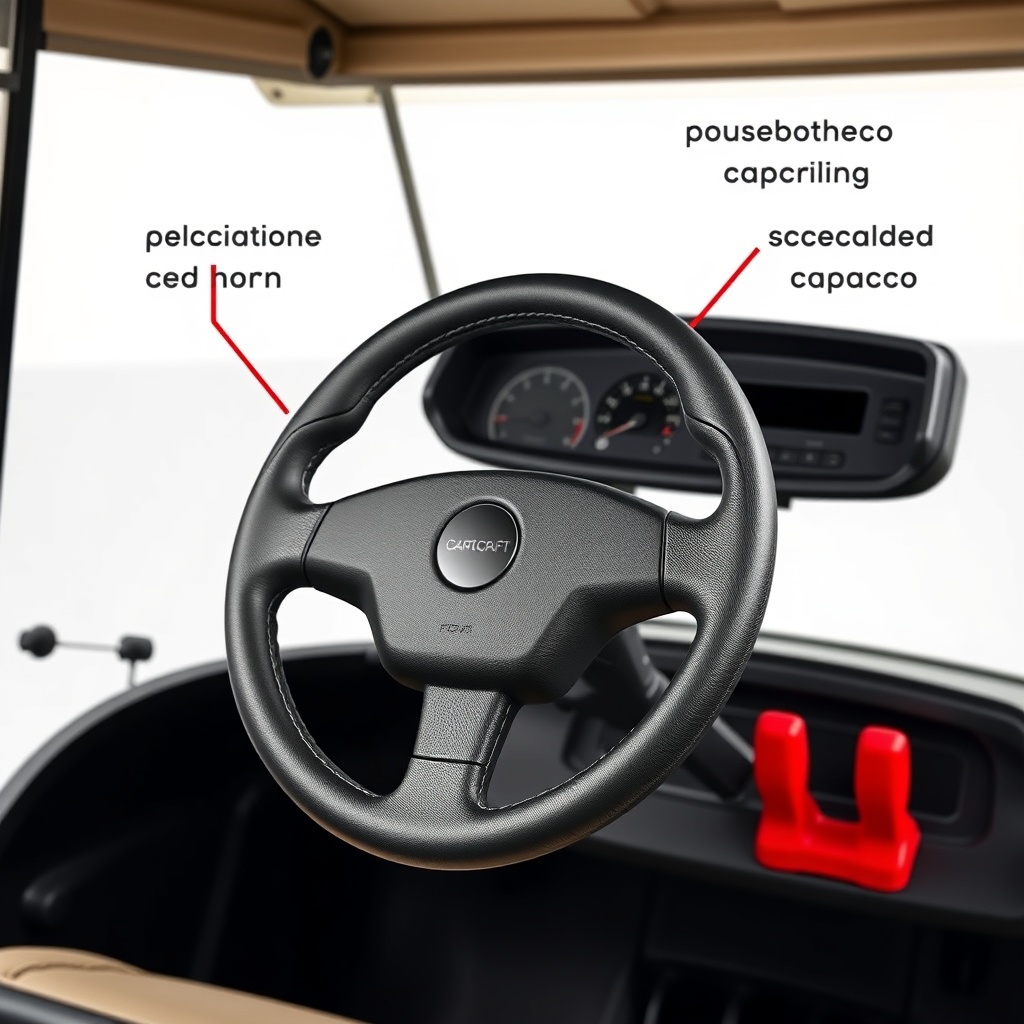
How to Wire the Horn and Electronic Controls on a Custom Steering Wheel?
Most CartCraft custom wheels lack horn buttons—they rely on an external horn pad or a button re-routed from the original hub. Disconnect the battery again. Remove the old horn button assembly from the original wheel by unscrewing the two M4 bolts. The horn wire connects to the column’s slip ring. On the new wheel, install a 12V-rated horn button (if desired) by drilling a 19 mm hole in the wheel’s centre cap. Solder the wire to the button’s terminal and route it along the adapter’s groove. Use a ring terminal to connect the wire to the slip ring screw. Reattach the centre cap. For models with cruise control or radio buttons, you may need a universal control module—these are rare on CartCraft but available from aftermarket vendors.
Test the horn by reconnecting the battery and pressing the button. If it does not sound, check the ground connection at the steering column bracket. Some CartCraft carts have a horn relay—verify its fuse in the controller box.
What Are the Common Mistakes When Installing a Custom Steering Wheel on CartCraft?
First, forgetting to disconnect the battery can cause a short circuit and damage the controller. Second, using an adapter with an incorrect spline count may lead to the wheel wobbling at speed. Third, overtightening the nut can crack the adapter or strip the spline. Fourth, failing to apply thread-locker on the set screws that hold the adapter to the wheel can result in the wheel spinning freely during a turn. Fifth, not inspecting the slip ring for wear can cause intermittent horn failure. Sixth, mismatching the steering wheel size—too large (over 14 inches) may hit your knees or the dashboard; too small (under 11 inches) reduces mechanical leverage, making parking a chore. Seventh, ignoring the brake pad condition before a steering upgrade—improving steering without ensuring braking is unsafe.
If you already modified the controller for torque, the steering wheel upgrade adds a more engaging driving experience.
What Owners Say About Custom Steering Wheel Upgrades on CartCraft
CartCraft owners on UK forums like GolfCartTalk.co.uk report high satisfaction. “I fitted a 13-inch Momo-style wheel from CartCraft Accessories. The difference in turning response is immediate—the smaller diameter reduces arm flailing during tight manoeuvres. The installation took me two hours, and the horn works perfectly.” – Alan S., Yorkshire. Another user notes: “I used a quick-release hub, and now my cart feels like a track car. The only downside is that the turn signal cancel doesn’t work perfectly because the adapter thickness changed the wheel’s depth. I solved it with a spacer.” – Emma T., London. Others warn about the horn wiring: “The original horn wire is fragile—I snapped it twice. Soldering is essential. Also, the adapter must be torqued correctly; I didn’t and the wheel came loose on a roundabout. Scary.” – Dave M., Edinburgh.
Overall sentiment: the upgrade offers high visual and tactile reward for moderate effort. For those also adjusting battery charging practices, the steering wheel completes a personalised CartCraft experience.
Frequently Asked Questions
Do I need to reprogram the controller after installing a custom steering wheel?
No, the steering wheel is purely mechanical and does not affect the controller’s parameters. However, if you also install a quick-release hub with an integrated horn button, you might need to verify the horn circuit fuse and relay compatibility.
Will any 70mm bolt circle steering wheel fit a CartCraft?
Not automatically—the wheel must also be compatible with the adapter’s centre bore diameter (typically 17.5 mm for CartCraft) and the adapter’s spline profile. A 70mm bolt pattern is standard for many aftermarket wheels, but always check the spline count and shaft taper first.
How long does it take to install a custom steering wheel on a CartCraft?
For a first-timer with moderate mechanical skill, plan for 2 to 3 hours. Experienced users can finish in about 1 hour. The most time-consuming part is removing the original wheel without damaging the column and wiring the horn correctly.
Will a smaller steering wheel affect the turning radius or steering effort?
A smaller wheel increases steering effort at low speed because you have less leverage. The turning radius remains unchanged—the physical steering linkage is independent of the wheel diameter. For off-road use, a 12-inch wheel is popular; for parking lots, consider 13 inches.
Can I install a custom steering wheel on a CartCraft with a tilting column?
Yes, but you might need a specific adapter that accommodates the tilt mechanism. Some tilting columns have a shorter spline, so the adapter must not bottom out on the shaft. Measure the exposed spline length before ordering. Many CartCraft tilt columns require an adapter with a 40 mm sleeve.
How much does it cost to hire a professional to install a custom steering wheel?
Expect to pay between £80 and £150 labour for a golf cart specialist in the UK. This includes removing the original wheel, installing the adapter, wiring the horn, and testing. Supply your own wheel and adapter to avoid dealer markup. If you also need to recalibrate the tire size settings due to other modifications, the cost may increase.